Project life month-card

2014-08-25

I just have to share a month-card I made for my project life week 3, I just love how it turned out!

The base is a card from Becky Higging’s Dear Lizzy Neapolitan kit (I thought that this kit would be to osft for me but I find myself making excuses to use it everywhere!) and then  i cut another card, from the same kit, into pieces to make the border and hearts. The shading for the month is made with a R 20 copic and the hearts is die cut with the Simon Says Stamp mini heart set die.

The calendar-part is from a freebie made by Linda Örborg.

Träffar: 121

Week 1 of 2014

2014-07-17So I have now done my first weekly spread for Project Life. Fortunately for me it was a week when not much was going one so I just choose some photos I liked and could journal generally about what was going on at that time.

I have used the Becky Higgins core kit Turquoise, a free calender that I cut up and some Jillibean Soup stickers alphabet. I decorated by using a flag-punch from Stampin’ Up and I don’t know the name (I borrowed it from a friend). The flags is colored with Rhubarb Stalk Memento Ink and then i just drew a heart with a white pen. The hearts I used for decorations is Simon says Stamp’s Mini heart set, in white and Rhubarb Stalk. The arrows are stamps from MFT’s Right This Way

Träffar: 388

Online class making papers and jorunaling-cards

For the last couple pf days I have been taking a free online class from Anika that teaches you how to make your own papers, tags, color-palettes and journaling cards in Photoshop. Its just wonderful and here comes a sneak-peak of my first try:) If you also wanna sign up, follow this link.


This is the color-palette I used as a base.

pWdYSq_full2

And from that palette I made this papers

Fullskärmsinfångning 2014-06-21 130142.bmp

And from those papers I got these journaling-cards

Fullskärmsinfångning 2014-06-21 130125.bmp


It’s so fun! Now i wanna do some own designs, but we’ll see if I can learn that:)

Träffar: 85

Recolored MULA from IKEA

2014-06-13A few week ago I tried to find this specific toy for my daughter that she loved from a babycafé we use to visit. I found out what it was called and also found that a cheep one was to be found at IKEA. The one at Ikea is called MULA.

Then I came across this wonderful post from Elin that had repainted her (the original colors is really boring) and I instantly started to plan my own remake.

bildSo I went to IKEA and bought MULA and then went to Panduro for some paint. With some advice from my sister we ended up with  47 Turkos, 23 Ljuslila and Olive (?). The green paint’s label is missing so I’m not sure on that one.I really think they are happy colors and the turkos is of coars my favorite and If i could do as I wanted everything in our home would be in that color.
I first laid on two layers of white and then two coats of the color and I think it is enough. In heinsight I would have bought another color for the metal (even if the paint says that it works on metal) due to the fact that the paint peels away a lot, but I don’t bother me that much (yet).

Träffar: 167

Yet another bib

2014-06

Here comes a bib I made from a owl-oilcloth that I just love, and it’s the cloth that on our table right now. I bought 1/2 meter extra just so I could make some bibs from it.

This one is made to be gender-neutral so I avoided the use any of the purple, pink  and blue birdies.


(See the first post for the pattern)

Träffar: 58

Project Life

Efter ha gått med i facebook gruppen för svenska project-lifare blev jag alldeles inspirerad av alla andras sidor och tänkte isa upp vad jag knåpat med det senaste halvåret.

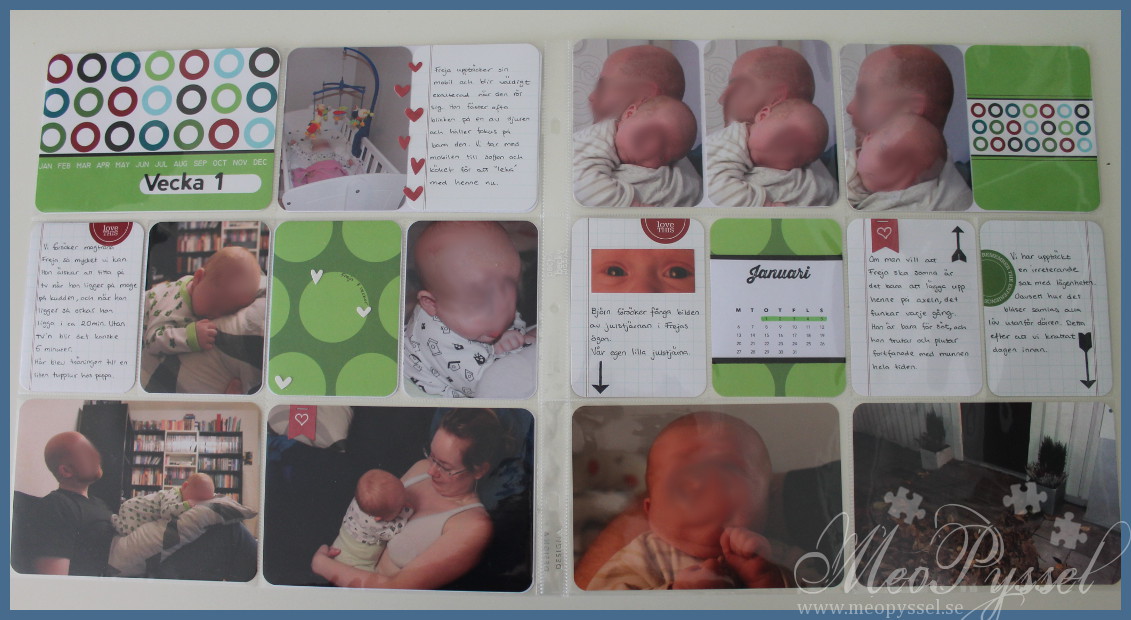
Min tanke från början var att inte på något sätt göra veckovis eller månadsvis utan mer se mina album som vanliga fotoalbum med lite mer utrymme för pyssel och skrivande. Men efter ha gjort halva 2013 på det här sättet har jag fått inse att jag har för många bilder, och speciellt efter det att Freja föddes. Så 2014-albumet kommer att vara veckovis, ett uppslag på 2 sidor för varje vecka. Och med ytterligare uppslag då det här hänt något stort, exempelvis som namngivningsceremonin.

Jag dekorerar inte mina bilder eller inserts särskilt mycket utan fokuserar mer på att få in bilderna. Jag hade velat datorskriva min journaling men det tar för mycket tid just nu så det kanske blir så i framtiden när jag inte känner behovet att bara få in 2013 på rätt ställe. Jag har främst använt färdiga Kit (i 2013 är det i stort sett bara Honey) men vissa uppslag har jag gjort med papper jag har hemma eller freebies.

Så här kommer några av sidorna från 2013. Jag har hittills kommit till augusti och snart kommer Frejabilderna och jag längtar efter att få leka med dem!

2014-05-14, 8
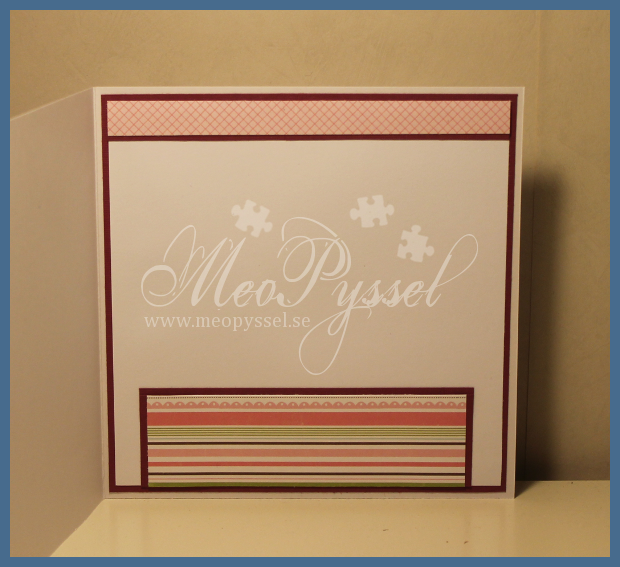
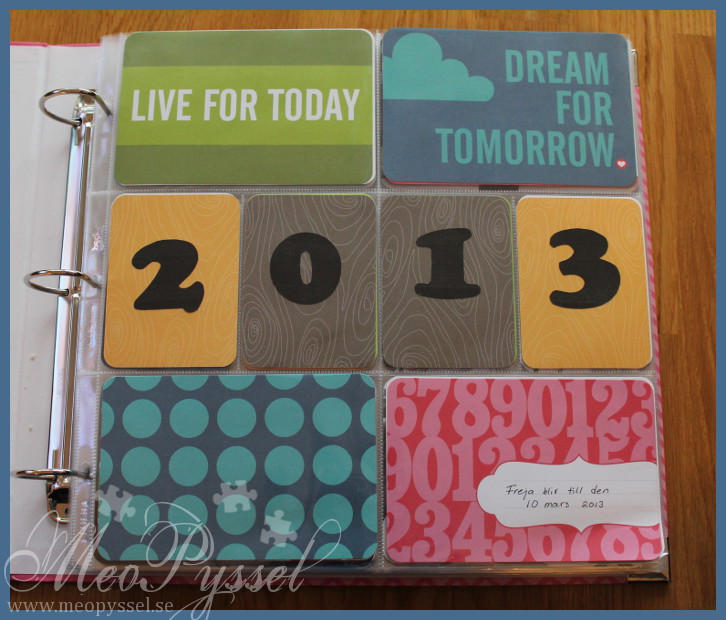
Första sidan valde jag att ha utan foton eftersom att det händer så mycket under året och att jag inte vet vart fokus kommer ligga. Så klart är Frejas födelse en enorm händelse men jag vill inte bara fokusera på det.

2014-05-14, 12014-05-14, 12
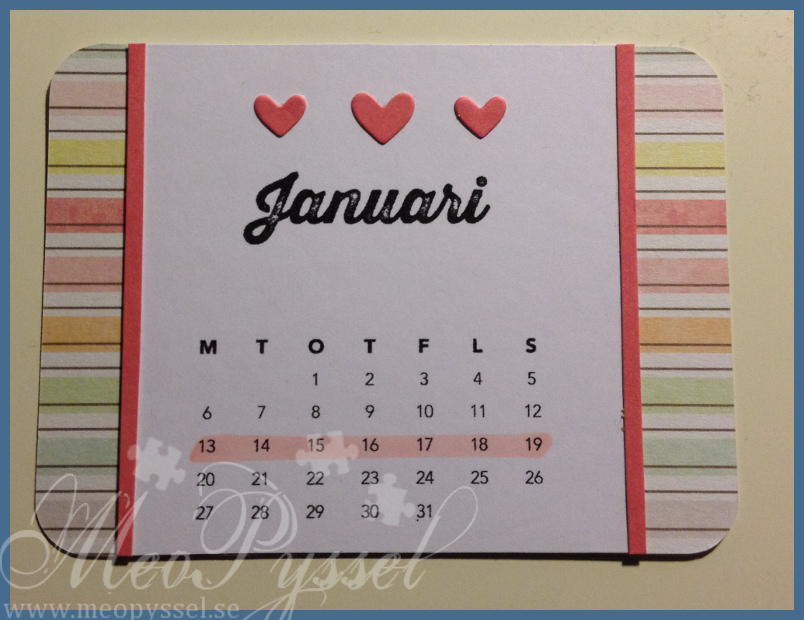
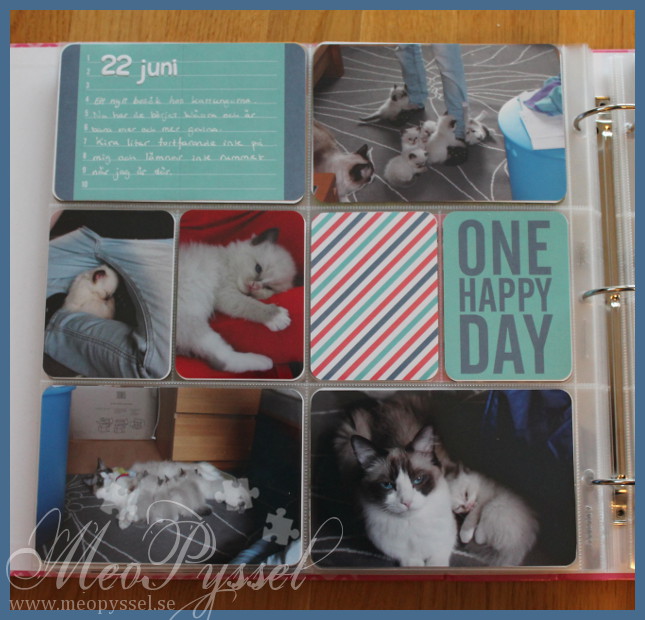
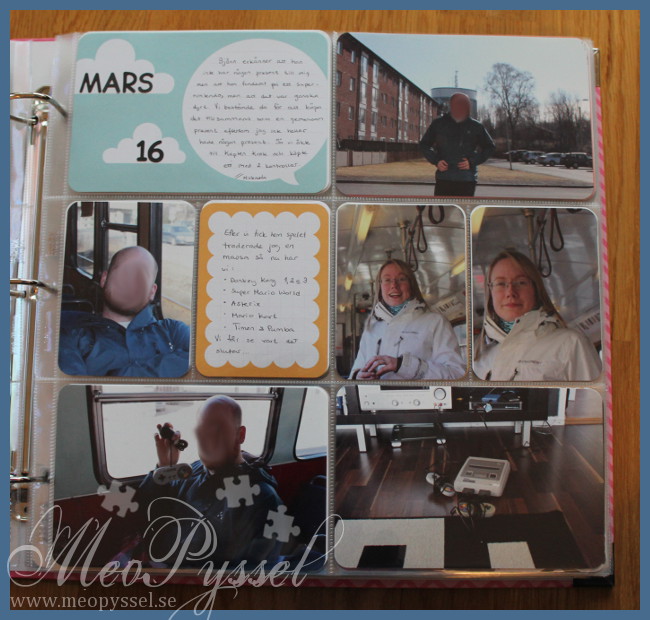
De flesta datum och titlar är handskriva eller gjorda med utstansade bokstäver.

2014-05-14, 92014-05-14, 11 
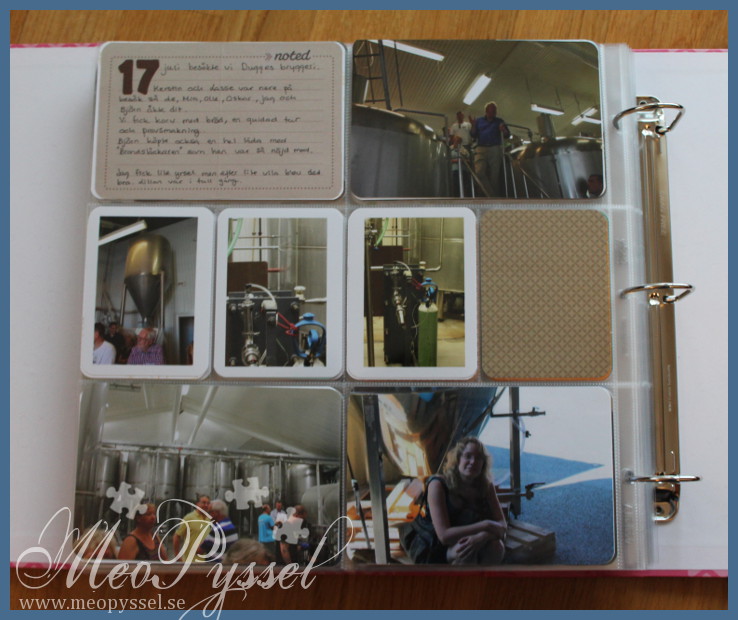
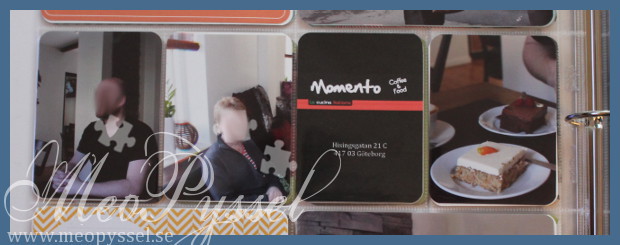
Ibland när jag inte har någon faktisk memorbilia fast jag hade velat kan jag skapa lite själv. Jag hade inget visitkort eller något från det här fiket så jag gick in på hemsidan och tog deras logga. Sedan gjorde jag en svart kort och skrev in adressen, infogade loggan och fick ett fint kort som kunde använda.

2014-05-14, 6
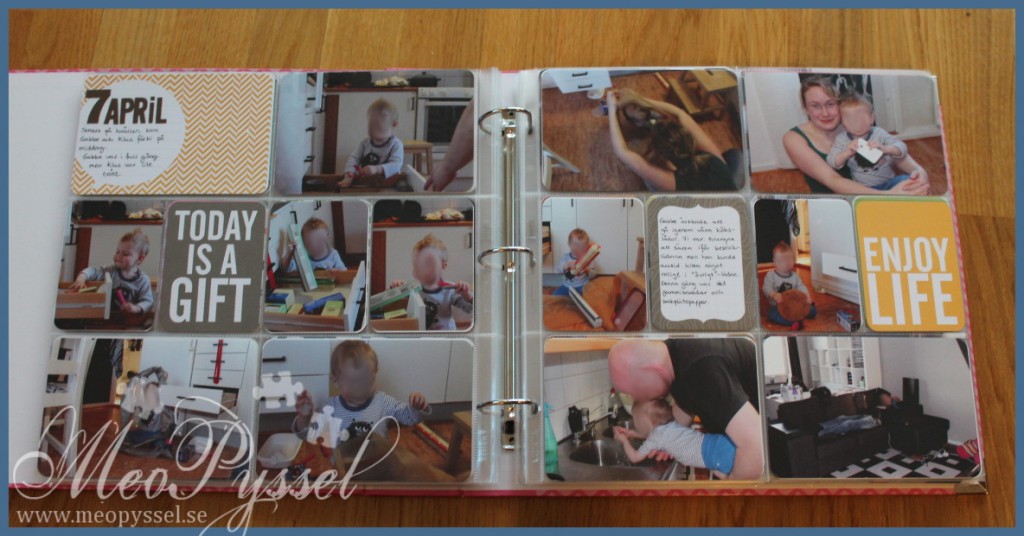
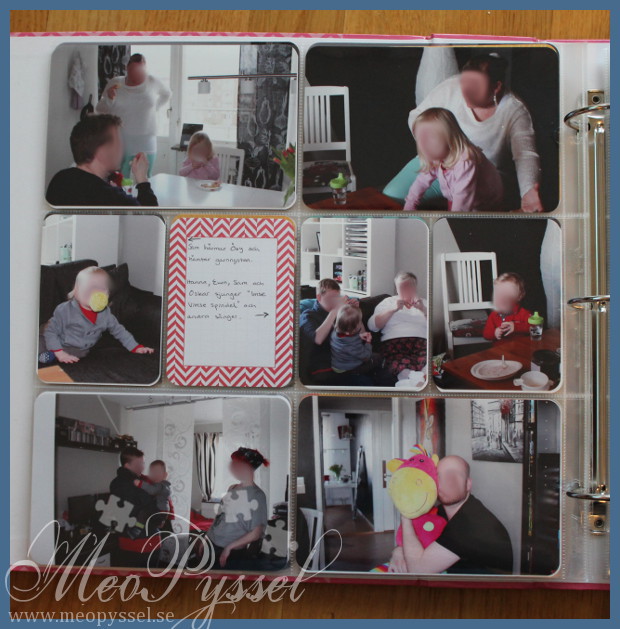
På större händelser får hinner jag oftast skriva in mina kommentarer på de flesta sidorna och då kan jag ha några sidor enbart med foton, så länge det inte är något specifikt foto jag vill berätta något om.

2014-05-14, 52014-05-14, 7
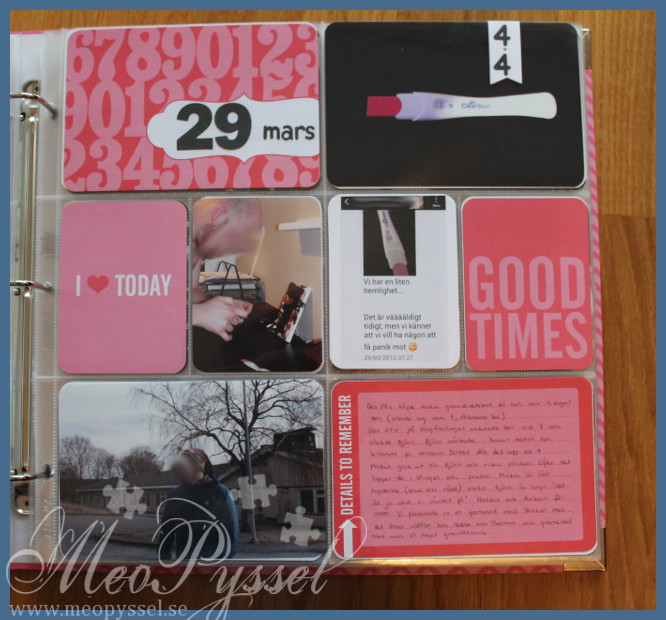
Här har jag även gjort ett kort av ett screenshoot av det sms vi skickade till våra närmaste vänner när vi fick veta att jag var gravid.
När det gäller mina graviditetsbilder önskar jag att jag hade ett “+” att stansa ut eller en stämpel. Har någon tips är det mer än välkommet!

2014-05-14, 2Någonstans i Juli fick jag inse att jag inte kunde skriva ut alla mina foton själv eftersom att det blev för dyrt. Jag hade svårt att hitta någon som kunde skriva ut foton i mindre format. Till slut hittade jag Crimson men då blir det en vit ram runt fotona som jag inte gillar. Jag kommer få stå ut med det fram till 2014 bilderna, men men. Nu har jag som tur är hittat photoscape tack vare Project Life Sweden och det här inlägget. Så nu har jag sammanfogat mina foton och skickat första 2014-omgången för framkallning.

2014-05-14, 4 
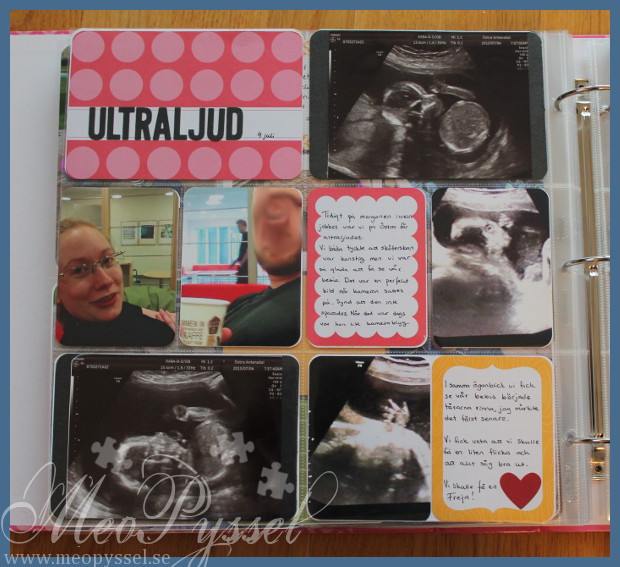
Förutom de ultraljudsbilder vi fick har jag tagit screenshots från de videor som Björn tog vid tillfället. Eftersom att Ultraljudsbilderna var mindre ön 10×15 så har jag monterat dem på svarta cardstocks som jag klippt ut, det ger dem stadga och samma format som resten. Jag valde svart och enfärgat för att ha fokus på just de här bilderna, dom är för värdefulla för mig för att få slåss med mönster.

Hoppas att ni tyckte om en titt!

Träffar: 93

Another Bib

2014-05-05

So I made another bib, or actually I did a lot more but I only made one new color-combination. I haven’t bought any new fabric so there ain’t to many combination to be done.

I have avoided to made one that is mostly white, or that have white trimmings so they won’t look dirty to quickly. The green and the pink fabric really don’t go well together so thats´’s another combination that’s out.

Träffar: 78

A baby-sun-hat

2014-04-21, 2This easter have just been so wonderful. The weather have been warm and sunny all day so we have been out having lots of fun. A walk in the park, barbecue and just a couple of walks. Unfortunately we wasn’t really prepared baby-wise. We soon realized that Freja only have winter-hats. Due to all shops being closed for easter I started to Google pattern for sun-hats. I found this tutorial and pattern from Bethany.

2014-04-20It was really easy to follow (I didn’t cut and sew the straps, instead I breaded some yarn. I think that a strap that you can tie is better so it can be adjusted for size and occasion) and the hat is just so cute… but to small for my daughter. The hat I made from Bathany’s pattern is approximately 38cm in diameter (my daughter has 43).

After another search I found someone saying that the hat-part should have the length of 1/3 of the diameter you want. So I copied the pattern from Bathany and resized it in Word. My base is now 14cm instead of 11cm, and my bring has an inner diameter of 17 cm (calculated after the hat-part was done s that the brim would be the exact length I needed. This one is slightly to big for my daughter, but in the good way. She can probably have it for a month or two and it’s still good for now. On the second one I then attached a ribbon to ad some interest. On the picture below you can see the difference in size.

2014-04-21, 1

Träffar: 54

Handmade Bibs

IMG_4833Freja is now old enough to get some food, but that also means she is old enough to get food all over. We bought a babybjörn-bib but it’s to firm and she is to short so it gets uncomfortable for her, so I have been looking around for some soft bibs and didn’t find any. Or at least not any for a price I’m willing to pay. Then I decided to see if I could find some patterns online and make my own. I found a couple of ones but I really liked the one from Linda at Craftaholic anonymous, and I have used her Infant one for all the three bibs here (The infant and the toddler pattern is the same around the neckline and just differ on the length).

IMG_4760I started out with doing the green one and for that one I followed that pattern. The green is vaxed fabric and the black is regular cotton liner. The neckline is a perfect fit for my daughter so I fear that it will be to small soon so for the next one I altered the neckline. I really do like the pattern, the shape and length is perfect and I like that the pattern isn’t handmade. It’s easy to trace and is symmetrical. The green bib have been used and cleaned before this picture and are therefore a bit wrinkly, which doesn’t bother me (same with the pink and white one).

IMG_4839For the next one I altered the neckline by just drawing a straight line from the inside of the neckline and up to the edge. I also made the pocket a bit wider so it would stand out more then one the green one, but after using the green one the pocket stands out enough so I won’t do that alteration on the future ones. One this one I was in a hurry when it sewed the lining so it’s folded on some places (sorry for that). I really like the color-combination of this one and I look forward to made more bibs in different colors. I intend to decorate the pocket on future ones but I haven’t found a way to stitch on letters and shape which gets nice enough, yet. This one is also made with vaxed fabric and cotton liner.

IMG_4843The last one I made is from oil-cloth (a piece of a tablecloth) which is a bit stiffer then the vaxed fabric (Freja can use it but I think it needs to be used more to soften the fabric some, now it looks a bit uncomfortable but still usable). I just love the mushrooms! One this one I also altered the neck but i keep the pocket as the pattern made it.

Now when I have made some and got a hang of it a bib takes about half an hour to make from start to end. So it’s easy and fast. I really recommend it for those with infants (much cheaper also). Example: The muchroom-bib roughly costed 4 Euro (for liner and fabric) and then I have fabric left for probably two more bibs. I will make lots of more (have lots of fabric left) and I intend to leave some behind at Freja’s Grandmothers, aunts and so on so I don’t need to bring it with me all the time. I also plan to make some as gifts but that is probably something for later.

And here comes a picture of Freja eating and smearing bana-pure all over in her pretty bib.
IMG_4786

Träffar: 106

Baby Girl Breezy

2014-04-06, 1So I wanted to make a Thank-you-card for my grandparents as a thank you for the gift they gave Freja for her name-ceremony. I think this is the first real card (like my old ones) that i have made this year, and probably sense Freja was born. Perhaps this set it all in motion again…

I started out with these Papers that is from Echo Park’s Bundle of Joy, I love that they are so pink and cute. It’s a bit to pink for my taste but it’s2014-04-04, 2 perfect for my grandmother. Then I colored Breezy in matching colors, with copics of coarse. It was ages sense I colored her, I even think it was when i got my first copics. For the background around her i made a dotted background, very lightly to look like heaven or clouds. I cut the image with my nestabilities and then wrote the sentiment on the edge. The decorations are just some brads, a satin ribbon and rhinestones, I do think the card looks a bit bare but it’s finished and ready to be sent so that is a big victory for me right now. The layout is from this weeks challenge on Sketch Saturday. The inside is inspired by the outside but still leaves a lot of space for a message.

material


Copic: 0, C0, C2, R81, R83, R85, YG41, BG11, B000, B0000, B21, B23SS-304-2014-Lesley

Stamps: CC Design – Sweet November- Breezy

Paper: Echo Park – Bundle of Joy Girl

Dies: Spellbinders – Nestabilities – Standard Circles (Large and Small), Lacy

Challenges


Träffar: 362