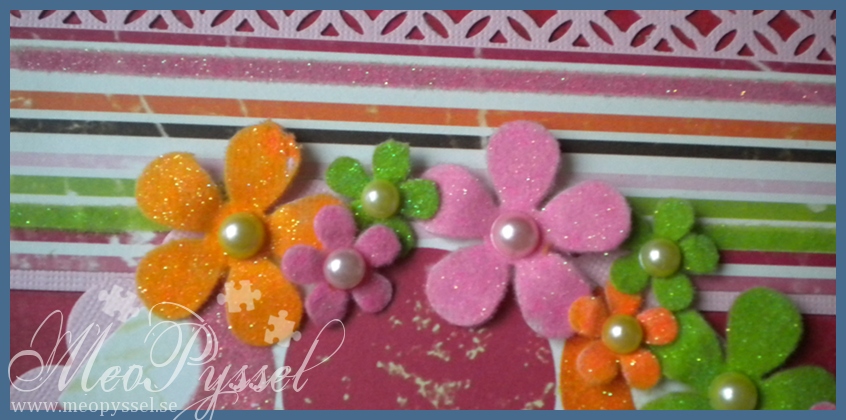
Etikett: Bo Bunny

My Project Life Planner

So I made my own planning-sheet a while back were i could note information for the week and select a layout and photos. For 2015 it bound it together with some string so i could keep my active weeks together with my empty weeks. When I do my planning I also have my reference-sheet with Becky Higgings pocket pages (I only use Beckys for a uniform feeling in my albums) and sometimes a calendar so I can see which dates that goes in which week.

So now I have been thinking about making it a bit more sturdy and nicer. I borrowed a bind-it-all from a friend and yesterday I finally got the time to do it.

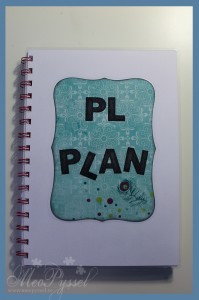
I made a very simple cover from laminated cardstock and a patterned paper (the back is identical without the text). The covers are about 0,5cm taller then all the other pages. The front is decorated with Bo Bunny’s Peacock Lane that is cut with nestabilities.
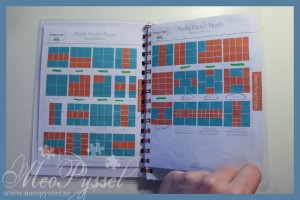
2016-01-25 Pl planerare 1The next full page spread after the cover is the pocket pages reference. On this one I will make some kind of a sticker (green, yellow and red perhaps) so I can know how many of the designs I have at home. I just hate to start a planned week and realizing that I don’t have the pocket-page I need. The reference is also laminated so it can be well-handled.
kOn the back on the reference I stuck to calendars of 201 and 2016.
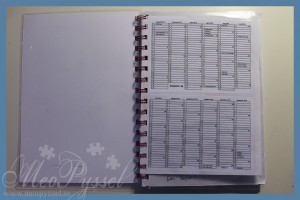
2016-01-25 Pl planerare 2After the reference/calendar I added my old pages for 2015. They look a bit scruffy due to all the holes but they will soon be torn out (hopefully) anyway. And I don’t have a working printer home so I didn’t wanna redo them. The old pages are double-sided so they wouldn’t take up so much space.
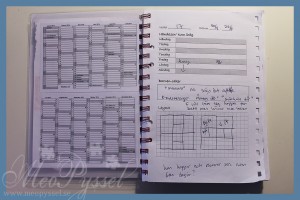
2016-01-25 Pl planerare 5After my old pages I put in the new pages for 2016. I made a small change (made a divided note-space for my (now) two kids. These pages are unfortunate not double-sided (didn’t get a printer that could do that).
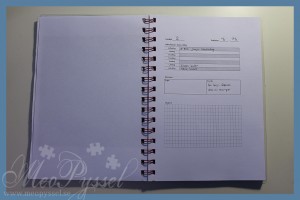
jbhjkhThe book is put together with a 1/2″ red wire from Zutter. It’s full but you can still turn the pages with ease, and it will be thinner and thinner for every week I put into my album…

material

  • Zutter – Bind-it-all, 1/2″ red wire
  • Spellbinders-nestabilities – labels 8
  • My favorite things – By the numbers

Springflowers in pink

2013-03-09

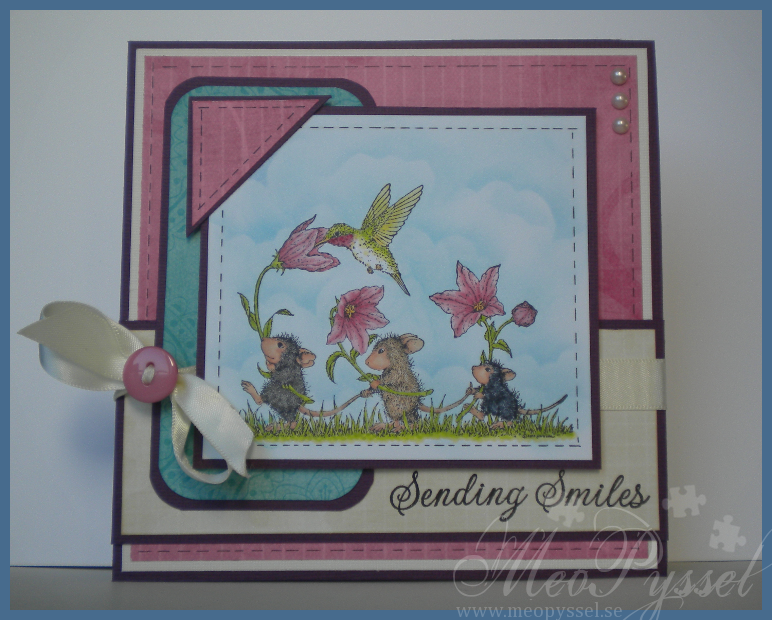
This week I have been working on a card for the guest spot for House Mouse and Friends Monday Challenge. The challnge for this week is ”ribbon and pearls”.

I choose this beautiful stamp from Sing your heart out because I wanted to something with a feeling of spring. It have been sunshine out this week and it have really been wonderful. I tried to keep the green very fresh and lite and I just love how the hummingbird turned out.The sentiments is from Hero Arts.

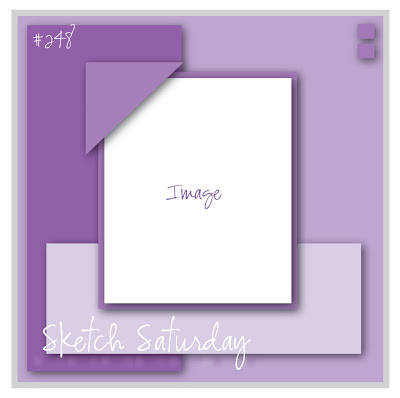
SS-248-2013All the papers are from Bo Bunny’s collection Sophie and the flowers are colored to match the pink paper. I do think the card turned out a bit to girly to my taste but I think I’ll send it to my grandma and she will just love it. I followed this week’s sketch from Sketch Saturday, I’m to late for the challenge but i Like the sketch. I have always wanted to incorporate a cornertreatment like this but always forgets so this was just an perfect opportunity for that. The button is from Basic gray and the ribbon is a cream-colored satin ribbon.

material

Stamp: House Mouse – Feathered Friends – Sing your heart out. Hero Arts – Sending Smiles Messages

Paper: Bo Bunny – Sophie

Copic: R89, R85, R83, R81, R000, YG25, YG23, YG21, Y21, YG21 Y11, E13, E11, E21, C10, C8, C6, C2, W7, W5, W3, E51, E53, E55

Other: Distress Ink – Tumbled Glass

Soft Peachy Tilda

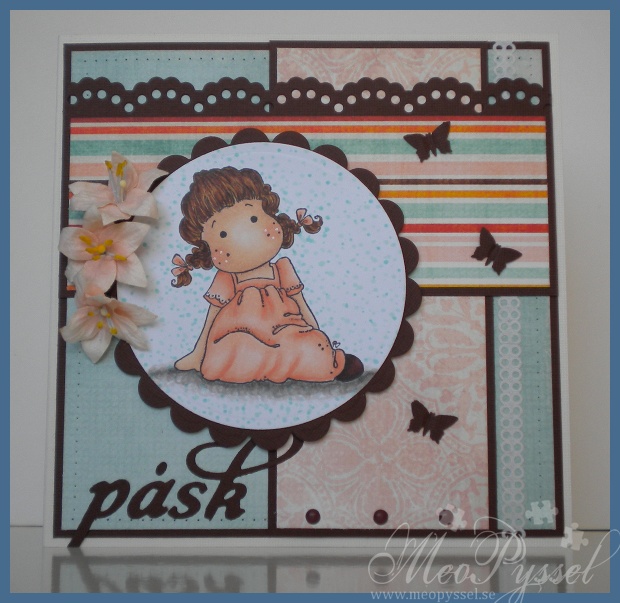
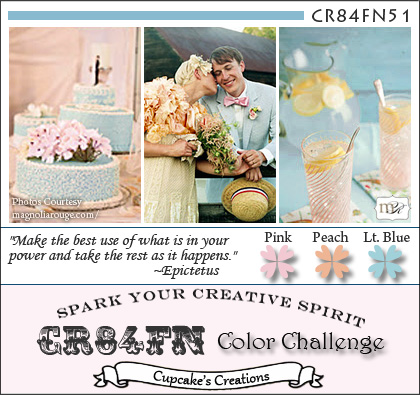
 Last week I decided to practice coloring fold, simple folds, and i choose this nice Sweetie Tilda from Magnolia to practice on. I have also for a long time been wanting to use my YR00-YR02 for this nice peach-color so I got on with it and this is the result. I’m really happy with the bottom-part of the dress and the hair but I should had made the belly-area a bit darker, but that will have to be for the next time.

After little Tilda’s dress was done I went looking for papers that would fit and I found this collection from Bo Bunny called Kitchen Spice. I think these papers are just beautiful with it soft and at the same time vibrant tones. I tried to match the hair and shoes to the paper and then making a dotted background (that I went a bit overboard with) to match.

As I’m not use to working with light colors like this I decided to try to use some flowers to get a easter/spring-feeling. And for being to things I’m not that comfortable with I’m very happy with how the card turned out. I have to admit that i just couldn’t chose a lighter cardstock, i still needed contrast but i still think it feels bright and light. I have no idea what brand the flowers are but i bought them in the Magnolia-shop in Borås like a year ago i think. I really like their color and shape.

The greeting ”påsk” means Eater in Swedish and I intend this card to be an easter-greeting for one of my grandparents, I haven’t decided which ones yet. I’m not that into the whole Bunny-themed easter so this card is more of how i view eater, spring but still a bit chilly:). The letters i used is from Quickutz alphabet Harvest, which I love the look of. But i do hate the die (in my cuttlebug that is)… I never get it to cut everything so i always have to go over it with my knife. And i have tried like dozens of was to sandwich and fill out with cardstock but nothing works. If anyone has a tip I’d LOVE to hear it! I would like to use this die more often…

Stamp: Magnolia – Sweetie Tilda

Copic: YR02, YR01, YR00, YR000, E49, E29, E93, E11, E21, E51, E29, E39, E35, YR23

Paper: Bo Bunny – Kitchen Spice

Dies/punches: Spellbinders – Nestabilities – scalloped and normal circle. Nellie Snellen – Borders. Artemio – Butterfly 3 (small). Quickutz – Harvest Alphabet.

Other: Sakura – Gelly Roll – white

Mom’s Birthday-mermaid

 So last weekend was my mother’s birthday but i hadn’t had time to make her a card so i have spent a bit of this week (coloring and cutting) and weekend.

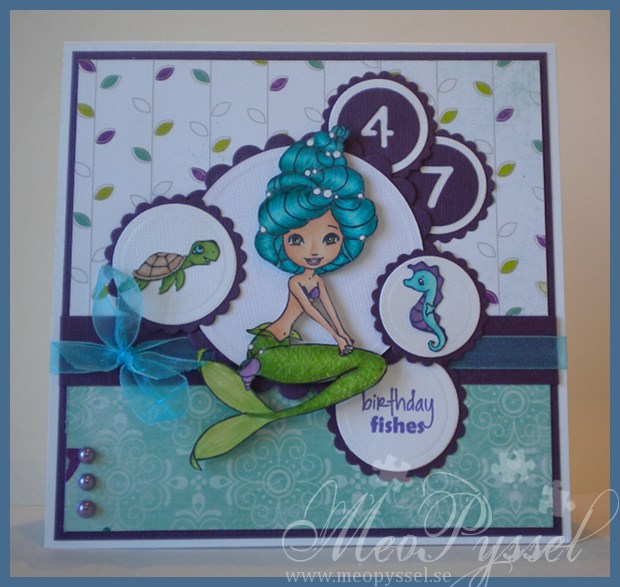
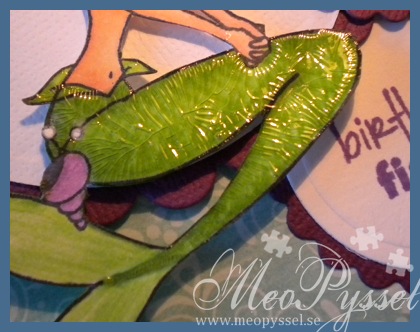
As it was for my mother i just had to use a mermaid or some fishes, so i choose my favorite mermaid, the Sweet November Bubbles Lostlagoon. Both me and my mom really love the blue/green color, she more for the mint green and me more for the petrol, so I decided to use Bo Bunny’s collection Peacock Lane. I tried to color Bubbles accordingly to the papers. I used BG45 and BG49 for the hair and i have to say that i love these pens, the blend so nice and give a such nice vibrant color – I need to use them more often from now one. The pearls in her hair have been colored with a white gelly roll-pen. On the tail I used like the only combination of yellow/green that i have but i didn’t feel happy with it so i tried to give it a bit more texture by making a crisscross-pattern. But I still didn’t like it, it looked to dull so i covered the tail with some crackle accent. To make Bubbles company i stamped and colored Seamoore and Lio that are companions for some of the other mermaid but i thought that this would be perfect for my mother.

For the sentiment I used AmyR’s underwater sentiment stamped with some Grape Gelly Memento Ink. The 47 is made with the smallest scalloped  and normal nestabilities circle and the Provocraft’s alphabet Babyface. The ribbon is tied with a Nellie-knot, I saw Heather making on on a video, you can find it here, and I just loved it. I have always had a problem with using sheer ribbon due to the fact that i don’t like the adhesive showing through and i want the ribbon to be at least a bit fastened- so this was a great solution, and it worked out great for this card!

Lastly i hope my mother can forgive me for putting her age on her card:D

Stamp: CC Design – Sweet November Mermaids – Bubbles Lostlagoon, Seamoore, Lio. CC Design – AmyR Sentiments – Underwater sentiments

Copic: E11, E21, E51, R22, BG49, BG45, BG11, YG17, YG13, YG11, V17, V15, V12, 0, E31, E33

Papers: Bo Bunny – Peacock Lane

Dies: Spellbinders – Nestabilities – Large and Small Scalloped Circles and Circles. Provocraft – Babyface

Other: Memento – Grape Gelly. Gelly Roll pen – White.

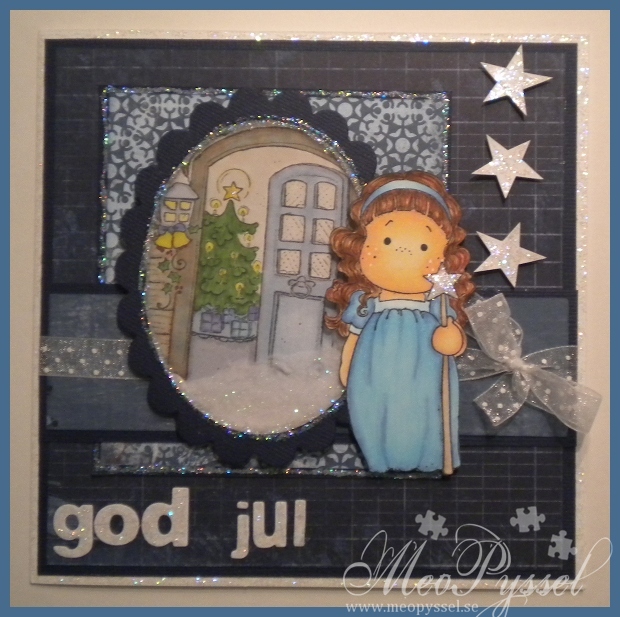
A White and very Blue Shaker ”Star Tilda”

So i wanted to do my first shakercard for this blog. I did one long before the blog started but let’s just say that it was in the begining and every time i see it on my mothers shelf i wish she would take it down.

So i wanted to use one of my favorite stamps: Magnolia’s Star Tilda.I did color this one a while ago and i found Bo Bunny’s Midnight Frost to suit her well, so i kept going. And if you know me I’m crazy for blue so it got the be a very blue card with hints of white. On the scrapmeeting a while back i stamped some background that my friend Linda had so i deiced that one of them would be in the shaker. I colored it lightly with lots of gray and blender pen so it wouldn’t take to much of the focus away from Star Tilda. The shaker is is made by oval and scalloped oval nestabilities. The plastic is from an nestabilitiepackage and the filling is white flocking from You Do. As an after thought i think that card would have looked better white the scalloped edge white and the flocking should have been handled more, now when you hake the card the flocking has a tendency to clump a bit.

The stars and letters have been cut from a white (with small blue lines) paper from the collection. The letters are die cut with a Double Do alphabet and the stars i stamped with a stamp i had (on the backside of the paper) and the cut by hand. Both the letters and the stars have been covered with stardust stickles. The rest of the card and the star Tilda holds is also coated with stardust. The ribbon is a white dotted organza ribbon.

Stamp: Magnolia – Star Tilda an Welcome to a Sweet Christmas.

Copic: E31, E33. E35. E37, E39, B45, B21, B00, E00, E21, E51, E11, 0, E43, E41, C2, C4, Y19, Y15, Y21, R39, E40, E41, BV13, BV04, B91, B93, YG17, YG67, E31, E33, E35

Paper: Bo Bunny – Midnight Frost

Other: White Gelly Roll-pen, Stardust Stickles. Spellbinders – Nestabilities- Oval and Scalloped Oval. Double Do – Alphabet. You Do – white flocking

A Blue unwraped Tilda

So… On the 26th of November i was an a gathering in Kumla with my friend Linda. Sense then i have been sick and been on an education for a new job so i haven’t had time to do basically anything. On the gathering i started a Christmas card featuring Unwraped Tilda. I had such a blast but i only made it to completing the parts so the plan was to assemble it at home. Well i did assemble and complete it today- not really according to plan, hihi.

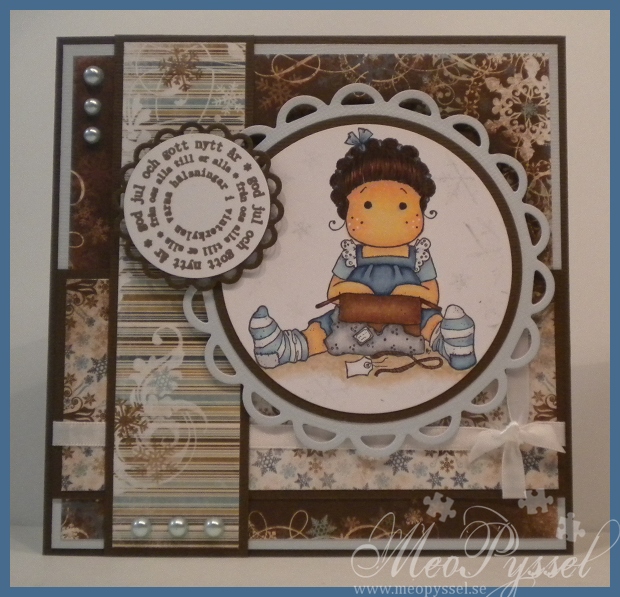
So i colored Tilda with copics as usually. I framed her with some circle nestabilities and lacy circles (that i borrowed from Linda and have fallen in love with!). I did some snowflakes in the new distress ink Iced Spurce, but it didn’t turn out very good but whats done is done. The papers that i used are from Bo Bunny’s collection Snowfall. The greetingis from Arkivet and are stamped in Aged Mahogany if i remember correctly. I did tie the ribbon around one of the papers as a gift so get a more christmasy feeling- i can’t remember who I saw it from first but i love the look of it.

Stamp: Magnolia – Unwraped Tilda, Arkivet – round God Jul

Copic: E11, E51, E21, E00, E93, E97, E95, E93, E91, BG11, C0, C2, E39, E37, E35, N5, N3, N1, E37, E39, E29, E59, E33, E31, E40, 0

Papers: Snowfall

Dies: Spellbinder – Large and small circles and lacy circles

Other: Distress Ink – Iced Spruce, Aged Mahogany

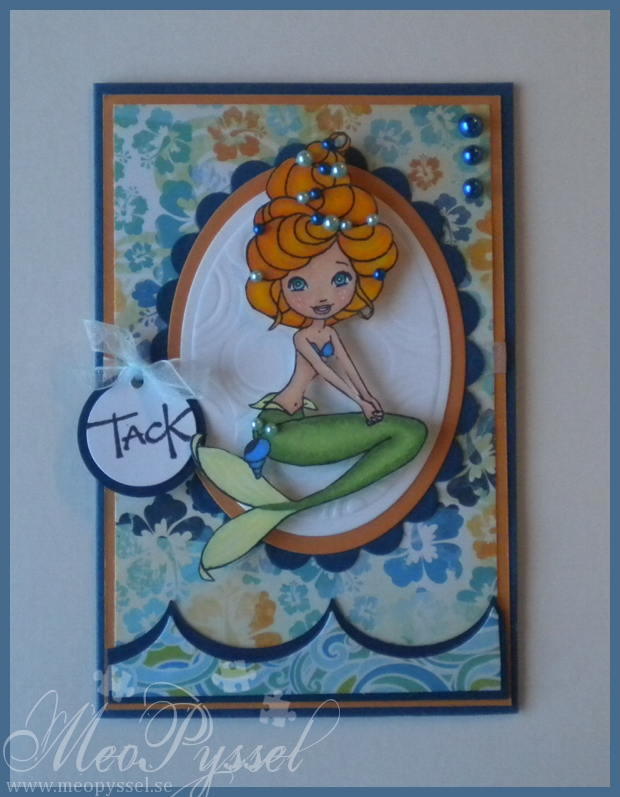
A floral Bubbels

So after a lot of christmas-cards i felt like making a card for my own pleasure and sense i really wanted to do a card with Sweet November’s Bubbles Lostlagoon.I just love her hair and she is the the only sitting figure i have so far so next time i will have to make something for her to sit on.

I first deiced that i wanted to use Bo Bunny’s Barefoot Bliss so I tried to color accordantly to the papers. I started our with the green tail and then kept going with the hair. I did want it to be a bit orange/yellow to match the hibiscus-flowers of the paper but i didn’t found a good combination due to the fact that i only have one orange so it got the be a bit more yellow. I don’t think it have enough contrast but that will have to be for the next time. The orange pen is an Copic original pen and i had a really hard time to blend it well when i used it direct to the paper, and i think it got a bit to soft when i used the tip to tip method with the Y17.

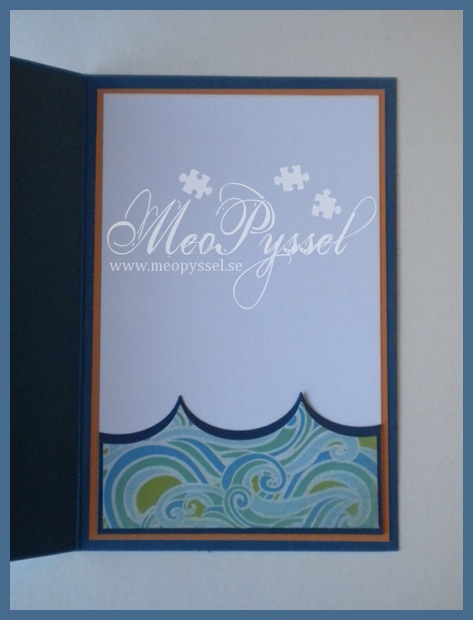
The frame for Bubbles is made with scalloped circles and circles nestabilities and the white oval have been embossed/letterpressed with the circles impressabilities. The tag is made with Tim Holtz’s Tiny Tab & tags and i backed the tag on a blue circle made with nestabilities circle. The stamp is from the text-set from Reprint (the swedish word for Thanks). The wave on the bottom is made with My Favorite Things Jumbo Scallop. The inside is made with the same wave.

Stamp: CC Designs Sweet November Bubbles Lostlagoon, Reprint’s Text-set

Copics: E11, E21, E51, E93, YG17, YG13, YG11, Y00, B24, B21, N3, BG49, BG02, YR09, Y17, Y08, 0

Papers: Bo Bunny’s Barefoot Bliss

Dies: Spellbinder’s Scalloped and normal Ovals, Tim Holtz’s Tiny Tabs & Tags, My favorite Things’ Jumbo Scalloped Die-namic

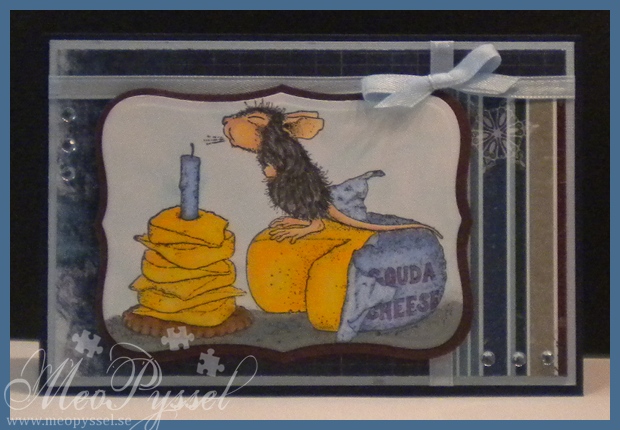
a Wintery and Cheesey Mouse

So here comes the continuation of last night’s post. This is the blue House Mouse birthdaycard that was ordered.

I were looking through my stash of papers after some nice blue ones and came across Bo Bunny’s midnight Frost and all the love i had for it last winter blossomed again. One of the requests for this card was to have a ”congratulations” on the front but i really didn’t think it would fit in an nice way so i hope that will do.

The rhinestones is in a pale blue to match the card, and the ribbon is a baby blue satin ribbon. The mat for the image is not by a cardstock but by a purple paper from the Midnight Frost collection.

The coloring is made with copics as usual. The paper the is wrapped around the cheese have been colored in the same way but the ”inside”-part is heavily faded with the blender pen to get a brighter and more metallic look.

Copic: Y17, Y08, Y21, B32, B21, B45,V17, E00, E51, E21, E11, E04, E33, E35, E37, N9, N7, N5, N3, N1

Paper: Bo Bunny’s Midnight Frost

Other: Spellbinders Labels 8, Tumbled Glass & Weathered Wood distress inks. Satin ribbon. Marvy Uchida Snowflake punch

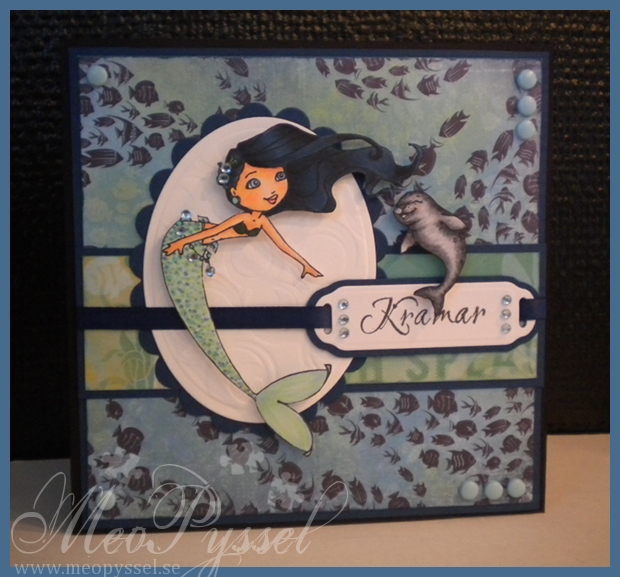
A mermaid for my mother

So this is a card that i made for my own pleasure on this long awaited weekend of no stress, school or other commitments.

I have wanted to make this card for a long time. The beautiful Treasure Tempestwind and her companion Eddy arrived in my mailbox for  probably a month ago or longer and i have wanted to play with her for a long time, she is from CC designs Sweet November collection. I knew i wanted to pair her up with the Barefoot Bliss papers from Bo Bunny due to its sea-theme. When i showed my mom the front paper, the one with the fishes she just loved it and when she is an aquarium-nut it’s just a perfect way to show how much i do appreciate her and her support.

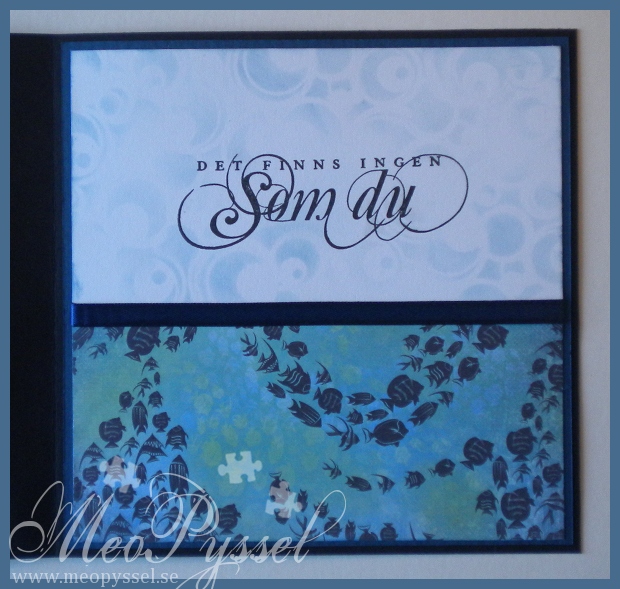
So… The papers that is used is from Bo Bunny’s Barefoot Bliss collection and i just love the bright shadow-fish that shows on the horizontal strip to the left. All the papers edges have been distressed with faded jeans. The backing for Treasure tempestwind and the tag is made by spellbinders nestabilities and I also used the circle impressabilities and embossed the white oval. I also used it in the inside as a stencil when i distressed some parts lightly with more faded jeans.

Both Treasure Tempestwind and Eddy have been colored with copics, and ’m just so happy with how Eddy and Treasure Tempestwind’s hair turned out!I stared out with B91, B93, B95 and B97 for the hair but wanted more contrast and darkness so i added some B18 and N7, N5- but still keeping the light parts in B97. I really like the black/blue feel of the hair and the shadowing, but i have to practice more on the lower part of the hair.

I watched Amy Young’s videos (find her youtube channel here) on marmaid-tail when i made this and really wanted to make a soft dotted one. Now as an afterthought i wish i would have made the shadows darker to create a better contrast, but that will have to be for next time.

The sentiment on the front is from Reprint and says ”Hugs” and the inside is from Arkivet (that sadly closed down this week) that says ”There is nobody like you”. Tempest and the sentiment have been decorated with light blue brads and light blue rhinestones. The ribbon is a usual satin ribbon from Panduro.

Copic: 0. Skin E11, E21, E51, E00, E93+R20, R22. Top and tail: Y17, Y08, N4, B97- YG11, YG13, BG13, B21, B41, B24, B97. Hair: B91, B93, B95, B97,  B18, N7, N5. Eddy: N7, N5, N3, N1, E93

Stamps: Sweet November’s Treasure Tempestwind and Eddy. Reprint’s text-set. Arkivet’s ”Det finns ingen som du”

Papers: Bo Bunny’s Barefoot Bliss

Dies: Spellbinder’s Classic Large Oval and Scalloped oval, Ribbon tags trio and Impressabilities Circles.

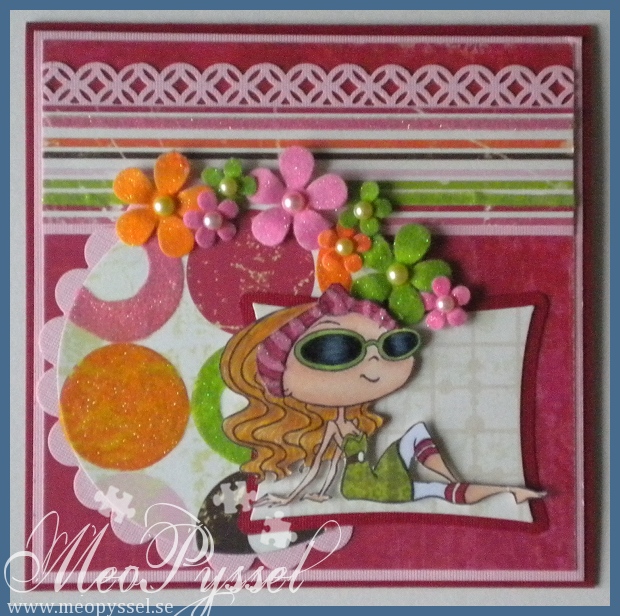
Glitery, Pink Florence


Here comes a card I’ve been working on the last couple of weeks. It’s an order for a friend of my moms and it’s for a birthday girl turning 10. The criteria was to use Kraftin’ Kimmie’s Florence and make it sparkle.

I started out doing this card for like two weeks ago and didn’t finish it until yesterday. Every time i go past my craft-corner i get drawn in by all my wedding inventions that needs some attention so it have been hard focusing on this card. I started out bu choosing this papers from Bo Bunny’s collection Vicki B, i love the vibrant colors and i think they would be super for a little girl. From that i colored and paper pieced her. So for a week ago or something i stared to think about the layout and fortunately for me Kraftin Kimme’s Challenge blog had a sketch up that i liked so i used it. Unfortunate for me when i entered the blog yesterday it seems a week have passed and a new challenge has begun. And happily for me it turned out that this weeks challenge is paper piecing so i can enter it anyway, whoho!

To add the glittery part of the card and to make some texture i used a lot of soft, glittery flocking from You Do. On the striped paper i made one green and one pink stripe flocked and on the paper with the circles i flocked all the circles that were pink, orange and green, to match the flocking i choose. I also added the pink flocking on the headband on Florence. As a last step i punched some flowers with EK Success’ Retro flower and flower power punch and flocked them in different colors. I thought the flocking was thick enough to cover what ever cardstock i used, but it wasn’t really true so i ended up remaking it with green, orange and pink cardstock to make a better coverage. I tried to take another photo of the flowers to show the nice shine and fussyness.

Stamp: Kraftin Kimmie’s Florence

Copics: YG13, YG17, Y17, Y21, R39, C0, C2, C6, C8, C10, 0, E21, E51, E11, E35

Papers: Bo Bunny’s collection

Dies and punches: Spellbinders Circle, scalloped circle and woky rectangles. Martha Stewart’s border punch Modern Garland. EK Success’s Retro Flower (medium) and Flower Power Punch.

Other: You Do’s flocking, Glossy Accent and some pearls.

Simon Says Stamp – Anything Goes
Kraftin Kimmies Stamps – #98 Paper Piecing