Welcome Freja

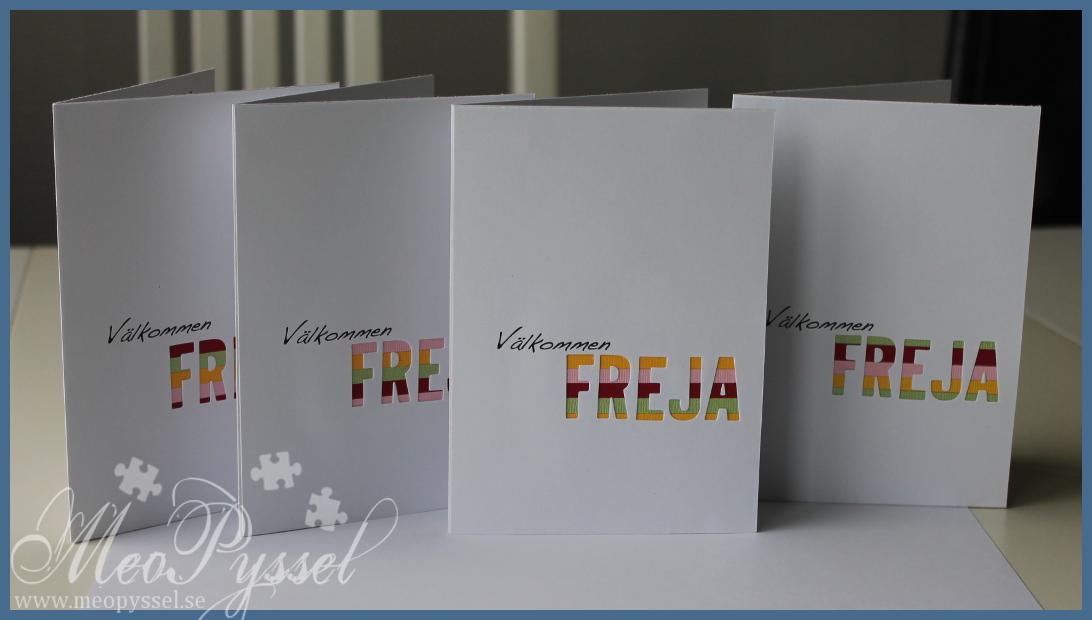
2014-02-25So times just flies and our little princess is now soon four month old. So we decided to throw her e little welcome/name-party. It will only be for the closest family so I decided to actually make some simple cards.

I choose a simple and fast design that I really like. I got inspired by this ”Merry and Bright”-card from Chari Moss. I made the striped paper with some cut-up scraps and thats why some of the cards are different colors, I just showed some of the cards (I made 12 all together). The ”välkommen” (welcome) is printed with the same font I used on the inside. The cut-out letters are Cole’s ABC from Lawn Fawn.

Owl-mobile: finished

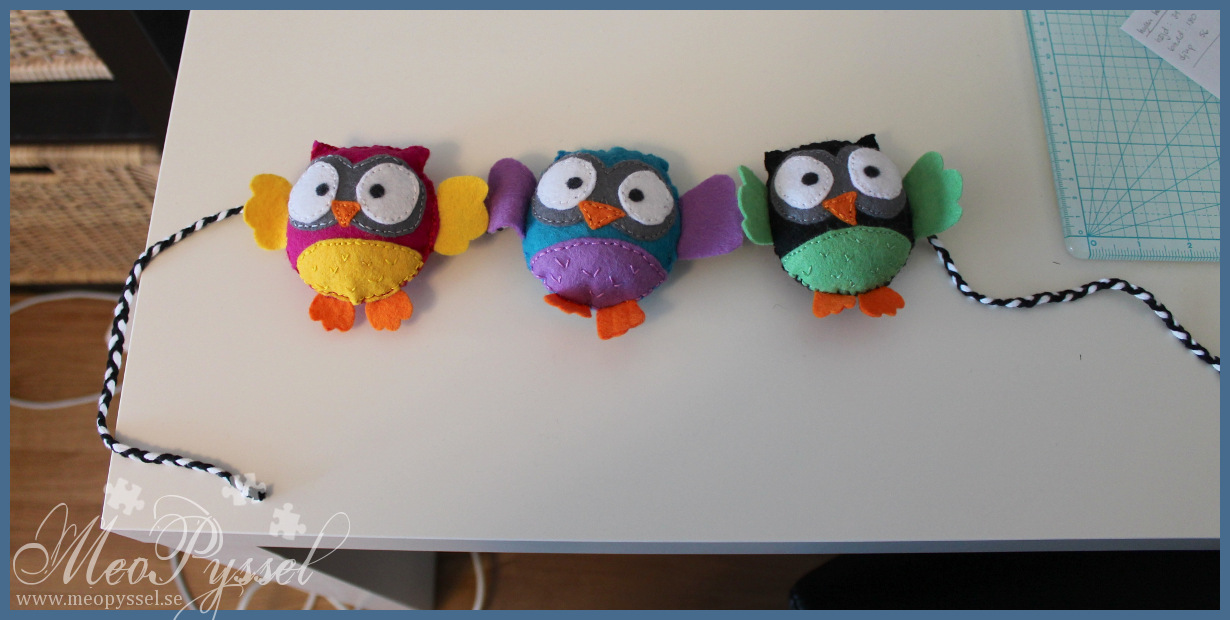
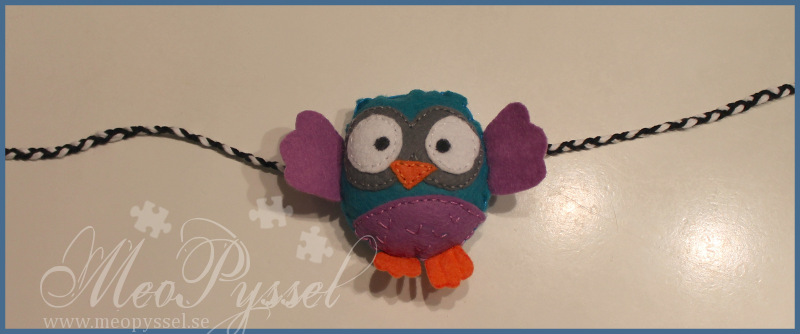
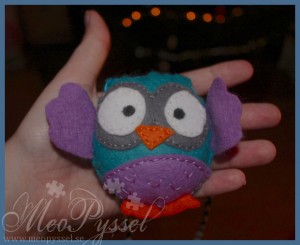
2014-01-19So the Owl-mobile is finally done. When I started off I imagine that it would be 5 owls but after some measuring I realized that with this size there is only room for 3. So this is the ones I made.

On the Pink one i stitched the wings and feet before putting the two halves together but I really didn’t like how it looked and how it felt when I needed to stitch the halves together so on the black one I did wings and feet last.

I made hooks of some old paper-clips but I’ll see what I can find for solution later on.

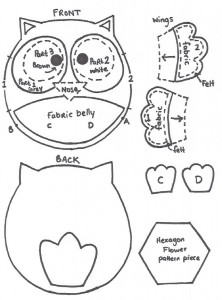
You can see the Pattern I used here.

Die-Storage

Past Storage

So I have redone my die-storage, again. I have always had my dies in an hardcover folder with the collecting-cards inserts for my small dies and some magnetic sheets for my spellbinders and other thin dies. For a while I did put some of the thinner ones that I used the most on the wall but the folder was always present.

What I liked with the folder wad that i could have all dies in the same place (except the Tim Holtz’s big dies) and I could flip through the pages to look at what i have. The easy access and the visibility is really important to me. The bad this is that the folder was really heavy and that the magnetic sheets (even if they were really thick) wasn’t really strong enough and the dies sometimes came of and the dies then fell out all over my crafting space. The plastic inserts for the smaller dies was open at the top so they also fell out from time to time so I really didn’t like to pull out that folder.

I did buy the Crafters Companions folder with the magnetic sheets and thought that they might be the thing for me. I like that the container was closed so that of a die fell loose it wouldn’t get lost. But I really didn’t like the pages, they were too thin. When i flipped a page the page was thin so it warped a bit and the dies fell loose (I had the same problem with my own folder until i found really thick magnetic sheets). Big disappointment after all the good things i have seen about them online.


New Storage
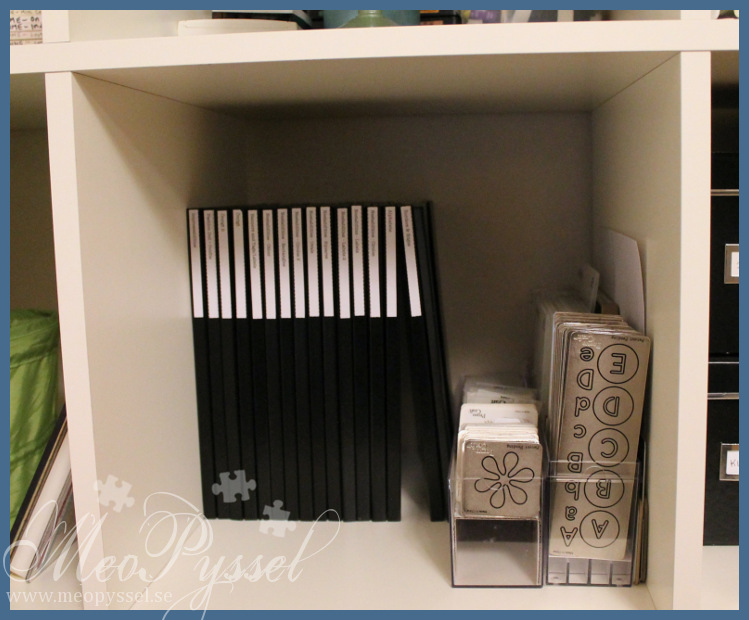
2014-01-15, 1I have for like forever love Quickutz magnetic storage system but first I had a problem with the pricing due to the fact that shipping would be very expensive, and when I deiced that it would be worth it I couldn’t find them anymore. But a couple of month ago I stumbled on the Magnetic book from lifestyle Crafts (former Quickutz) on Scrapbook.com and was just thrilled. I bought myself 7 books and I thought that would take my dies and maybe give me two empty ones for coming dies. Well of coarse I was a bit delusional because I filled up all 7 and still had a lot more dies. So Right before Christmas i ordered 10 more and due to the fact that my dear father went on a business-trip so I didn’t need to pay international shipping (yay!). I just love how sturdy the books is and that the magnetic is just the perfect strength.

I can’t have all dies there but I don’t acre because I love them so much.And luckily I found nice storage for the other dies also. When I was looking through my odd boxes and bins I found the old plastic container for my copic-starter-set (72 pens). The two halfs gives me enough space for all dies and all embossingfolders, and there is more space for coming dies. For the smaller dies I just cut a bit cardboard to get them up a bit. The thought is that I will dress the boxes up so they look a bit prettier but thats for another day.


Labeling

So for the last couple of days (everything goes a bit slow with our angel) I have made some labels so I easily can find with dies I have in which folder.

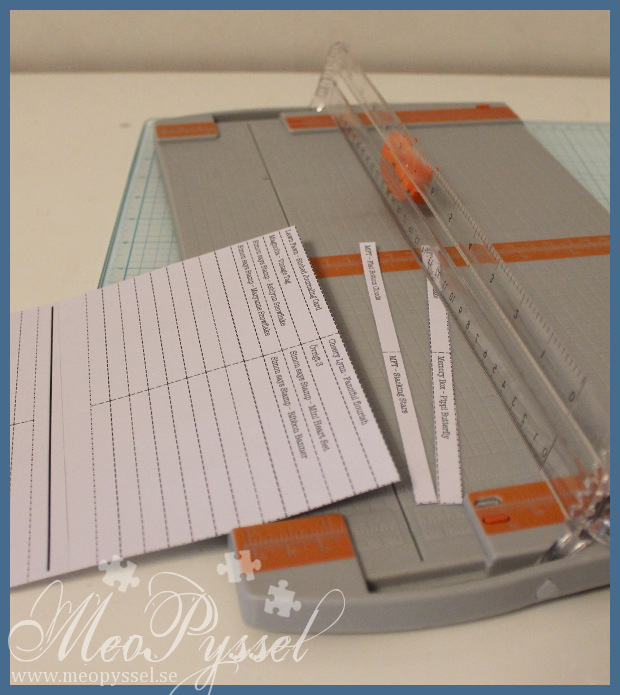
I have used my Ecplise masking tape as my labels. I like that the adhesive aren’t to strong so it won’t leave marks if I wanna remove it. My tape is 15cm wide so I made and Word-document-template with an A4-base. This way I could print the labels and I wouldn’t need to read my handwriting. The template i made is found here. After that I dressed my A4 with the masking-tape and printed.
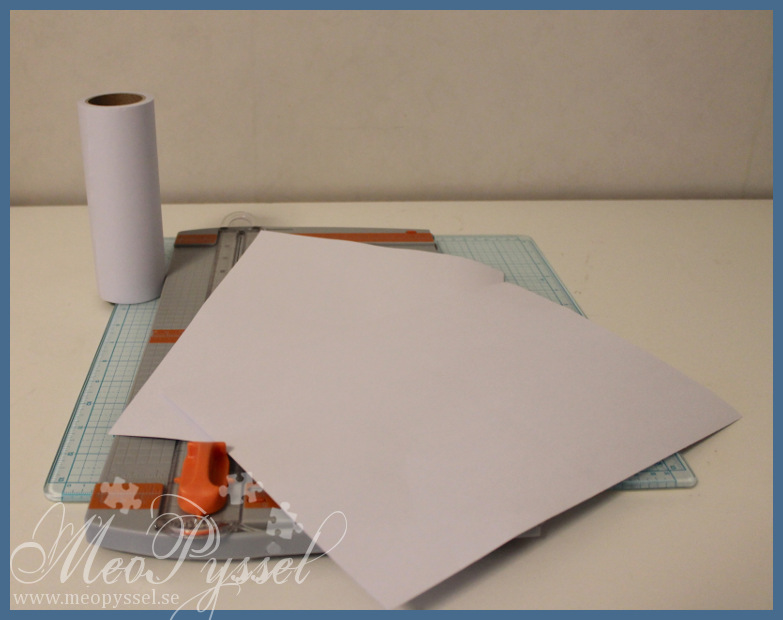
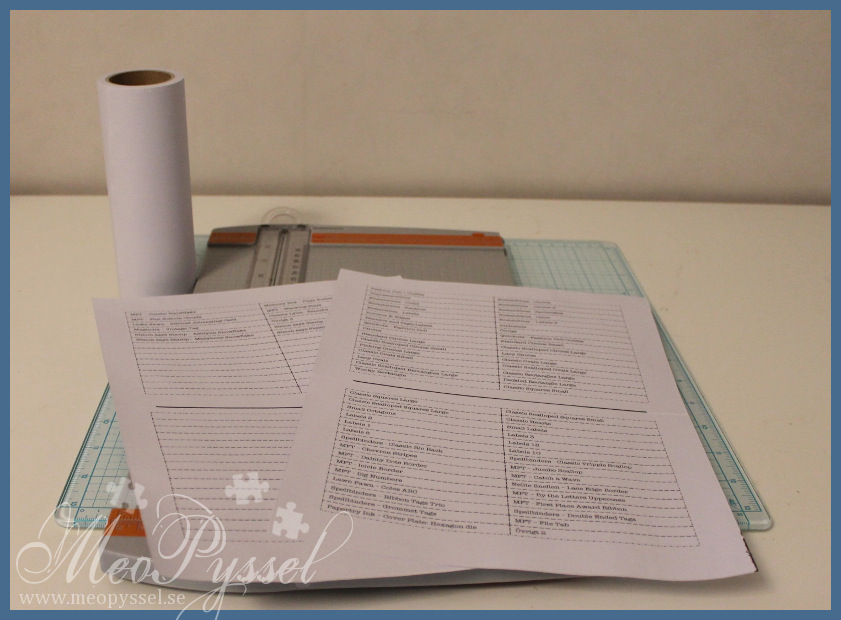
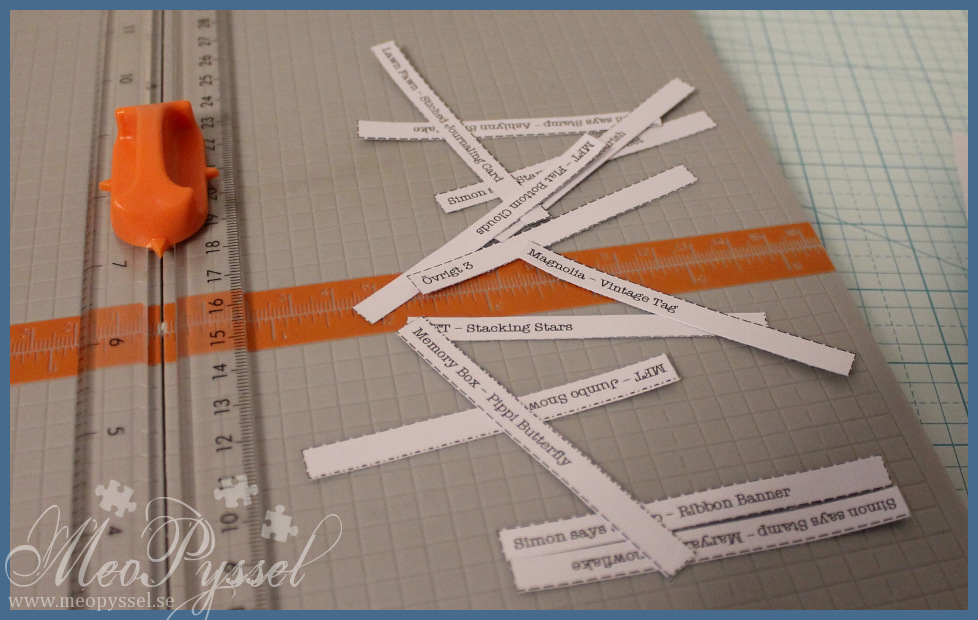
2014-01-15, 22014-01-15, 32014-01-15, 42014-01-15, 5Then i cut out all the labels with my papertrimmer. If you are careful when you line up two of the edges when you put the masking-tape on it’s really easy to cut. If you don’t you need to eyeball the cuts.

Then I cut my labels in two ways. The labels I wanted for the spines of the book I left in full size. The ones I wanted inside the books I cut down to just fit the name. I did this way because I wanted the spines on the books to look consistent but on the inside i wanted to save space.
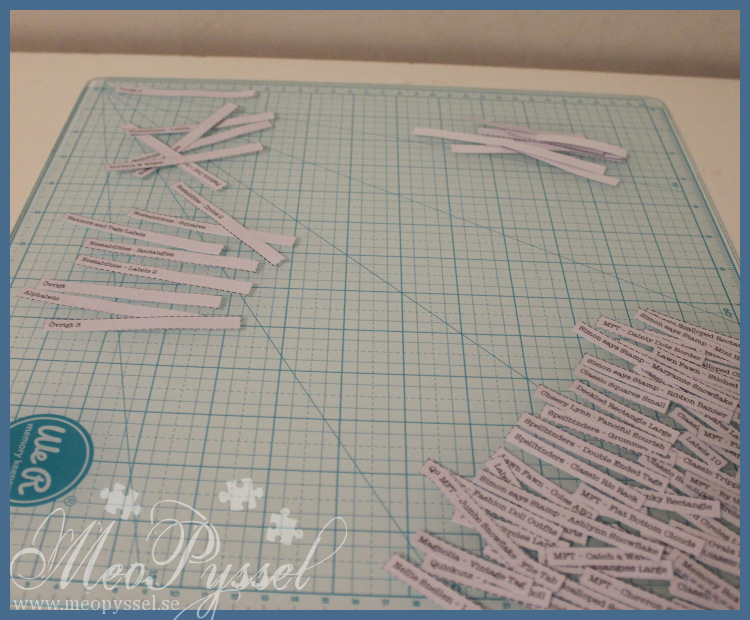
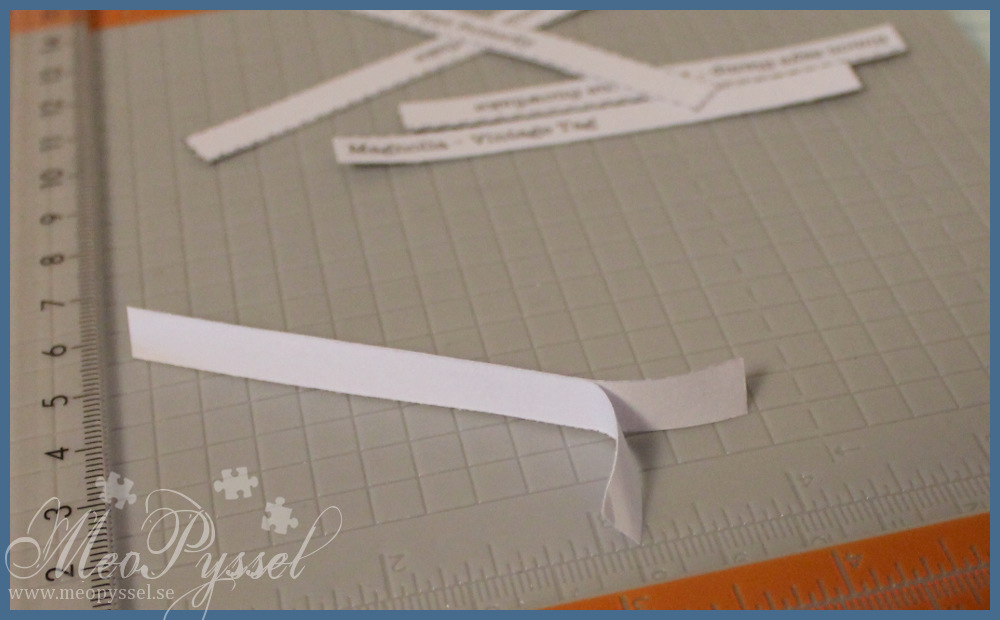
2014-01-15, 8Then I just needed to peel of the printer-paper. If you have nails or a tweezers it’s really simple, but tedious if you have lots of them…
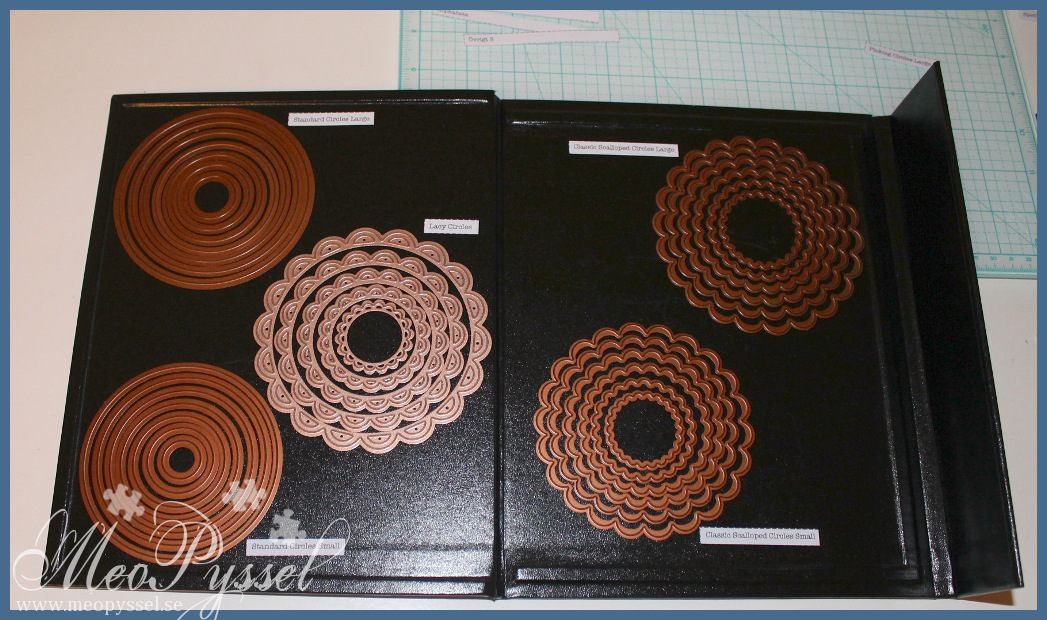
2014-01-15, 7On the labels on the inside I named the dies in two ways. I some books I have all Spellbinders and then it says so on the spine. If that is the case I just put the name of the die on the inside. If it’s a book with various dies (like my alphabets) I put both the manufacture and the name on the label. So here comes a shot of one of the insides also.
2014-01-15, 6So that was all for this time and next time I hope I’ll made a card…
Owl-mobile: the frist owl done

So a couple weeks before our little Freja arrived I started to make some felt-owls for an owlmobile. I didn’t get very far, due to the total lack of inspiration during my pregnancy but yesterday I finished the first one and more is on the way.

2013-12-13 1

2013-12-13 2

My Owl don’t have any tailfeathers yet but I might add it on later. I made the body first and then sewed together the top of the body, put the breaded hanger in between the bodyhalfs and then sewed up the bottom. After that I remember that feet and wings would be good so I put them on later. I thought I would do wings and feet before sewing it together on the next owl but now when I’m doing the next one I realized that you could and should do that with the feet but if you attach the wings before sewing the halfs together it will be hard to stitch the halfs together nicely so I would recommend to do the wings last.

My hanger is just two strands of black and one strand of white yarn that I breaded together. I made the hanger longer then the Carrier so I have some space to play with but also so I can fasten I on the Carrier later. The pupils are just drawn on with a permanent marker but I might sew something on later, the permanent marker was a nice solution when I didn’t find my black felt (that I later found under the sofa).


I’m using this pattern which I have found on a couple of different sites but I haven’t really found a creator, I found it on this site. I have shrunk the pattern down a bit (don’t remember by how many percent) so that I could fit a couple of ones hanging on our babycarrier. I used this stitches for the outline and just some regular ones to stitch the parts. For the stuffing I used the filling from an old Ikea-pillow.
bf1d888580ccd5c8f32f171a9d37db3a

So hopefully the finished mobile will be up soon:)

Babynest

So our little girl came to the world a bit earlier then expected and is now 3 weeks old (time flies). The good thing is that my crafting-inspiration is back.The bad thing is that time flies and most of my days still goes to looking at our little princess.

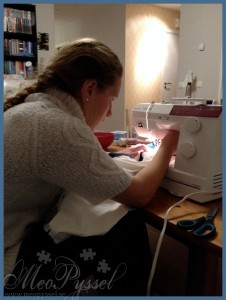
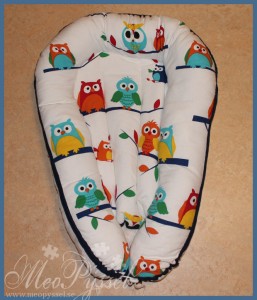
So the truth is that I haven’t made a crafty thing yet (even if I have lots of plans) but the good news is that my dear sister is on a visit and she made me and Freja a babynest. The babynest turned out great! She found the cutest fabric for me (I just love owls) and Freja have been sleeping nicely in it last night and all day today. And the best thing is that it fits the cradle perfectly so now we don’t need to stuff the sides and bottom with miscellaneous things.

The pattern is mostly taken from this site, but with some changes, plan and unplanned.


The next step is to sew some handles, but that will be for another day:)

2013-12-04 3
Aunt Jenny in the process
2013-12-04
The finished babynest
2013-12-04 2
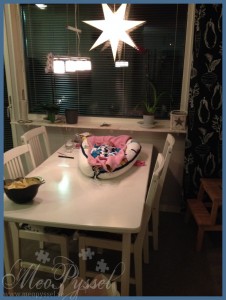
The use of Freja’s babynest:) Allowing mum and dad to cook dinner together in the kitchen

Long time, No see

Wow- It have really been long sense i posted something so here is an update.

First of all we have now moved into our new apartment and we are fully settled in the only thing is that we miss some lamps here and there. My new craftingspace is done and I now share an officespace with Bjorn. The craftingspace is just super but I have had no inspiration or will do craft any at all unfortunate.

I’m now i week 30 and everything is well, both mentally and physically, and the big day just comes closer and closer. Almost all thoughts in my head right now is about kids and that might be why my crafting is on a low. I have been thinking a lot on memorykeeping in the form of my photoalbums and I have bought a Project life album, some inserts and a core-kit. My first thought was to start and album for out little one but then I decided to start getting all my old photos in order. Right now they are in a few album , in total caos.

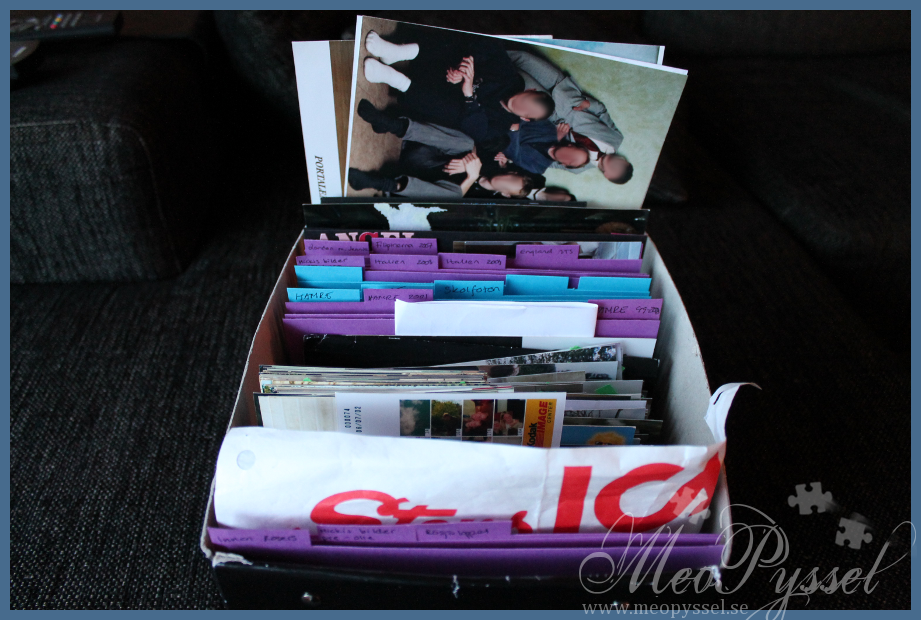
So for the last couple of weeks I have been ripping out all my photos and trying to sort them some what. I used an box which I made dividers for so when I stumble over photos from different times in my life I can put them in somewhat order.The biggest folder is right now is all my photos from when I lived in Uppsala with is like 10 years so I will sort through that again and hopefully get then in the right year. I’m still not done with getting all my photos off all the old albums and boxes but it’s nearly there.
2013-09-17, 1

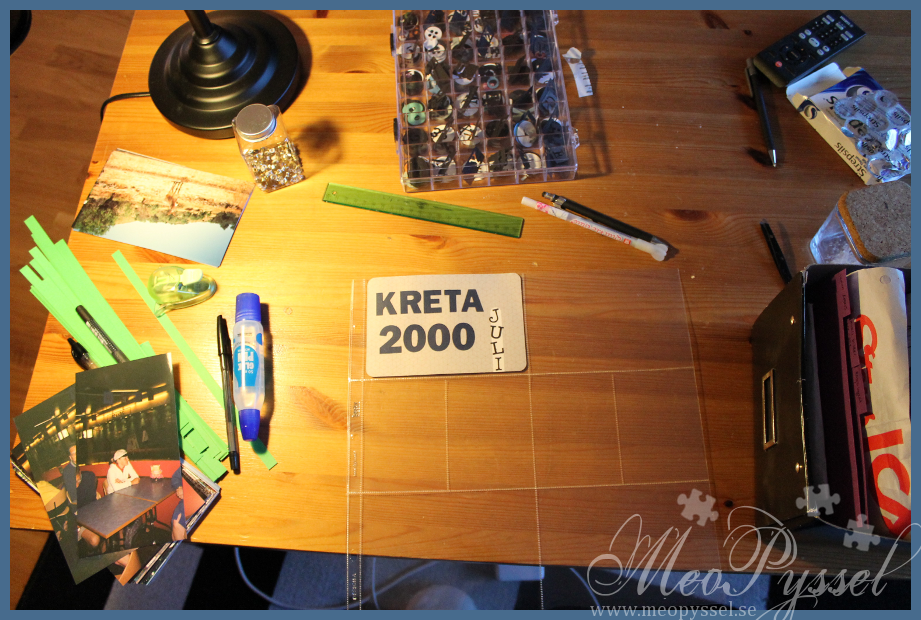
Even if I’m not done sorting the Photos I wanted to actually put something in my album so I decided to take my photos from my family’s trip to Crete and get them into the album. They are not to many and I wanted them at the same place so Yesterday I spent all night with just making the titelcard. I was a bit fun but I still didn’t wanna be in my craftingspace so I have mobilized myself into the living-room instead. I’m using the Jade core-kit for this part and I’m planning to use the very cheerful Honey for our baby when she comes. The plan is that I tonight will get at least one photo in but we will see sense i ended up here…

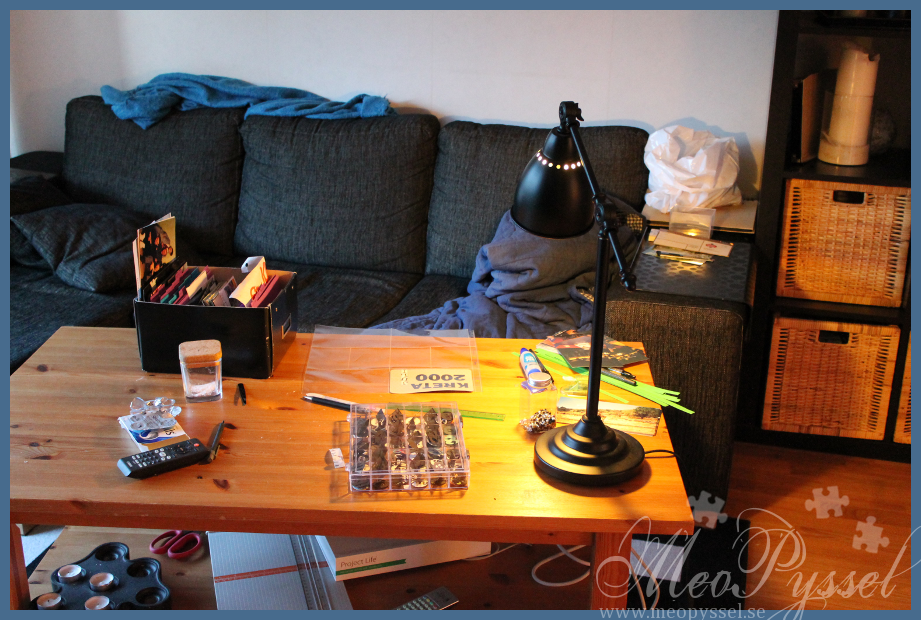
2013-09-17, 32013-09-17, 2The living-room is the room that is still missing a ceiling-lamp so you will have to excuse the very yellow photos.


I think that was all for today but I hope I will be back very soon for another update of some kind:)

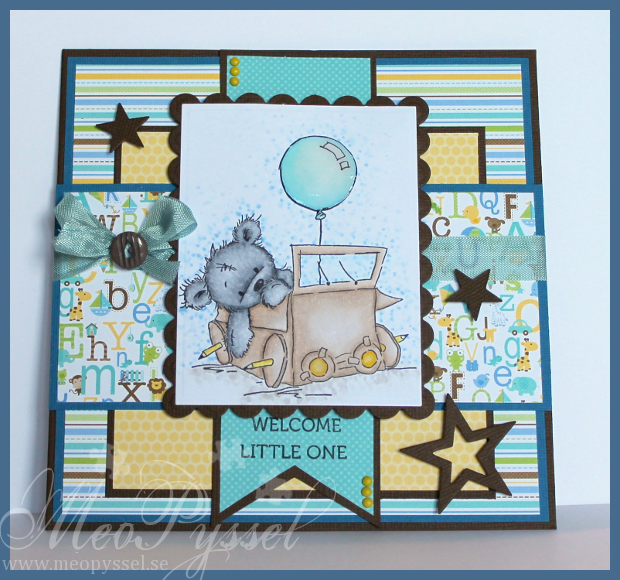
Welcome litte one

2013-06-08

So before I get to the card I have some more happy news. A couple a weeks ago me and Bjön bought a new apartment that is just amazing. Sadly I was the home of an old woman that past away but that mean that we will be able to move in a the end at the month. So not surprisingly we are now franticly packing all our belongings and the next thing will be my crafting-desk and stuff so I won’t be back (I think) with anything until the midst or end of July I think. Me and baby is still fine and just after the move we have the ultrasound so lots of updates for then:)

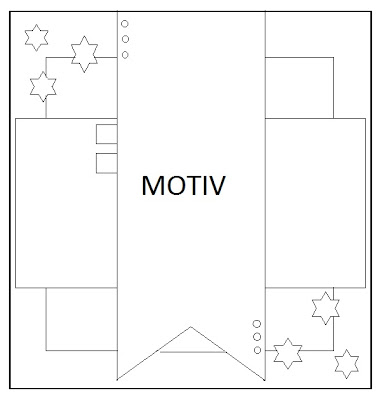
CMS-SKISSSo… I started this card like two weeks ago and It was meant for a work-friend of mine that just got a baby boy but I never did finish it in time. We’ll see who will receive it instead.

The card is made based on the current challenge-sketch over at Copic Marker Sverige (Sweden). But sense I’m such a slowpoke the challenge is closed but i wanted to share it with you all anyway.

I just love that Sweden have it’s own page now and I just love the challenges so far. As you can see i justed a sweet Lili of the Valley stamp and I tried to make it a bit more fun with a dotted background. I really like how the bear and background turned out but I’m still having problems with the front of the box, I should really practice if more but I just get annoyed and bored:P

material

Stamp: Lili of the Valley – Little Lorry Bear. The Craft’s Meow – Owl be thinking of you

Copic: B21, B02, B00, B000, N5, N3, N1, 0, Y15, Y11, E40, E41, E42, W3, W1, W00, B23, B21, B91, B000, 0

Paper: Doodlebug – Snips and Snails

Dies: Spellbinders – Nestabilities – Rectangle, Scalloped Rectangle. My Favorite Things – Stacking Stars

Other: Stampin’ Up – Ribbon. Glossy Accent.

Challenges

Long time no see – Happy news

So it have been a while sense i posted something and I now have an update to why. For the last few month I have been feeling very VERY tired and I have had some health-problems (nothing serious) so I have just had no energy over for anything – especially not crafting.

Now I’m feeling a bit better and I can happily announce that it have all been due to the fact that I’m pregnant! So around the first of December me and Björn will become parents for the first time:)

MH900187819

Mice in sunshine

2013-04-21

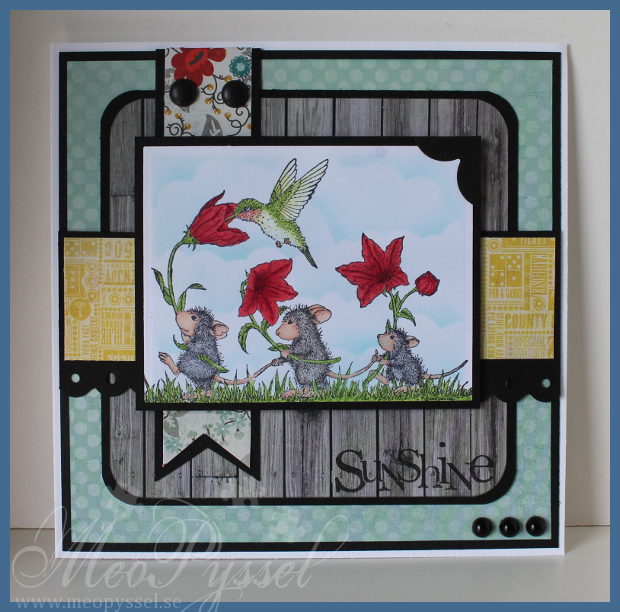
So welcome to another biweekly challenge for House Mouse and friends Monday Challenge. This weeks theme is ”it’s all about weather”. I decided to go with sunshine due to the beautiful weather outside.

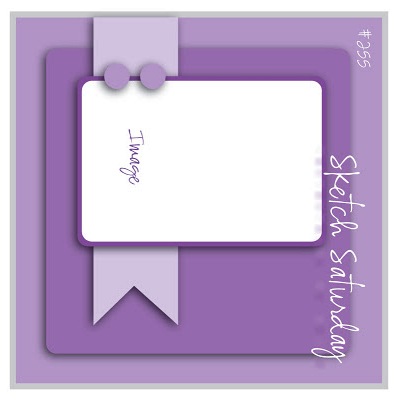
The image is from the House’s Feathered Friend’s Sing your heart out. I really love this image and I really think it look very different from my other due to the red flowers. The clouds is as usual made with tumbled glass and this time I tried to have more space between the clouds. All the papers are from My Minds Eye and i used this weeks Sketch Saturday for inspiration for my layout.SS-255-2013

material

House Mouse – Sing Your Heart Out. Imaginice – Sunshine.

Paper: My Mind’s Eye – Miss Caroline – Dilly Dally

Copic: E13, E11, E21, R29, R24, R22, R20, YG25, YG21, YG11, YR23, YG25, Yg117, W5, W3, W1, N3, N1, N5

Ink: Distress Ink- Tumbled Glass. Archival Brilliance – Graphite Black. Memento – Tuxedo Black.

Dies/Punches: Spellbinders – Nestabilities – Large Retangle. Fiskars – Threading water. EK Success – Medium corner punch.

Challenges

Singing in the spring

2013-04-07

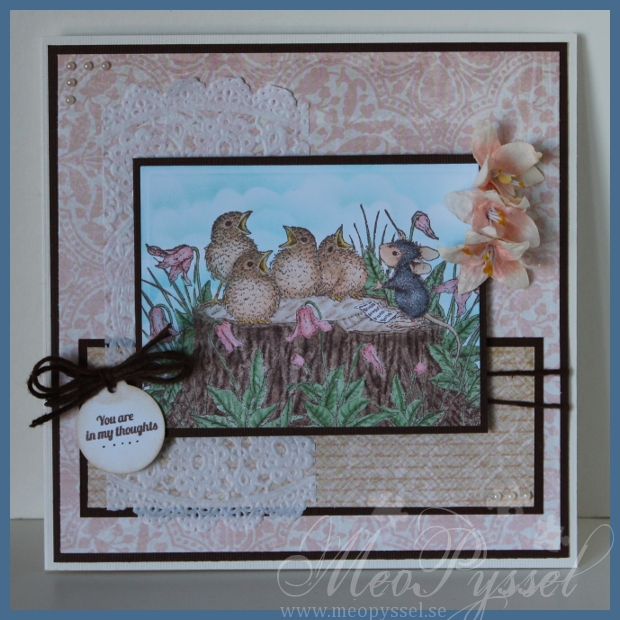
So here comes my card for this biweekly challenge over at the House Mouse and Friends Monday Challenge which is themed Spring. I chose this lovely image because it make my think of all the spring-feeling that is starting to bubbling up inside me.

The coloring is of coarse made with copics. The flowers was from the beginning colored to match another paper but i think it looks pretty good anyway. But i Just love how the birdies turned out, it just love the warmth and the depth that happened.

All the papers are from Bo Bunny’s collection Kitchen Spice. The brownish paper had the same pattern as the pink/peach one so I stamped two different background-stamps in desert stamp to get some more definition. The doilie looked better when it wasn’t glued down – it showed more.

I colored some white yarn with E59 to match the cardstock and used as a twine to hold my sentiment. The sentiment is from The Craft’s Meow’s collection Get well soon and the tag from Tim Holtz’s Tiny tabs and tags which I distress with some desert Ink. The dots that is added is just made with a brown pen.

material

Stamp: House Mouse – Feathered Friends – Sing your heart out. Hero Arts -Envelope Pattern. Gina K – Timeless Textures. The Craft’s Meow – Get well soon.

Paper: Bo Bunny – Kitchen Spice

Copic: E11, E21, E51, E50, R20, R000, G21, G24, Y21, Y26, E43, E41, E40, E49, E55, E53, E51, E50, N1, N3, N5, 0

Dies: Spellbinders – Nestabilities – Large Rectangle. Tim Holtz – Tiny tabs and tags.

Ink: Memento – Rich  Cocoa, Desert sand, Tumbled Glass.

Challenges