Etikett: Provocraft

Caroline in a tealight card

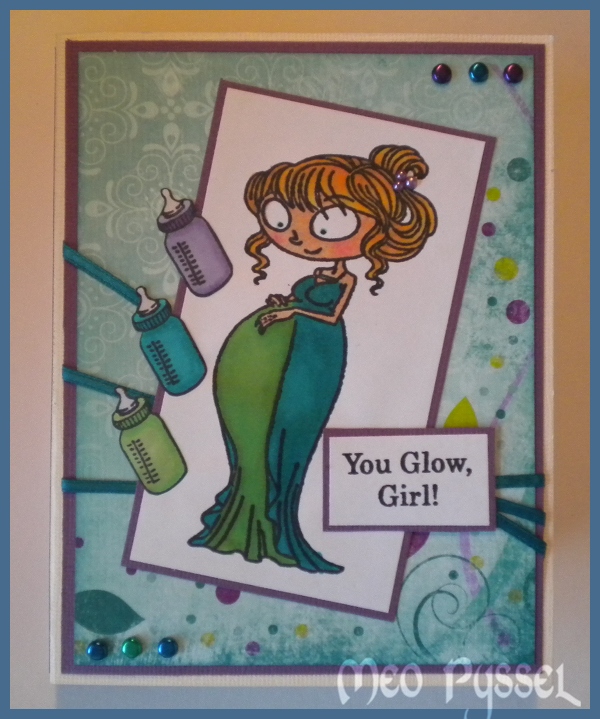
Todays card is one inspired by my pregnant friend, she is expecting her second and I’m really excited. This beautiful stamp landed in my mailbox today so I just had to make something with it. The stamp is Kraftin’ Kimmie’s Caroline. I have used both the main image and one of the texts and the bottle. All the images have been colored with a mix of promarkers and Copics (copics are used on the skin and as one of the three petrol-colors). I did also add some small pearls on her hairclip. The embellishments on the outside is metallic brads and a ribbon i found in my stash. All the papers is Bo Bunny’s Peacock Lane. All the papers have been distressed with either Peeled Paint or Broken China.

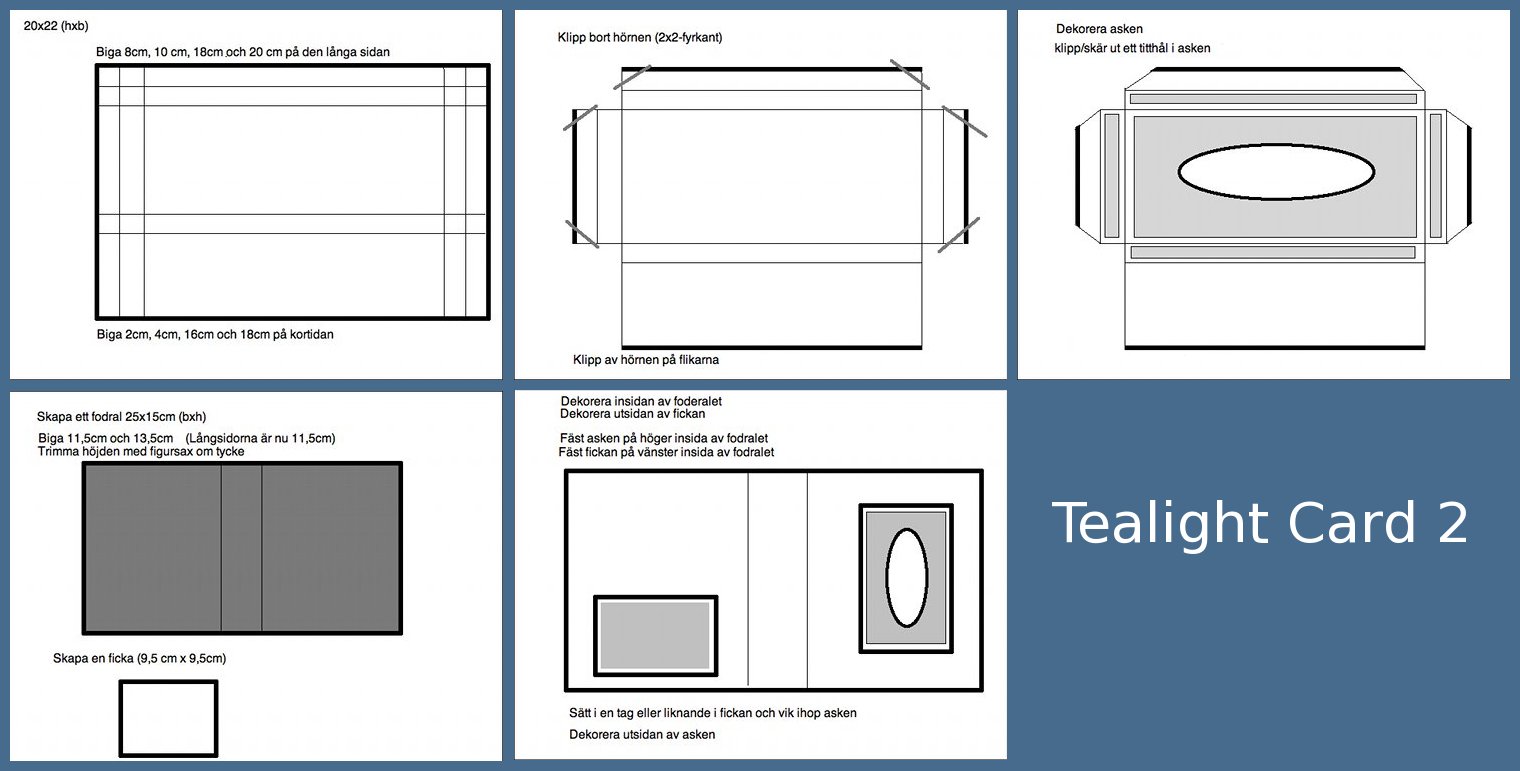
The card is a tealight card, another kind then the one i did the last time. I have made a template but in not happy with it, so i will try to make a better one on a later occasion so bare with me until that. You can find the template at the bottom (click to see it larger). I did another size on my pocket then the template shows because i felt i needed a bigger one. This kind of tealight card I first found the StampARTic site were there also is a very nice tutorial that my template is based on.
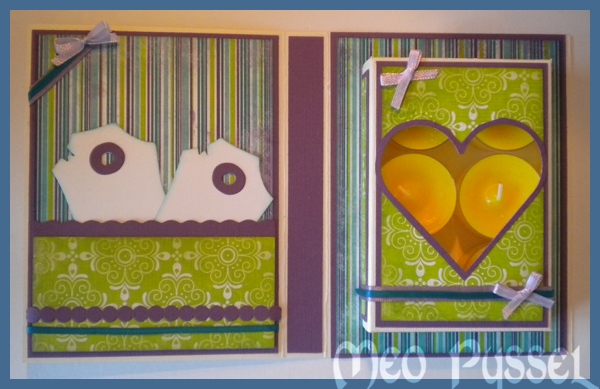
On the inside I used the same papers and ribbon but adding a light purple bow (made with my bow easy). The scalloped edge on the pocket is made with a scalloped scissor. The purple bubbles are a extra from Provocraft’s alphabet Babyface. The heart-window is made with a Nestabilitie, the frame of the heart is made by me tracing around the edge of the die so i just got a bigger thin frame. The tags in the pocket is Magnolia’s Vintage tag the i have distressed with some Broken China.

And by make a mistake i learned something so here is todays tip: Put the panel together first and glue it on the unmounted box, then cut the window and lastly assemble the box. I did the window and the box which made me make the window twice… Another goo thing to remember is that you don’t blue either the top or bottom flap when the box so the receiver can open it.
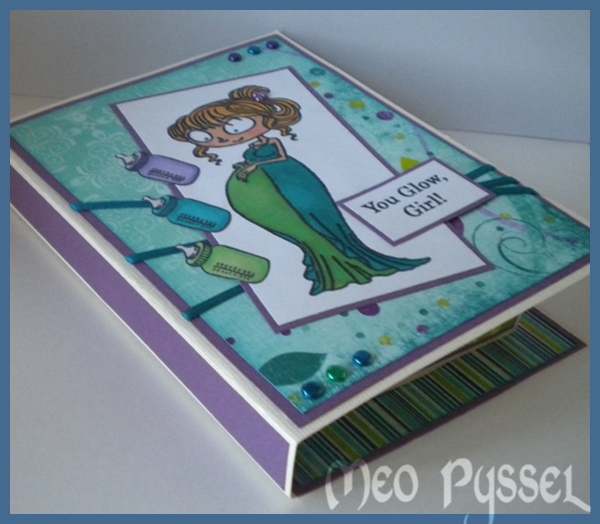
And here is a little picture of the card when closed. Something i don’t like with this kind of tealight card is that the tealightbox is so small that the edges probably will be bent in the mailing-process.

I’m really happy with the colors, but they are very me so it’s not strange. But i had another vision from the start which explains why i have the cream base for my card instead of something maybe petrol or green, but i think it looks good anyway. I’m also entering this card from this weeks Simon Says Challenge that is ”Anything Goes”.
Green Penny Black

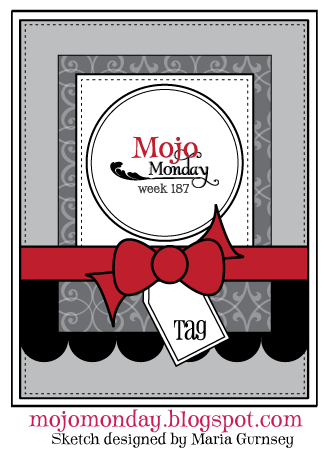
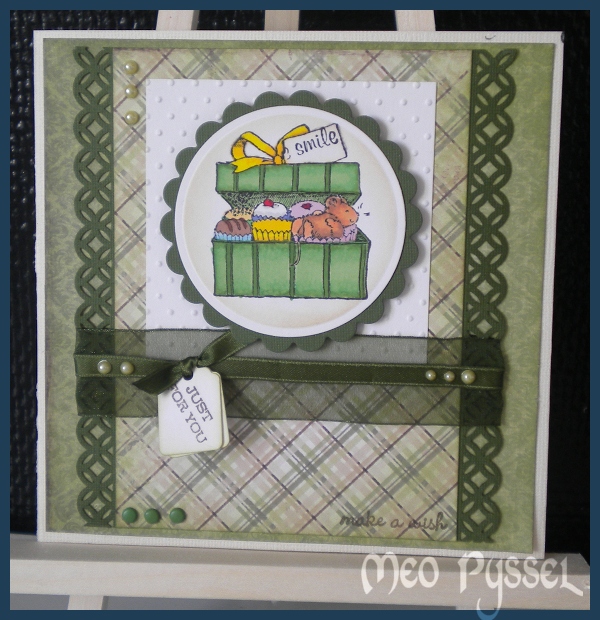
This is the result from yesterdays craft-session with my sister and her friends. The layout is from this weeks Mojo Monday (#187). The image is one from Penny Black’s clearstamp set Piece of my heart, and as usually it’s colored with promarkers. The word ”smile” on the images tag is a part of a sentence from House Mouse’s set Birthday: Ice cream. And the text in the left bottom corner is from Penny Black Critter Party and the ”just for you” on the tags, that is the Quickutz die tags, is from Hero Arts Warm wishes. The border is made with Martha Stewart’s borderpunch Modern Garland. The papers are from Maja designs collection ”Ska vi ta en fika”. The white paper have been dry embossed with provocrafts swiss dots embossingfolder. The other decorations are just light green pearls and dark green brads. Im also entering this card into the Simon says challenge – emboss it again sense in really happy with the card and the I love Promarker (#62) Anything goes.

House Mouse Birthday-Spring-Card

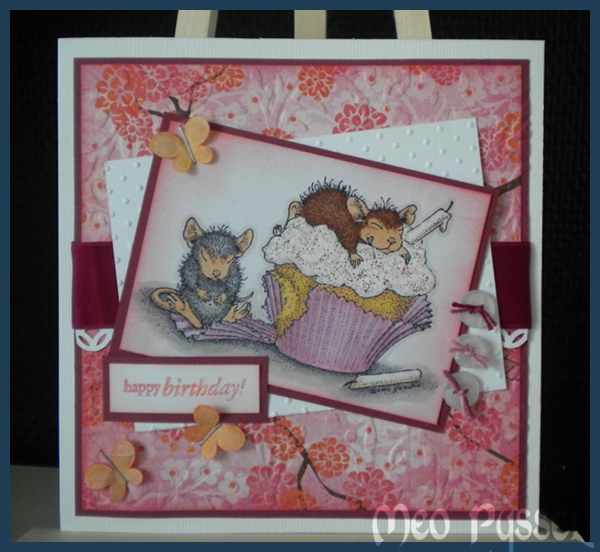
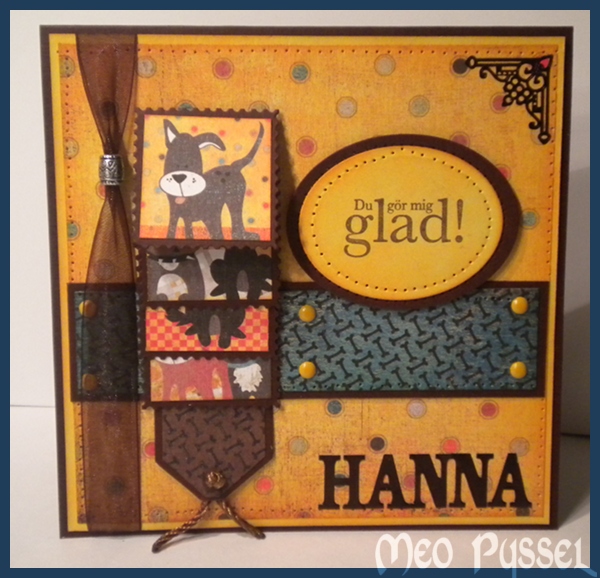
Todays card is a birthday card for my sister that turns 23 in the beginning of next week.. I don’t think this is the colors i associate with her but i stared with a pink cupcake-holder then i just became this pink…

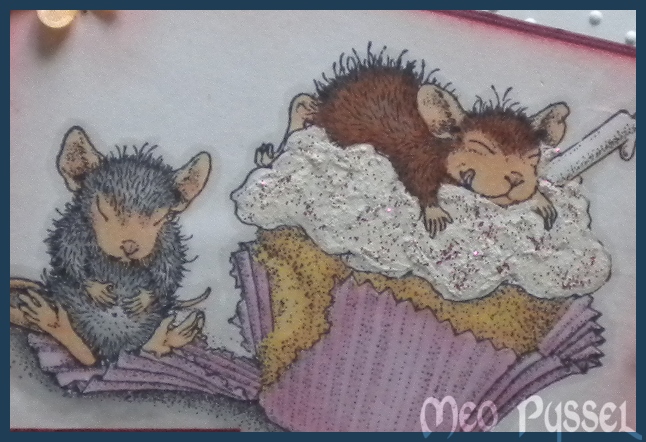
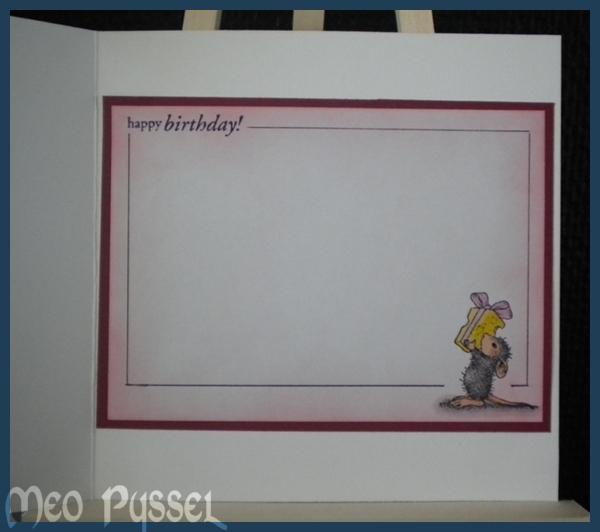
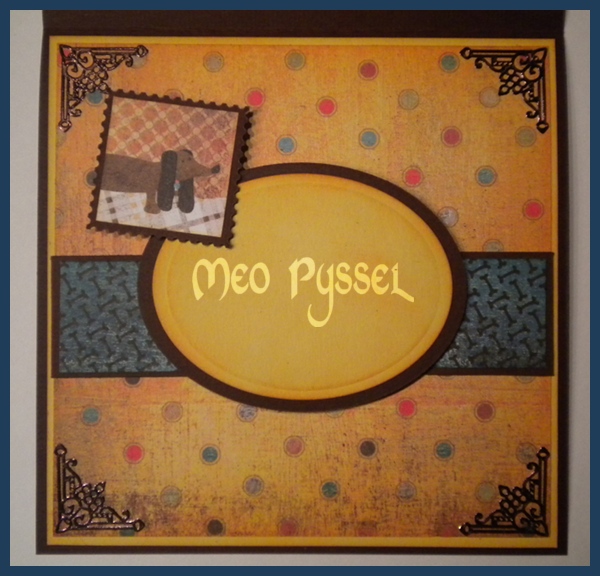
The image is House Mouse Birthday Cupcake that is a part of the Birthday: Ice Cream-set. The little mouse with the cheese-gift, on the inside of the card, is from the same stamp-set. The images is colored with promarkers and i’m really happy with the result on the cupcake (gold, apricot and pastel yellow). On the frosting on the cupcake i have used my snowmarker, very thin layer, and then i painted on some Magenta sticklers. I use a brush to paint the stickles so i could get a thin layer and exactly were I wanted it. You can see the dimension and the frosting better in the picture to the right. The sentiment is a Penny Black stamp from the Critter Party-set. I stamped it with Versa Colors 15 Magenta. 184 Misty Mauve and 13 Orange to match the colors on the paper that is from Crate Papers collection Pink Plum. I have tried to keep the color-scheme on the inside.

All papers and stamped areas have been distressed with Worn Lipstick and the fabric butterflies have also been distressed with Worn Lipstick and some Spiced Marmelade. The butterflies had a to strong colors so i used the backside up to just get a hint of the original color that i then altered with distress inks. I just stapled on the butterflies with a regular staple-machine. The background paper and the white paper have been dry embossed with provocrafts embossingfolders. On the background i used Victorian and on the white paper i used swiss dots. The border under the ribbon is made by Martha Stewart’s border punch modern garland. The buttons is from old clothing and have been embellished with some multicolored pink thread.

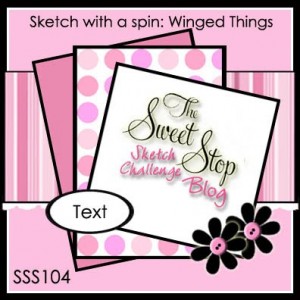
The Layout form this card i got from this weeks Sweet Stop Challenge (SSS104). And due to nice circumstances I’m also entering this card for a couple of more challenges.

Challenges:


And THANK YOU Kristina for borrowing me the Easel. I think it works great and made the photographing much easier. Now i need to but my own and paint it!

Basic Grey Waterfall card

This card is made for this fortnights Basic Greys challenge ”More the one fold”.

All the papers are Basic Greys Max and Whiskers and the images are cut from a sheet from the same collection. I have for a long time been thinking of making a card with a waterfall feature, but not like the normal ones with the waterfall in the middle and that it. So instead i made it as a side-treatment on a regular square cardbase. I do like the look f it but it’s a bit to much of the main feature right now, i will have to keep experimenting. The frames for the images is a Povocraft die, a free sample I got when o bought my cuttlebug, in shape of a stamp.

The Greeting shape is a nestabilities and the corner treatment and the letters (at the bottom front) is Peel-off and stickers that i have colored with a black permanent marker. Even if the marker is black i have found out that all surfaces that is a bit glossy will turn out dark brown. All light papers have been distressed with Spiced Marmelade and the blue paper with Broken China. The Greeting is stamped with Versa Colors 171 Pine Cone.

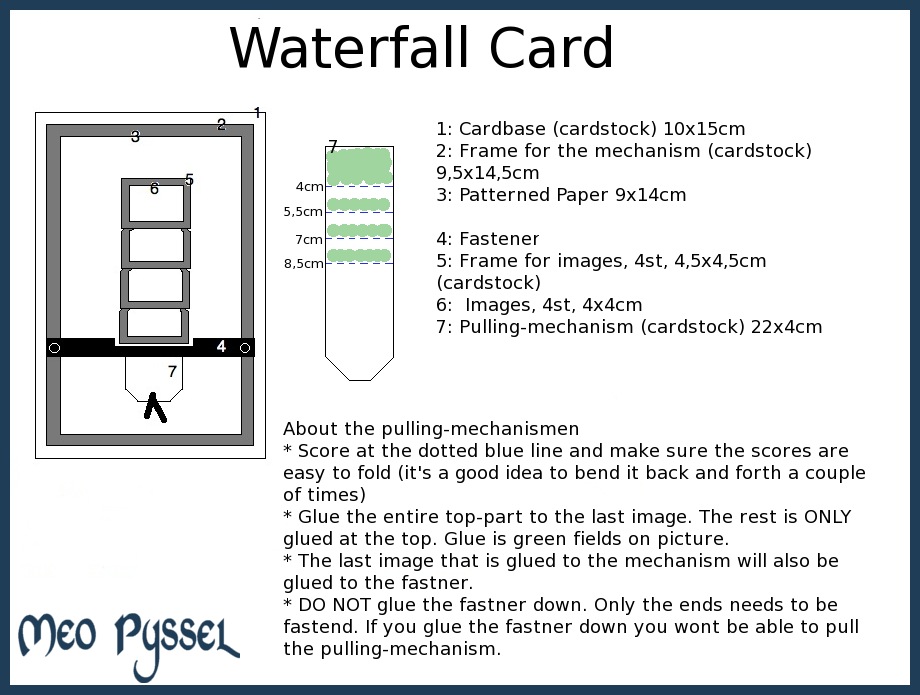
For those that want a waterfall-template i have one (click for a larger image). You can switch all the measurements but keep the pulling-mechanism a bit thinner then the frames. Parts 4-7 is the waterfall-mechanism and can be put on all different kinds of card.

Storage for Nestabilities

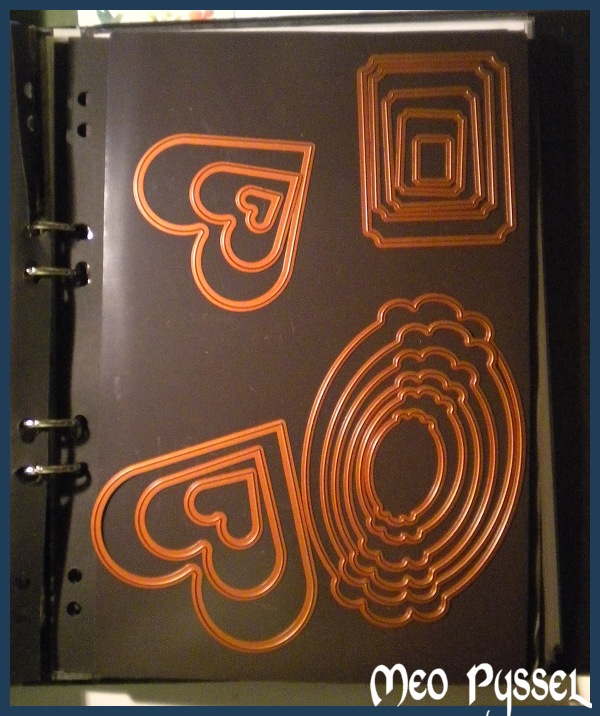
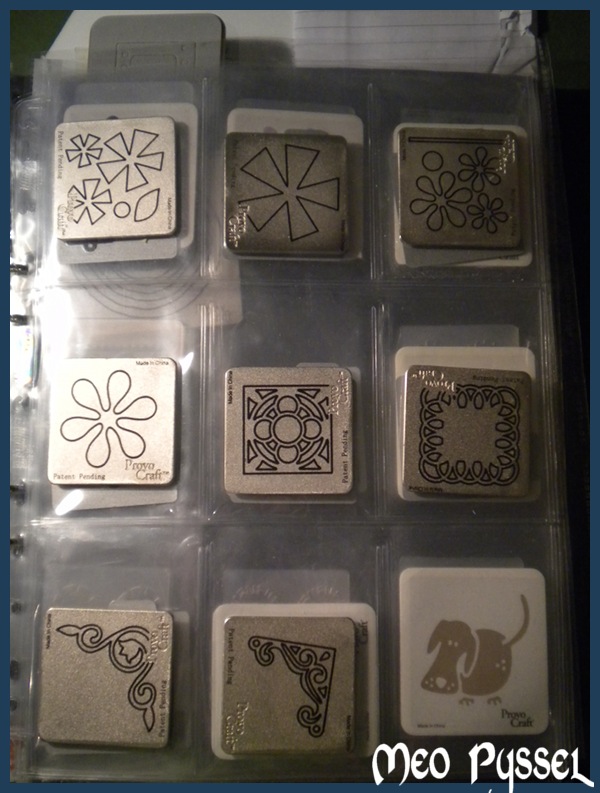
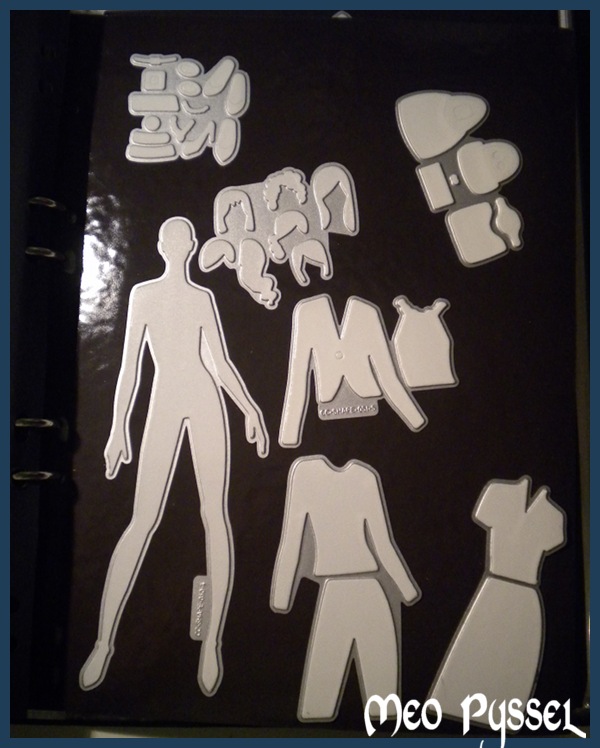
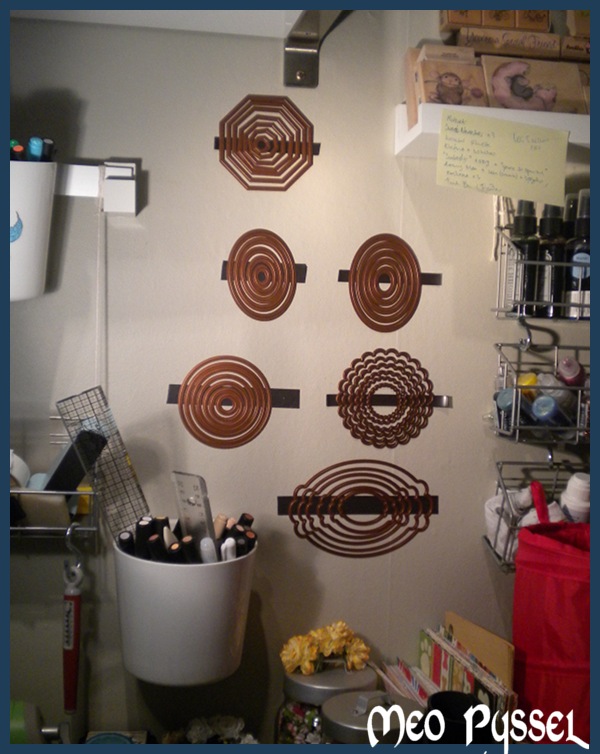
When I’m making my cards and whatnots i have realized that i always uses at least one nestabilities and that it is a problem right now when my way of storing them aren’t working with having them on my desk at all times. RI have been storing them inside a folder with all my dies. The nestabilities is put on a magnetic sheet that is glued to a paper. At the same kind of magnetic sheet i have my Quickutz Fashiondoll, the alphabet and so on. I decided not to relay on magnetic tape for my folderstorage because i think that the tape is to bendeble and the nestabilities then falls of (tape is good for a hard surface). My cuttlebug dies i store in plastic sheets for trading cards, very cheep in any bookstore, you can see the different storage-ways on the pictures to the right (click for larger pictures).

I have been thinking of put a hook into my wall to put the most used nestabilities but i my lovely boyfriend made me realize that i would go insane when i couldn’t get the smaller on out without removing the larger. After a while i decided to keep on with the magnetic so i put up some strips of magnetic tape. I have chosen to only put up the ones i use the most, the rest will stay in the folder.

I’m really happy with having these nestabilities so close and as i finished a inside for a card i enjoyed the space on my desk!

—————————————–

Jag har efter mycket om och men insett att min pärm med dies alltid ligger framme på mitt skrivbord eftersom att jag alltid anväder någon sorts die när jag pysslar. Meningen från början var att få undan mina dies från bordet genom att ha dem i en pärm. Jag förvarade mina nestabilities på magnetiska ark och mina mindre dies i plastfickor för samlarkort (finns på alla bokhandlar men jag har köper mina på Bokus då de är billigast). (klicka på de små bilderna till höger för att se hur jag förvarar i min pärm)

Eftersom att jag inte vill ha pärmen framme hela tiden så har jag funderat på alternativa lösningar. Jag började med fundera på vilka dies som jag använder mest och tänker försöka ha just de tillgängliga medan de mindre använda får stanna i pärmen. Nästa steg var att komma fram till hur de mest använda diesen skulle få plats vid bordet. Jag funderade länge på en krok där jag helt enkelt kunde hänga upp dem men min kära sambo påpekade att jag skulle bli vansinnig när jag måste flytta de större för att kunna ta fram de mindre så den idén kasserades. Tillslut bestämde jag min för att strunta i eventuella skador på tapeten och sätta upp remsor med magnetisk tejp på väggen och på det sättet fästa mina nestabilities. Jag har inte använt tejp i min pärm eftersom att tejp på ett pappersark är böjligt och när man vänder blad så ramlar nestabilities diesen av men på ett hårt underlag såsom min väggfungerar tejp utmärkt.

Jag är grymt nöjd med mina nya lösning och det känns bra att ha mina vanligast dies inom räckhåll.

Grattis till mig!

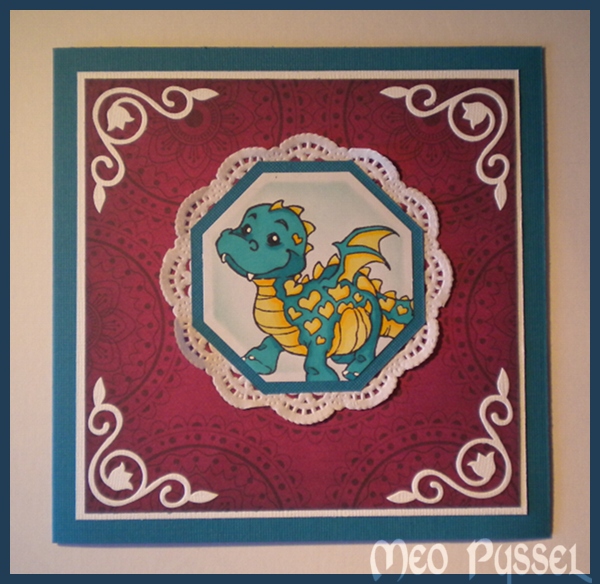
I dag har det blivit ett kort till mig själv. Jag utgick från att alla papper skulle vara mickisblå men så blev det inte i slutet. Det är enkelt men jag gillar det trots att jag inte brukar gilla pynt så mycket så blev det inte allt för raka linjer. Jag använde Whiff of Joys Puff heart dragon idag igen och bakgrunden är nestabilities och distressad med Broken China. Jag har även använt broken China på det lila pappret (Bo Buny) och det är det som skapar en lite mörkare gloria runt kanten på pappret. Bakom den 8kantiga nestabilitiesen är det en bit doyle från panduro. Hörndekorationen är en av Cuttlebugs die Vintage.

Todays card is once again the Puff heart dragon from Whiff of joy and  it is colored with promarkers. I used the octagons nestabilities for the image and behind that i used a doyle from Panduro. Sence the nestabilties octagons are a size bigger then i wuold wish between the dies i have created the frame for my image by tracing around the outside of the die and the cut it with scissors. I often do that with the dies that dont come in diffret sizes. The image and the purple paper, wich is Bo Bunny, is distressed with Broken China, and that is what creates the dark light on the edges. Teh cornertreatments are one of the four dies in Cittlebugs Vintage-set.

Cinder och Sketch Saturday nr 146


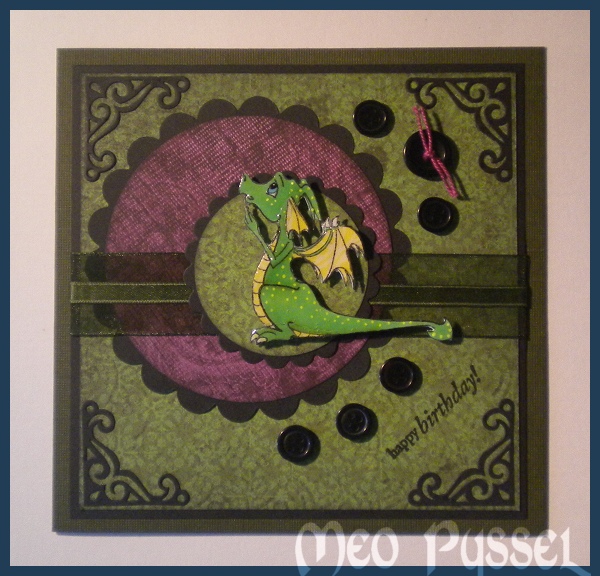
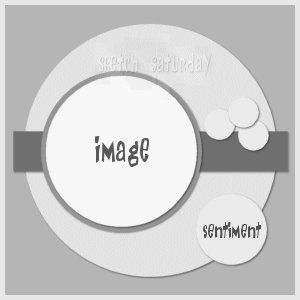
Idag har jag försökt att ta igen förlorad till så att säga. Den 25 februari fyllde Martin år men på grund av tidsbrist och total utmattning blev inget kort gjort till min kära vän, så idag har jag gjort ett för att gottgöra detta. Jag har försökt att skapa en skogig känsla då Martin är lite av en skogsmulle. Motivet är den söta draken Cinder från Sweet November stamps som jag färglagd med promarker och paper piecing av vingarna. de gröna fläckarna är gjorda med en gul Sakura Gelly Roll och hela cinder har sedan blivit täckt av glossy accent. Hörndekorationerna är ev av Cuttlebugs Vintage Die. De cirkulära formerna är nestabilities dies och happy birthday-stämpeln är från Penny Blacks Critter Party. Det gröna pappret är Basic Greys Henley. Jag har gjort layouten efter veckans utmaning på Sketch Saturday (#146).

———————————————————

Todays Card is inspired by the forrest and the layout is made from this weeks challenge Sketch Saturday #146. The dragon is Sweet Novemeber Stamps Cinder and the sentiment is from Penny Blacks Critter Party. I have colored Cinder with Promarker and paper pieced his wings with a bright yellow paper. The cornertreatments är från Cuttlebugs die Vintage. The circles are made with nestabilities dies. And the green paper is from Basic Grey and are called Henley.

Jimmy 25år

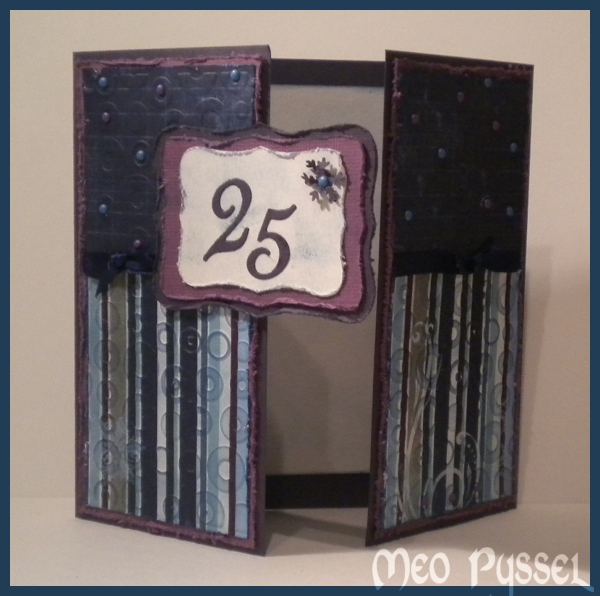
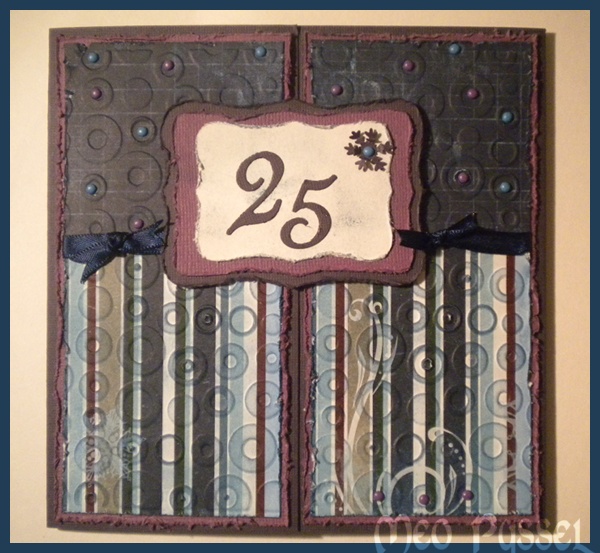
Nu har jag lyckas göra klart Jimmys kort. det känns lite konstigt eftersom att jag inte riktigt vet vad han har för smak så jag har försökt att hålla det ganska rent och lite manligt slitet. Jag har gjort ett gatefold card och papprena är från Bo Bunnys Midnight Frost. Efter att ha satt samman de olika panelerna av mönsterpapprena har jag embossat den med cuttlebugs embossingfolder Spot and Dots (som framhävs med faded jeans). Sedan har jag satt i lila och blå minibrads lite här också där för att försöka locka fram en mer levande känsla och den blålila färgen vilket Jimmy tydligen skall gilla. Motivet är gjort med nestabilities och Quickutz alfabet harvest (vilket efter en massa letande tydligen är det enda siffror jag har). Det blå sidenbandet fungerar både som avdelare men också som dörrstopp. Den lilla rosetten på vänster sida hindrar kortet från att glida upp men den sitter så snällt på att det inte på något sätt är svårt att öppna kortet. På Motivet finns det även en snöflinga och ännu en minibrad. Den vita bakgrunden är lätt tryckts med Faded Jeans..

This card is for my sisters boyfriend that turns 25 tomorrow. The card is made by Bo Bunnys Midnight Frost paper. The papers have been embossed with cuttlebugs embossingfolder Spots and Dots and they have been enhanched with Faded Jeans distress ink. I Keept the faded jeans on the white paper behind the 25, pressed not blended, så it wouldn’t screen white. The 25 is made from Quickutz alaphabet harvest. The blue and purple dots are minibrads. The blue ribbon is a nice devider that also the doorstop. The left ribbon is close enough to make the ”doors” keep close. The shape behind the motive is nestabilities and almost all papers have been scraped.

Mojo 181 med Sagan om våren

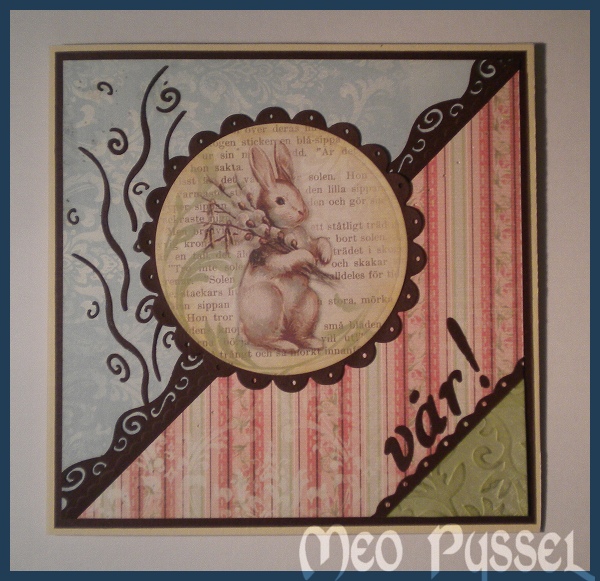
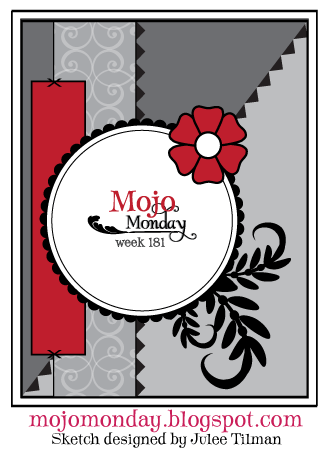
The papers that are used are from Pion Design and the kollection is called Sagan om våren (in translation ”the tale of spring”). The motive are framed by nestabilities scalloped circle and then i have punched out the holes with my fiskars handpunch 1/16″. The lacy border is also a fiskars punch, a border punch, and i did use the leftovers after the punching to the steam or branches that is instead of the blocks in the sketch. I also switched the embalishments under the motive to text that is made from Quickkutz alphabet harvest. (Vår=Spring). The green paper that is added in the corner is embossed with Cuttlebugs embossingfolder Victoria. Around the edge of the bunny i have also distressed with Antique Linnen.

————————————————————

I dag har jag lekt lite med Mojo mondays veckoskretch och mina nya papper (jag var ju tvungen att fira mina pappersställ) från Pion Design.

Jag har valt att göra ett vårkort till min farmor och farfar. Jag har tagit bort de vertikala blocken från ritningen eftersom att jag inte kunde hitta något snyggt sätt att få in dem. Jag bytte istället ut blocken mot ett mönster av brun cardstock. De små bitarna är resterna från när jag gjorde spetskanten som löper diagonalt. Kanten är gjord med en Fiskars Border Punch. Ramen runt motivet är en scalloped nestabilities som jag har stansat ut cirklar från med Fiskars handpunch 1/16″. På samma sätt har jag gjort med den lilla kanten på den gröna delen. Jag har skurit pappret med en mönstersax och sedan stansat ut cirklarna. Den gröna pappret är också embossat med Cuttlebugs Victoria embossingfolder. Alfabetet som jag använt är Quickutz Harvest. Runt kanten på motivet har jag distressat lite med Antique Linnen. Alla papper som är använda och motivet, som är ett papper, kommer från kollektionen Sagan om våren av Pion Design. Jag tycker verkligen om den här kollektionen, det är så vårig, ljus och spröd.

BoBunny och Cinder

För några dagar sen fick jag hem lite stämplar från Sweet November Stamps. Jag fick hem Cinder, Meadow och Breezy. Jag gillade hästarna för att dom var allmänt söta men lilla Cinder är jag helt kär i!

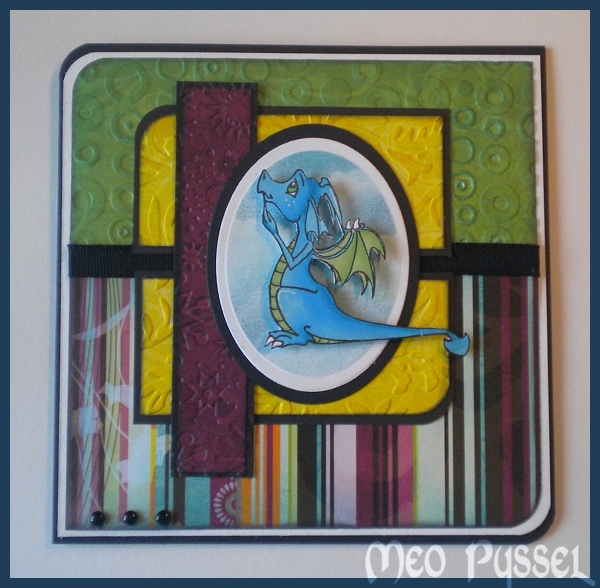
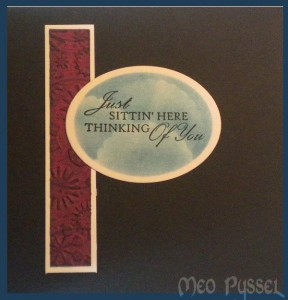
Jag har ägnat mig att göra lite olika färgläggningar och jag valde den fina blå-gröna till ett kort. Tyvärr blev svansen lite illa behandlad i röran på mitt skrivbord men den gick i alla fall inte av. Alla papper som är använda är BoBunny av lite olika kollektioner. Jag blir bara mer och mer förtjust i BoBunny papprena. Jag funderar på att köpa in paperpacks i några kollektioner. Nästan alla papper är även körda genom lika Cuttlebug embossingfolders och samtliga papper är distressade med Broken China och Black Soot. Det är lite svårt att se på bilden men det blev ev riktigt läcker effekt när man kan se papprets mönster och embossingmönstret samtidigt (idén och faktiskt layouten fick jag på Paper in the Works). Längst ner i hörnet på kortet är det tre glansiga svarta brads. Ovalen bakom Cinder är distressad med Broken China och Faded Jeans och en scalloped circle för att efterlikna moln och samma sak gäller insidan som syns på bilden här under. Stämpel på insidan är från Magnolia. Jag har använt Ek Success cornerstans för de rundade hörnen.