So I made my own planning-sheet a while back were i could note information for the week and select a layout and photos. For 2015 it bound it together with some string so i could keep my active weeks together with my empty weeks. When I do my planning I also have my reference-sheet with Becky Higgings pocket pages (I only use Beckys for a uniform feeling in my albums) and sometimes a calendar so I can see which dates that goes in which week.
So now I have been thinking about making it a bit more sturdy and nicer. I borrowed a bind-it-all from a friend and yesterday I finally got the time to do it.
I made a very simple cover from laminated cardstock and a patterned paper (the back is identical without the text). The covers are about 0,5cm taller then all the other pages. The front is decorated with Bo Bunny’s Peacock Lane that is cut with nestabilities.
 The next full page spread after the cover is the pocket pages reference. On this one I will make some kind of a sticker (green, yellow and red perhaps) so I can know how many of the designs I have at home. I just hate to start a planned week and realizing that I don’t have the pocket-page I need. The reference is also laminated so it can be well-handled.
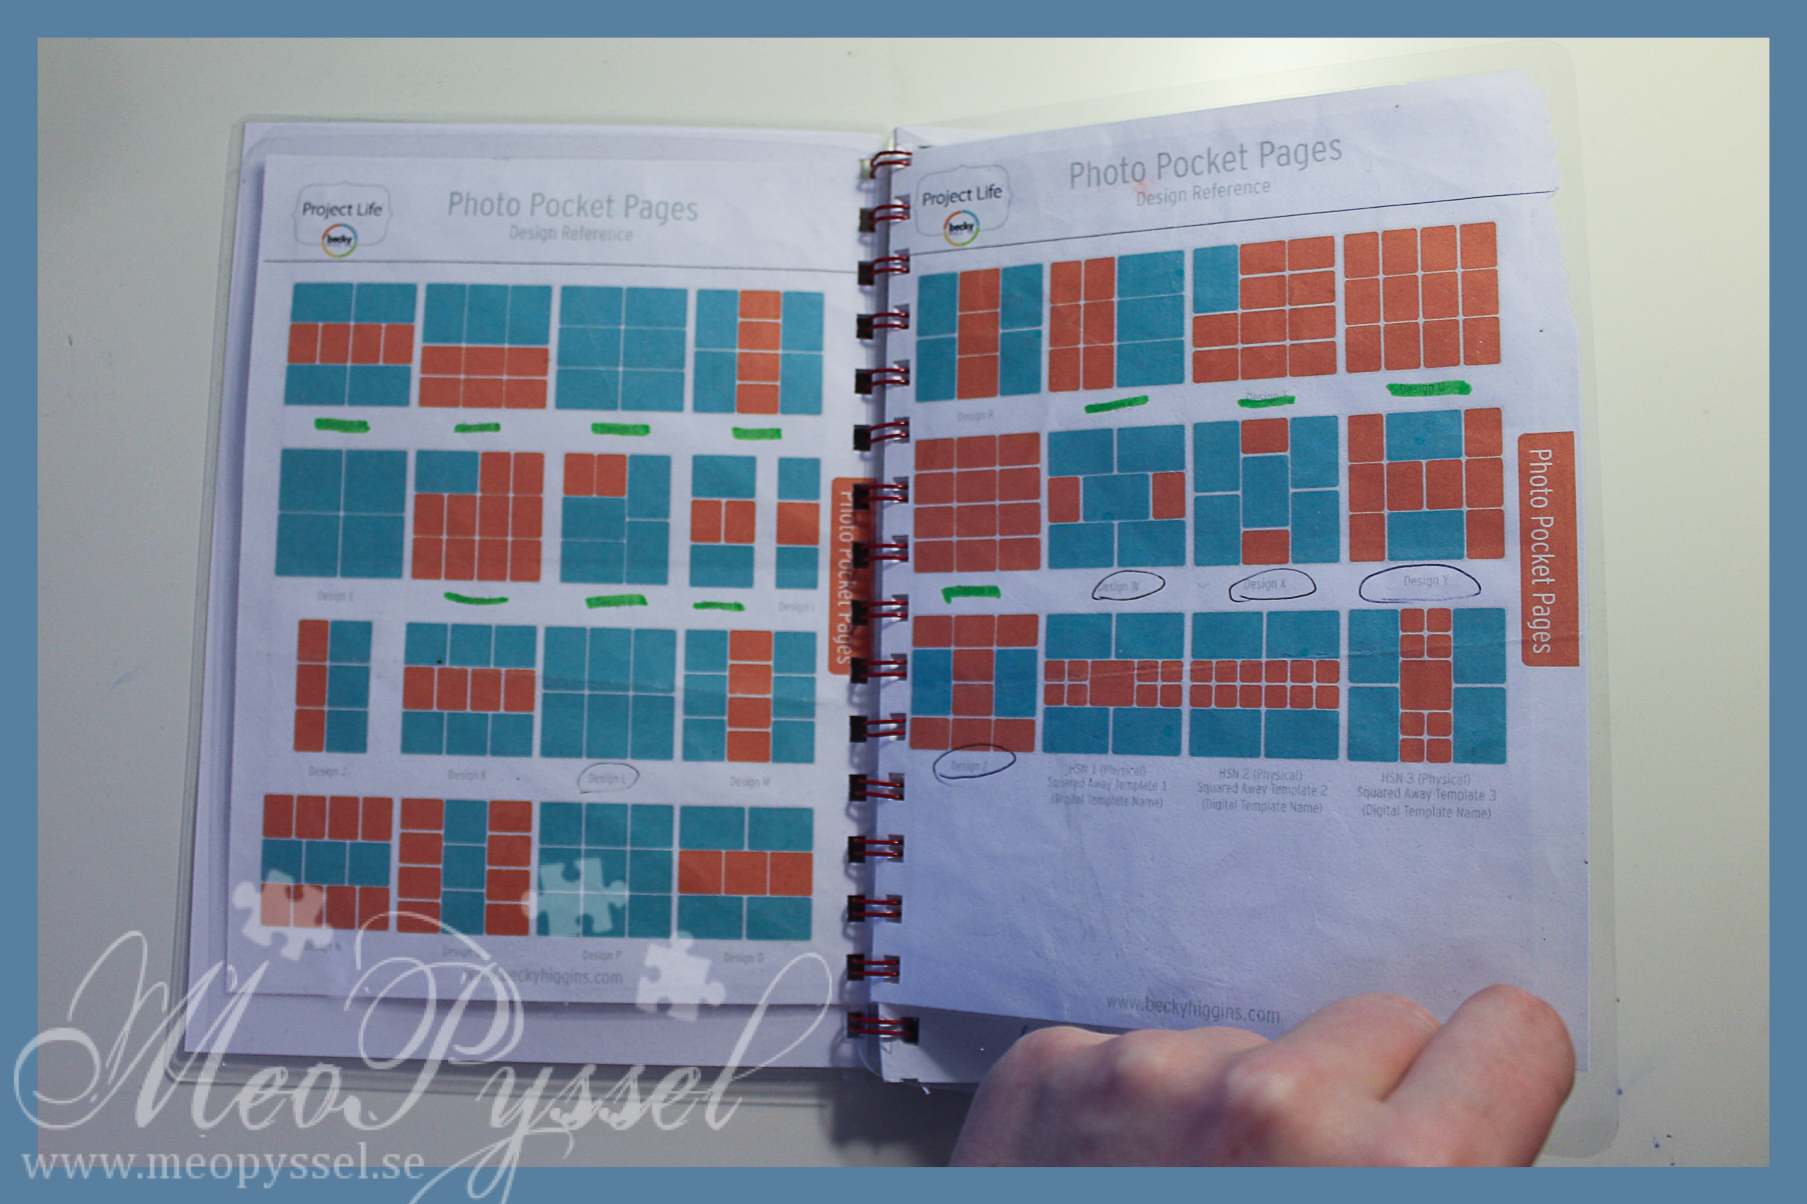 On the back on the reference I stuck to calendars of 201 and 2016.
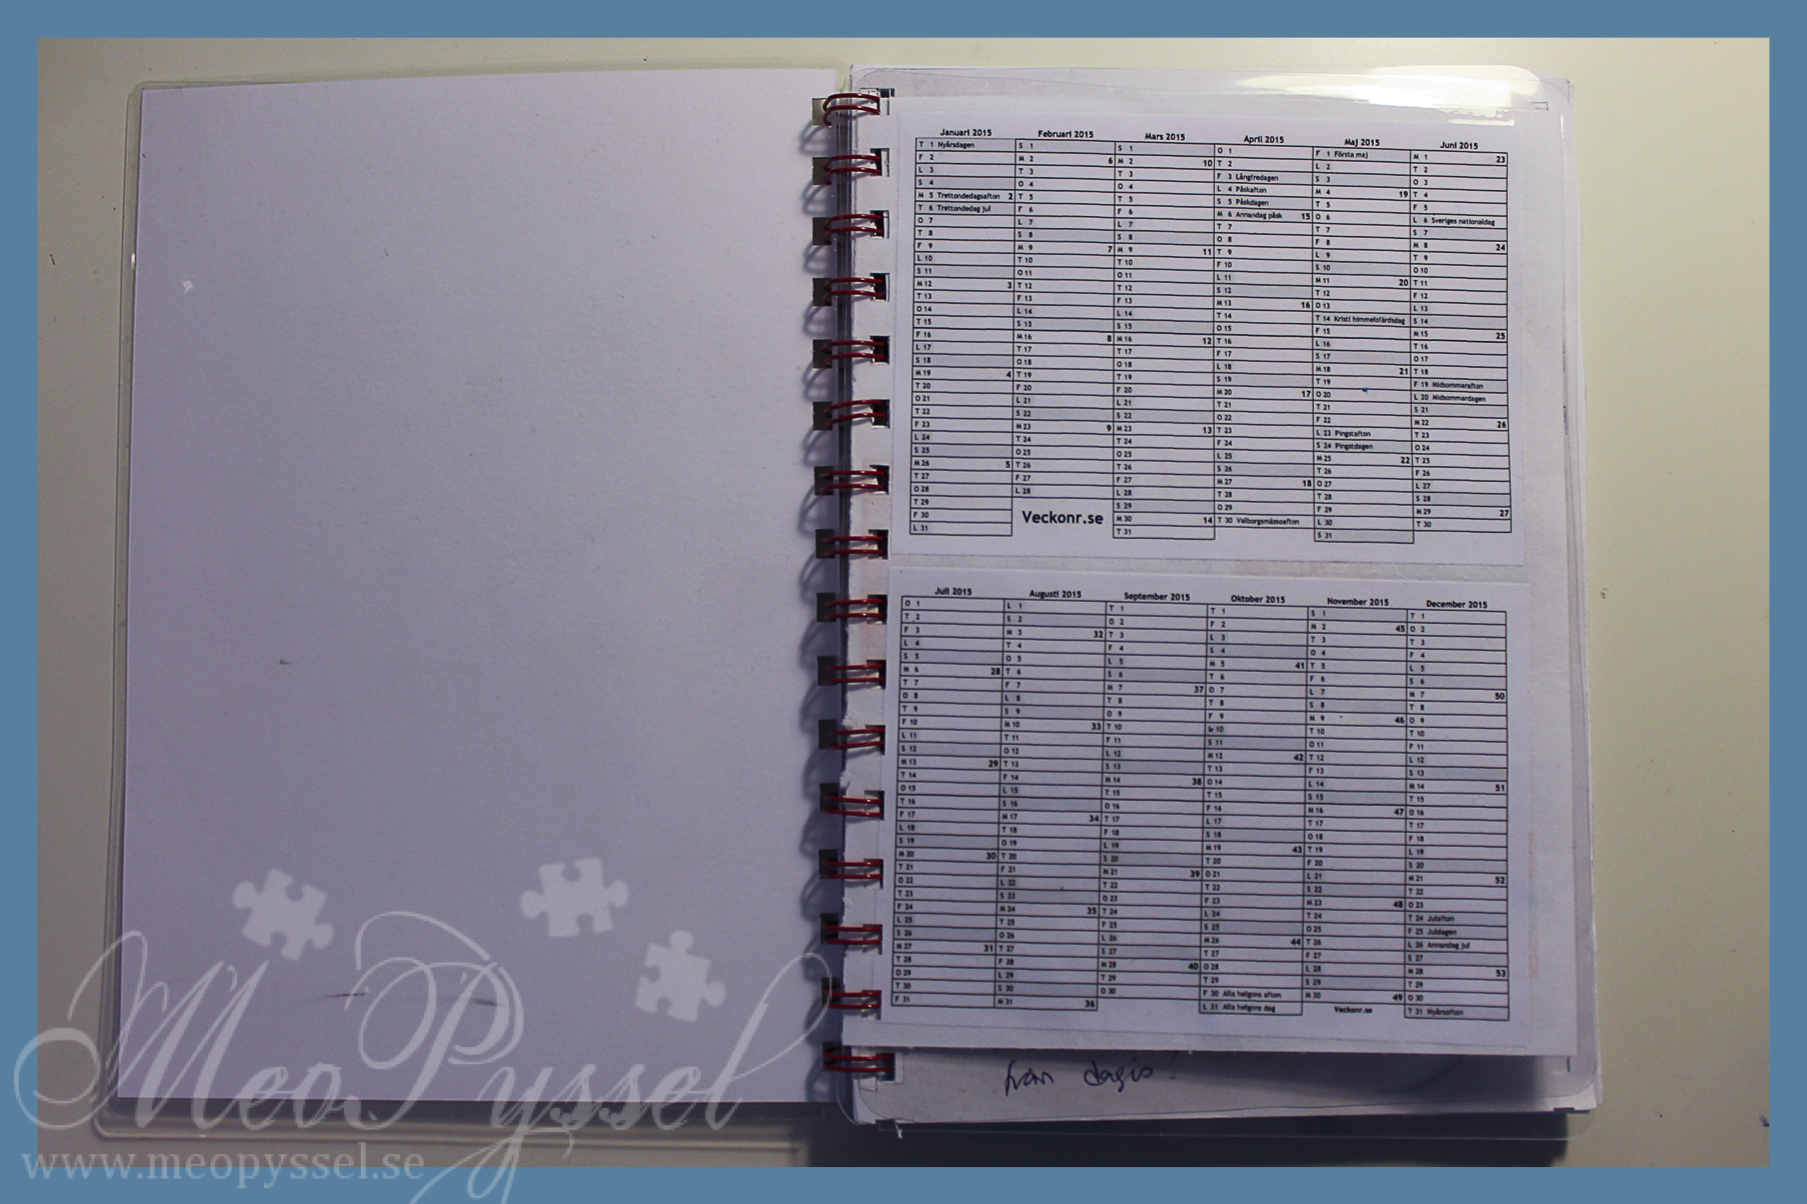 After the reference/calendar I added my old pages for 2015. They look a bit scruffy due to all the holes but they will soon be torn out (hopefully) anyway. And I don’t have a working printer home so I didn’t wanna redo them. The old pages are double-sided so they wouldn’t take up so much space.
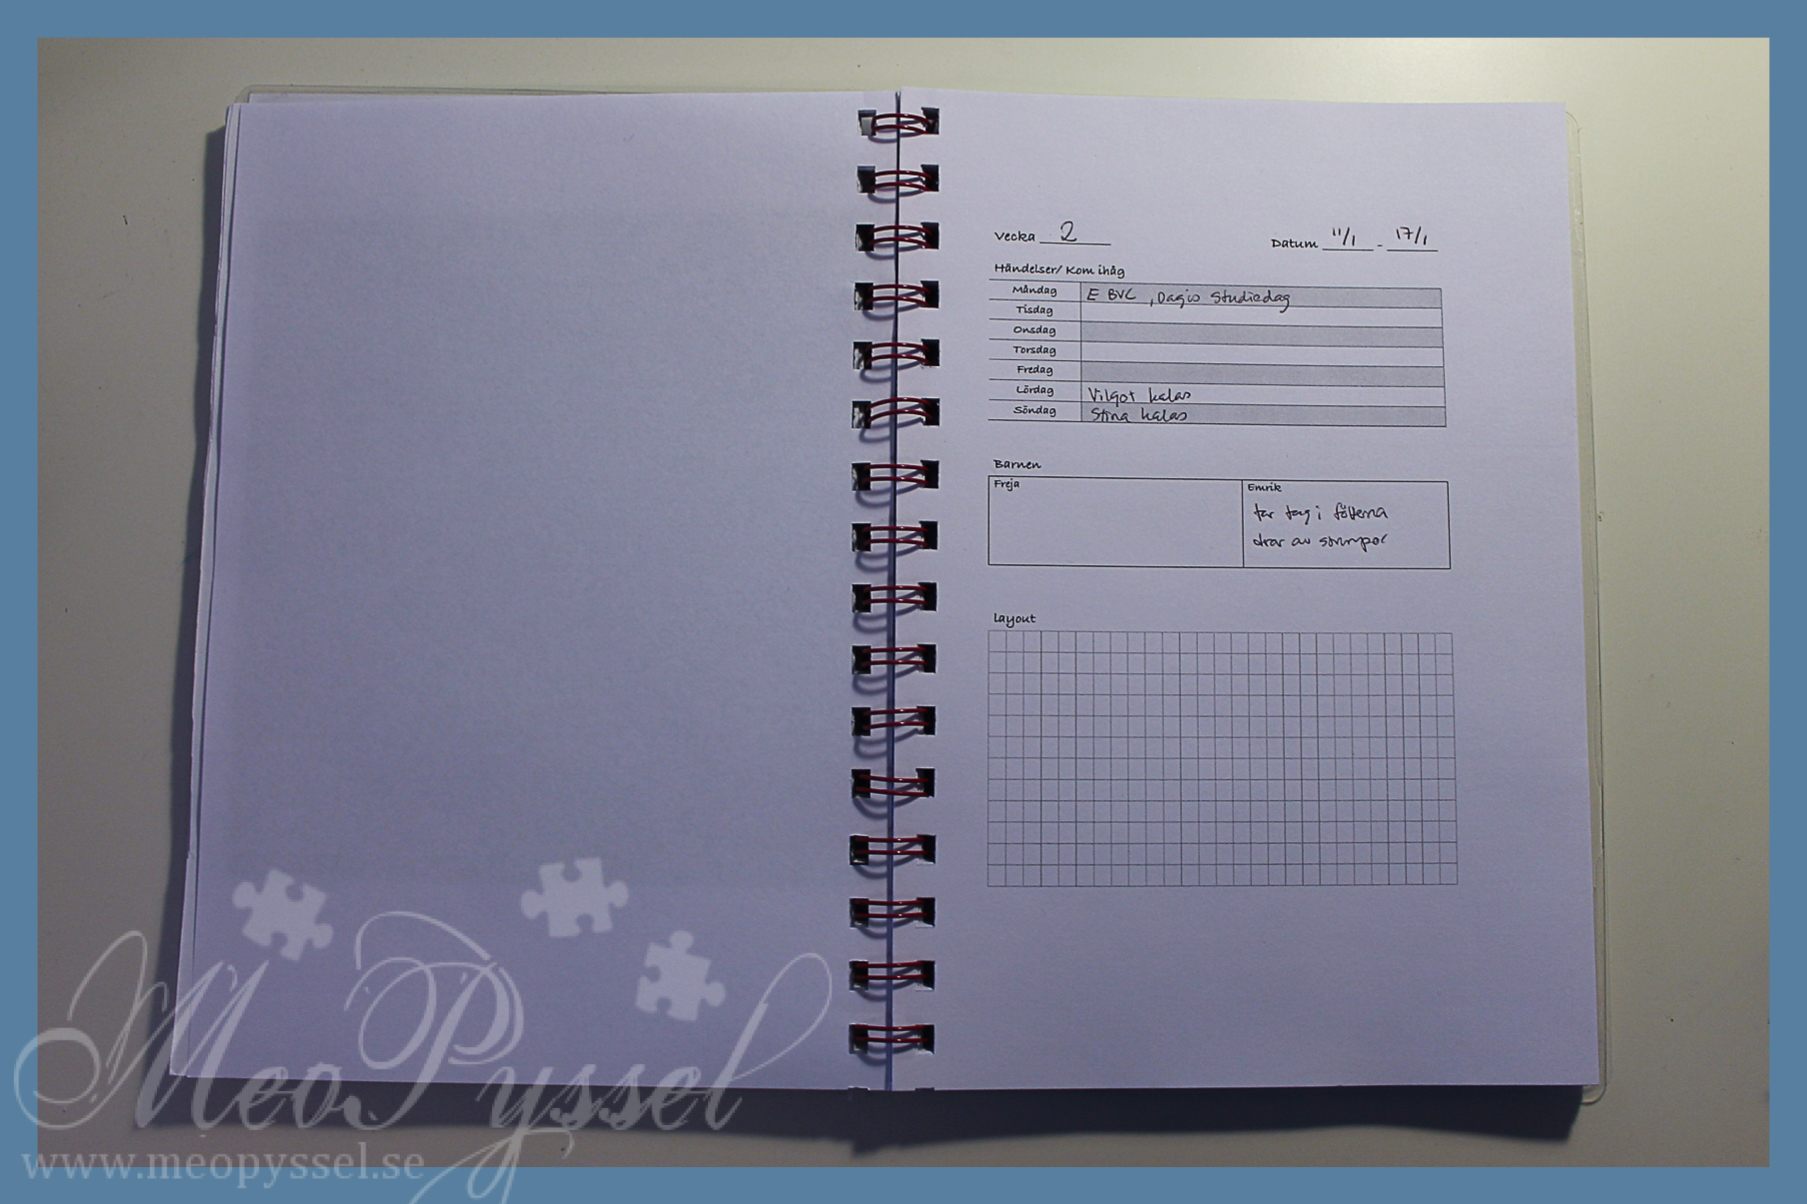
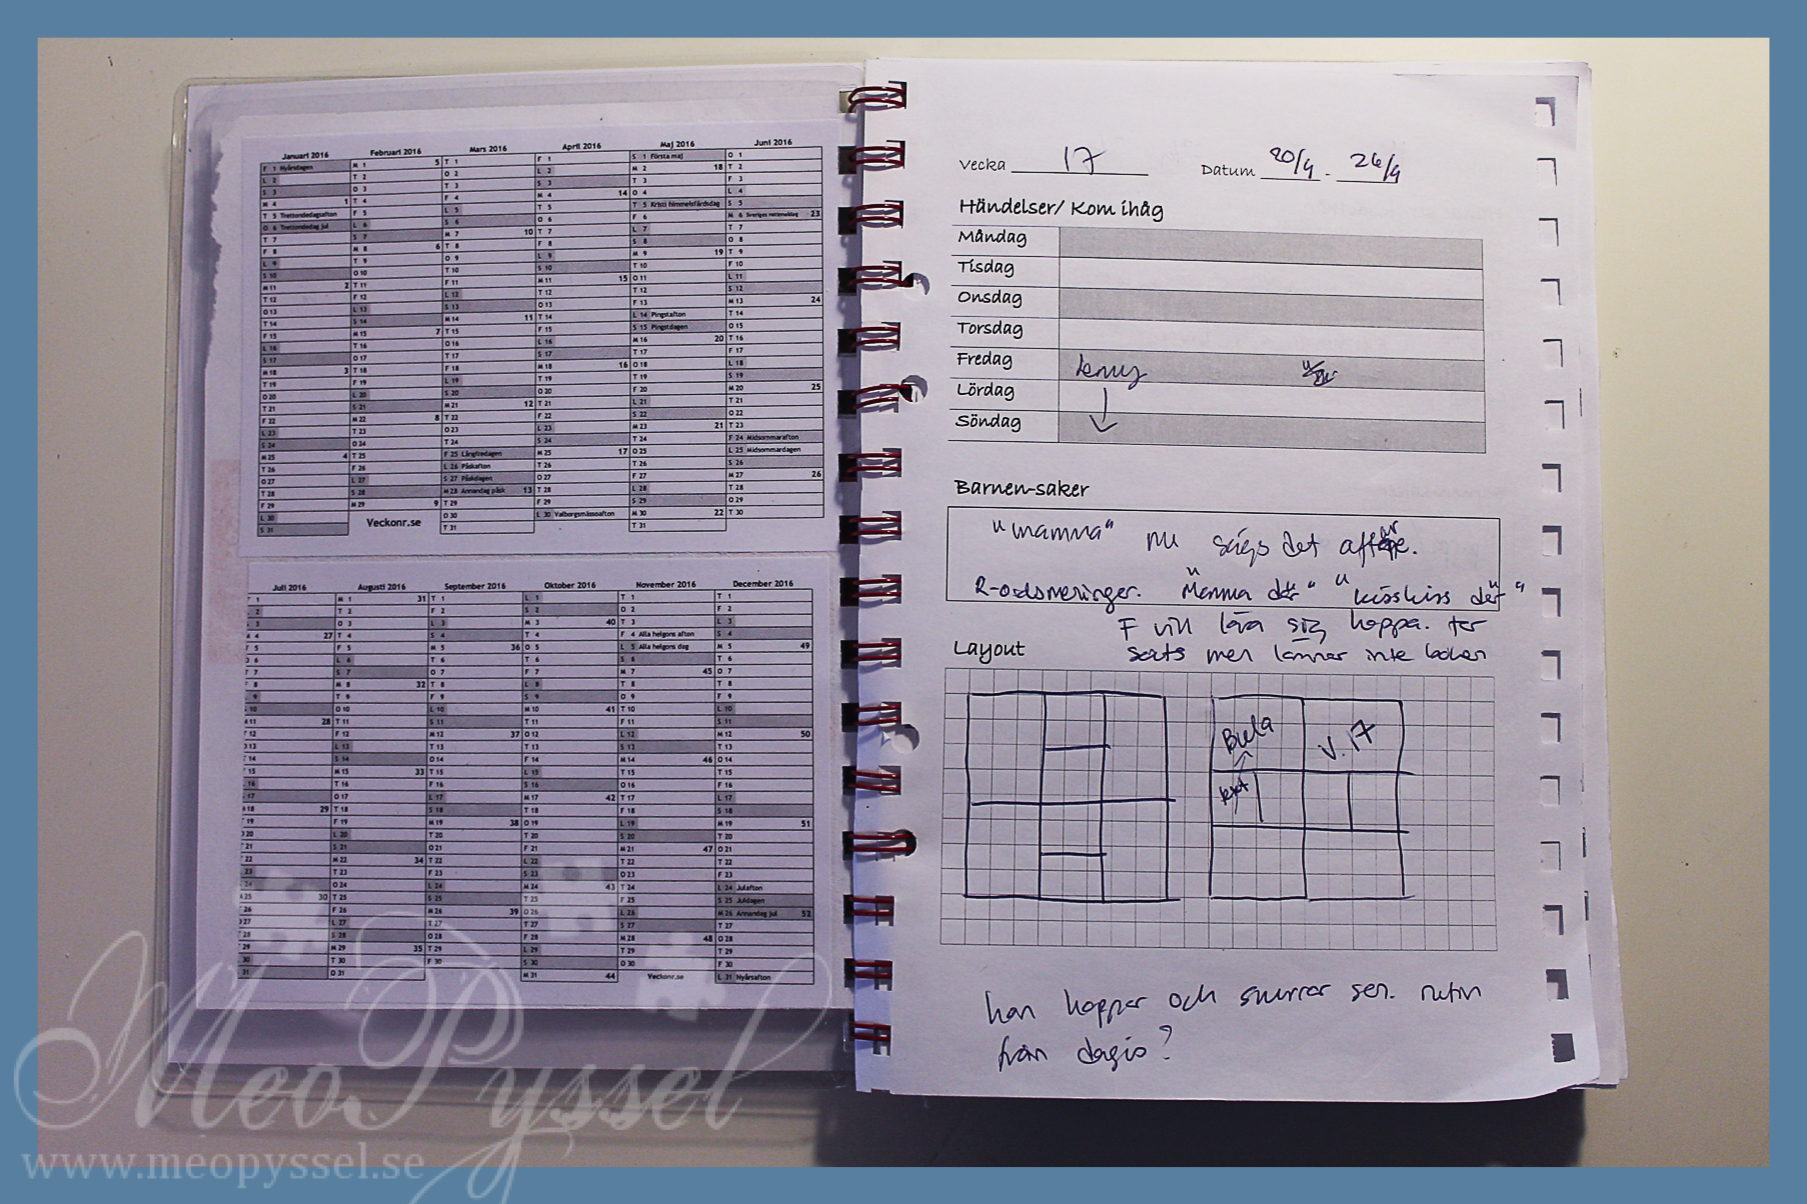 After my old pages I put in the new pages for 2016. I made a small change (made a divided note-space for my (now) two kids. These pages are unfortunate not double-sided (didn’t get a printer that could do that).
 The book is put together with a 1/2″ red wire from Zutter. It’s full but you can still turn the pages with ease, and it will be thinner and thinner for every week I put into my album…

- Zutter – Bind-it-all, 1/2″ red wire
- Spellbinders-nestabilities – labels 8
- My favorite things – By the numbers


")