Författare: Mickaela

Under konstruktion

Hej alla!

Som ni kan ser är meopyssel fortfarande lite rörig. Det har varit ett långt år med en komplikationsfull graviditet och en flytt (tlll ett hus som varit utan nätverk i några månader) så bloggen har försummats. Nu ska jag ge den ett ansiktslyft men det går sakta med tre små troll så ha tålamod och försök att se bortom det yttre för tillfället.


/Mickaela

Färgat ris

Så nu när förskolan börjat igen har jag tänkt att hitta på nåt kul med mina stora barn dom dagar de är hemma från förskolan. Den här veckan testade vi att färga och leka med ris. Jag hittade flera länkar, främst från utländska sidor men fastnade till slut på beskrivningen från Förskoleburken.

Jag valde att hälla upp ett paket ris (2 kg) i 6 påsar. Jag använde dubbla påsar för att minska spillrisken då barnen hjälpte till. Sen portionerade jag ut en lite flaska handsprit  mellan påsarna, jag var inte exakt på något sätt utan det blev en skvätt i varje påse. Sedan droppade jag i några droppar karamellfärg, jag blandade även till orange och lila med hjälp av de färger jag hade. Sedan stängde jag påsarna och lät barnen knåda runt ris och färg tills allt var jämt färgat. Den delen tyckte barnen verkligen om. Jag la påsarna i en form för att enkelt kunna flytta dem i en samlad hög men det är verkligen inget som behövs. Sedan öppnade vi påsarna och lät dem torka över natten.

Innan jag gav riset till barnen hällde jag upp det i två burkar (Ikeas Samla) och gömde tre så leksaker i varje burk, den här gången valde jag små bamsefigurer och små my little pony-figurer. Jag tog även fram ett teskedsmått och ett matskedsmått åt dem var så att de kunde gräva/skopa med.

Min 4-åring hittade leksakerna direkt och började leka med figurerna (bamse var ute och badade). Hon grävde och hoppade med figurerna och var helt i sin egen värld. Min 2-åring hade svårt att förstå konceptet med kurragömma och var lycklig med att bara ösa runt det mellan måtten. När han tillslut hittat alla tre figurer valde jag att gömma en figur så att han såg det (inte vart men att jag gjorde det) och då tyckte han det var roligt att leta  och så vi höll på så ett tag.


Det blev ris lite överallt både när vi satt vid bordet och när vi satt på en filt ute, men det är lätt att dammsuga upp så jag var inte allt för stressad över röran.

——————————————————–

Nu har det gått några veckor sedan vi gjorde riset och det är sammanslaget i en låda (jag behövde ha tillbaka den andra burken till dess ursprungliga syfte) och barnen vill fortfarande leka med riset titt som tätt, de öser runt riset och bara känner på det. Även min man har svårt att hålla händerna borta när han går förbi burken.

My Project Life Planner

So I made my own planning-sheet a while back were i could note information for the week and select a layout and photos. For 2015 it bound it together with some string so i could keep my active weeks together with my empty weeks. When I do my planning I also have my reference-sheet with Becky Higgings pocket pages (I only use Beckys for a uniform feeling in my albums) and sometimes a calendar so I can see which dates that goes in which week.

So now I have been thinking about making it a bit more sturdy and nicer. I borrowed a bind-it-all from a friend and yesterday I finally got the time to do it.

I made a very simple cover from laminated cardstock and a patterned paper (the back is identical without the text). The covers are about 0,5cm taller then all the other pages. The front is decorated with Bo Bunny’s Peacock Lane that is cut with nestabilities.
2016-01-25 Pl planerare 1The next full page spread after the cover is the pocket pages reference. On this one I will make some kind of a sticker (green, yellow and red perhaps) so I can know how many of the designs I have at home. I just hate to start a planned week and realizing that I don’t have the pocket-page I need. The reference is also laminated so it can be well-handled.

kOn the back on the reference I stuck to calendars of 201 and 2016.

2016-01-25 Pl planerare 2After the reference/calendar I added my old pages for 2015. They look a bit scruffy due to all the holes but they will soon be torn out (hopefully) anyway. And I don’t have a working printer home so I didn’t wanna redo them. The old pages are double-sided so they wouldn’t take up so much space.

2016-01-25 Pl planerare 5After my old pages I put in the new pages for 2016. I made a small change (made a divided note-space for my (now) two kids. These pages are unfortunate not double-sided (didn’t get a printer that could do that).

jbhjkhThe book is put together with a 1/2″ red wire from Zutter. It’s full but you can still turn the pages with ease, and it will be thinner and thinner for every week I put into my album…

material

  • Zutter – Bind-it-all, 1/2″ red wire
  • Spellbinders-nestabilities – labels 8
  • My favorite things – By the numbers

Week 21-24

So here comes my week 21-24.

vecka 21On week 21 i used Becky Higgins Midnight and only used Simon says stamps mini hearts for decoration. I just love the clean look of midnight.


vecka 23On Week 23 i used Simple Stories Baby boy kit and some label stickers from simple stories.


vecka 24

On week 24 i used Becky Higgins journal themed cards. They really are one of my absolute favorites, I love the vibrant color and simplicity. I have used some Me and my big ideas transparent stickers as decoration.

May month-card

IMG_9257I did something almost different then usual o monthly cards and I like it:) I usually just ad the calender and adhere it with stripes of cardstock. On this one I cut it to small so I had to make it a bit different, the idea is still the same, the calender is just smaller but I think the look is very different and fun.

I mounted the calender on a card from Becky Higgins Blush.

Week 11-18

Here comes some of the spreads for week 11 to 18 2014.

IMG_9227IMG_9228Week 11: On this spread I used the Journal themed cards from Becky Higgins and I did use some Jillibean Soup alphabetstickes for my titelcard. This week I tried something new and added some text to my photos before I developed them. I like how it turned out and that I could get quite a lot of text on the 3×4 without writing all over it. I have marked which week it is on my monthly card with a small clearstamp dot and a couple of different memento dew drops.


IMG_9231 IMG_9232Week 12: On this spread I used some yellow cards from Midnight and I mostly decorated with these circle letters from Fancy Pants paper True Friend. I also used some enamel from doodlebug, I love all enamel dots and have quite a few but I never use them because I never know how to but I think I was successful this time.


IMG_9238 IMG_9236Week 13: Here I’m using Kiwi from Becky Higgins and a sticker from Me and My Big Ideas called Baby Girl.


IMG_9239 IMG_9241Week 17: I’m using Cherry from Becky higgins and decorated with some banners made with Stampin Up’s Banner punch, the stampset Banner Blast and some memento dew drops. The Love banner at the right side middle is from one of the studio Callico-kits.


IMG_9246 IMG_9244 IMG_9247 IMG_9250Week 18 is a double spread due to a weekend trip we made to our friends summerplace. I have used the Becky Higgins Slate and the decorations are stickers from the Simple stories DIY Labels. The letters are as usual Jillibean:)

material

Kits: Becky Higgins – Journal, Midnight, Kiwi, Cherry, Slate.

Decorations: Jillibean Soup – Alphabet stickers. Memento dew drops. Fancy pants- True friends. Doodelbug – Enamel. Me and My big ideas – Baby Girl. Stampin’ up- Banner punch, Banner Blast. Studio Callico. Simple Stories – DIY Stickers Labels.

Jars for coffe and jam

In my family we use masonjars for many things, especially for coffee, tea and jam. After using the jars for a while we discovered that the jars that had coffee in them never could be used to anything else again. After cleaning them by hand or in the dishwasher they still smelled a lot like coffepowder and everything in the jar tastes like coffepowder. So we needed to mark the jars somehow (coffeeflawored jam isn’t very nice for pancakes…). I did have somevinylsheets and etchingcreame home so I made an mask with the vinyl and the Cole’s ABC die from Lawn Fawn. I think it turned out really good and will soon do the same for the tea and jam-jars.

IMG_8472 IMG_9267 IMG_9274Kaffe is the swedish word for Coffee.

material

Lawn Fawn – Cole’s ABC

Etchingcreame

Masonjar

vinyl

New inkpad storage

So i have been using my small inkpads a lot lately and getting more and more frustrated with my storage of them. They have been thrown into a small box and they are there all  jumbled and I can never find the one I’m looking for and sense I don’t see them all I have a hard time knowing which ones I have. So I decied it was time to do something. I did buy some foamboard a while back so I just cut up some strips to make placeholders in my little box (it’s Tjena from Ikea if someone wonders). It’s an improvement but I’m not completely happy yet- I’ll just need to figure out how I want it.

IMG_9255

Week 2-8

Here comes some of my weeks from the beginning of 2014.


IMG_8428 IMG_8429
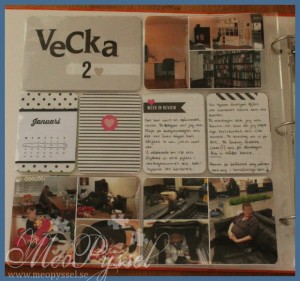
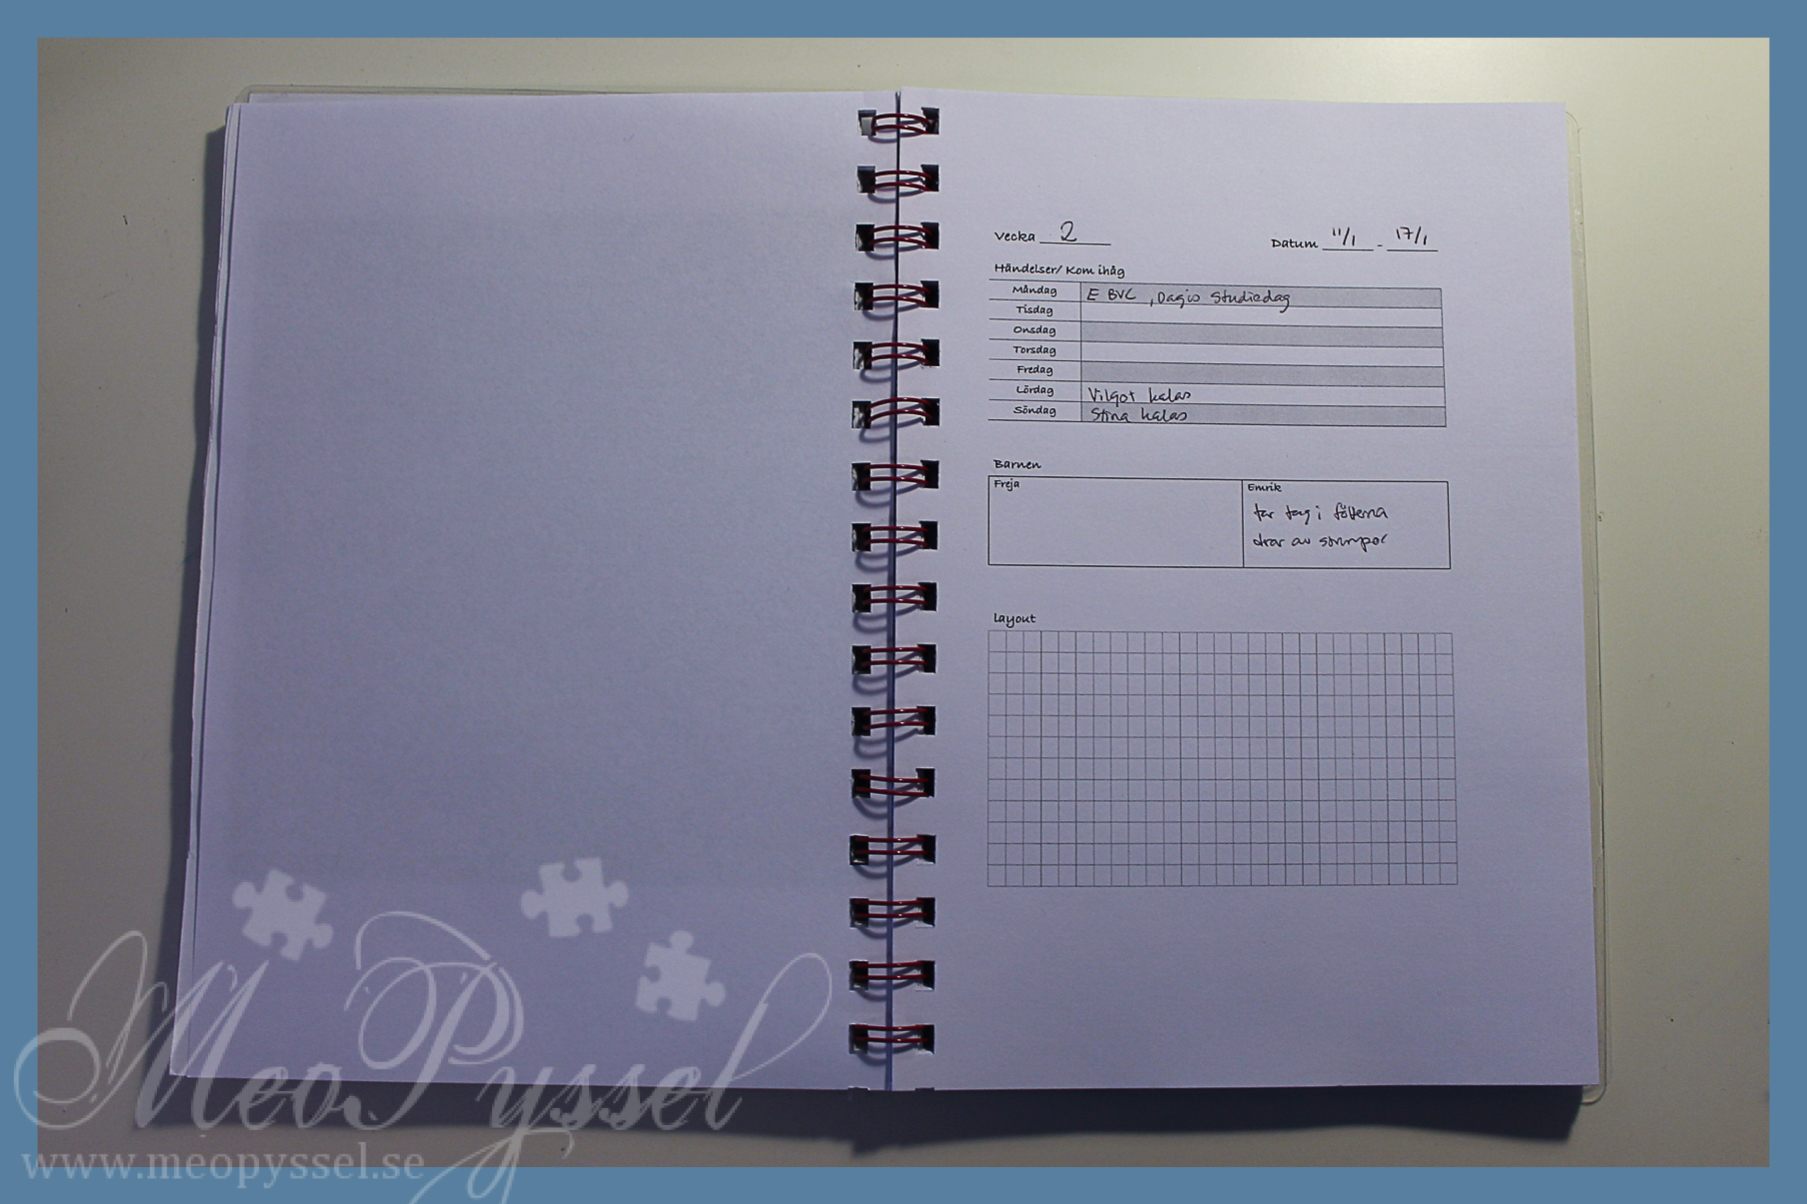
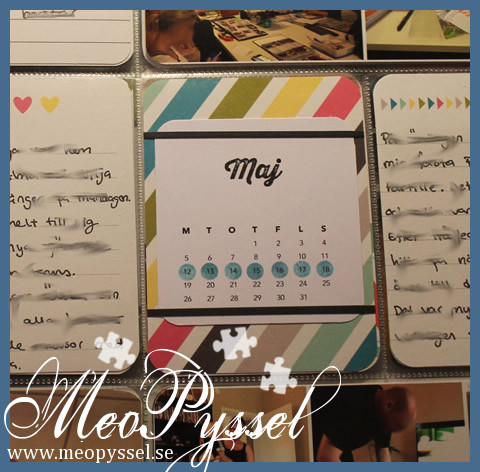
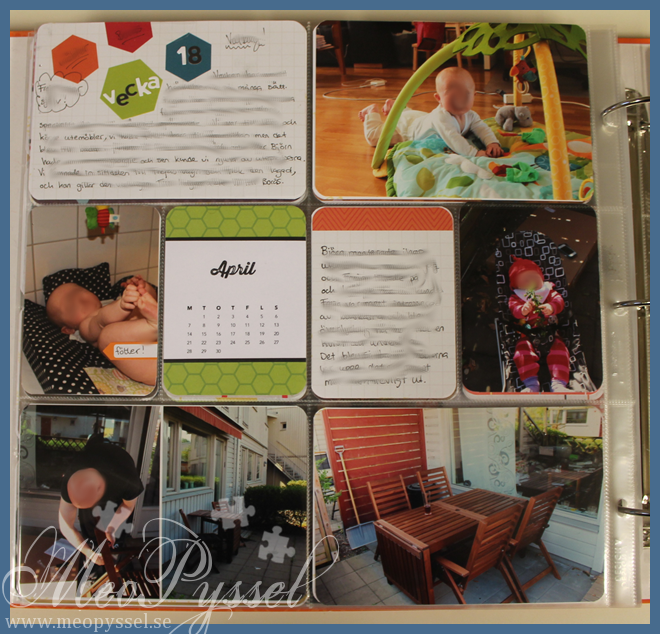
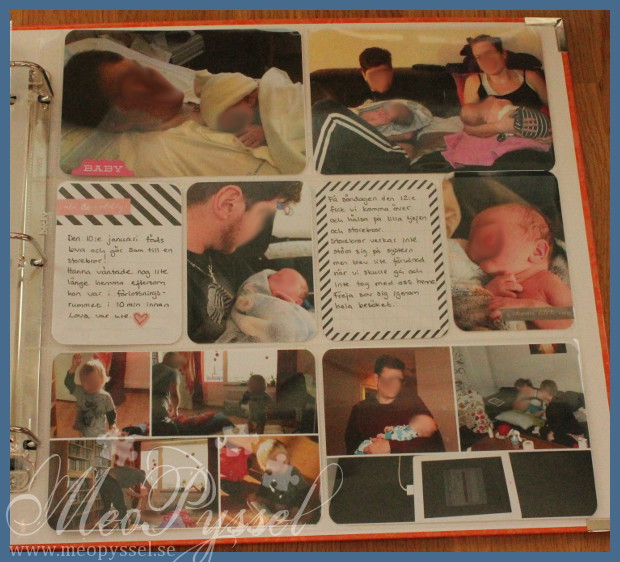
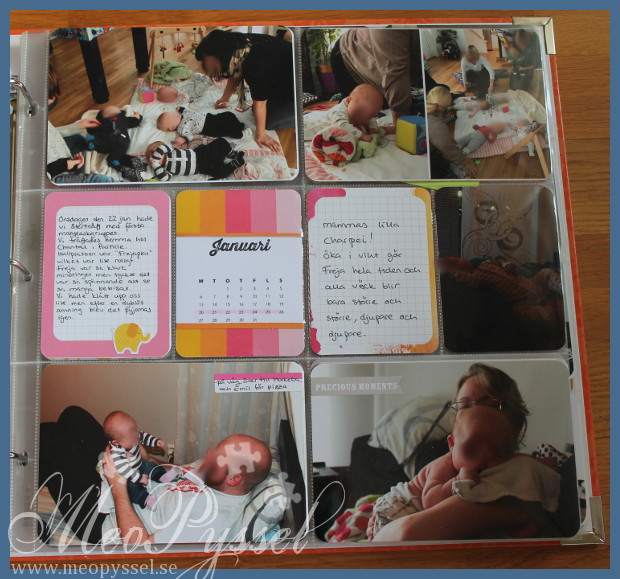
Week 2: I have used the Midnight Core kit from Becky Higgins and i have tried my first real decorating using the Simple stories Baby girl stickers. I just love the midnight kit- its so easy to use and are one of the few collections I think make dull winter-images flattering. I have decided to make a weekly calendar-card to show of the date of the days in that specific week. The calenders are an freebee from one of the nice girls in the Project Life Sweden group on facebook which I then adhere to some of the cards in the kit I use for that specific week. I love that it brings all the weeks together and that the dates are visually shown.


IMG_8431 IMG_8434
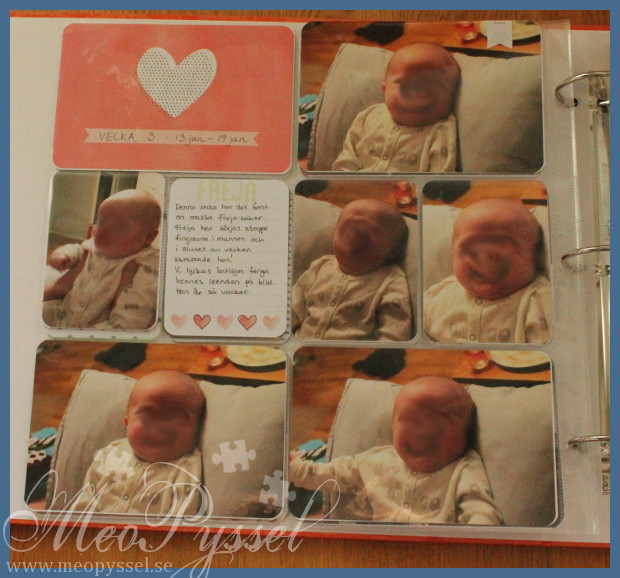
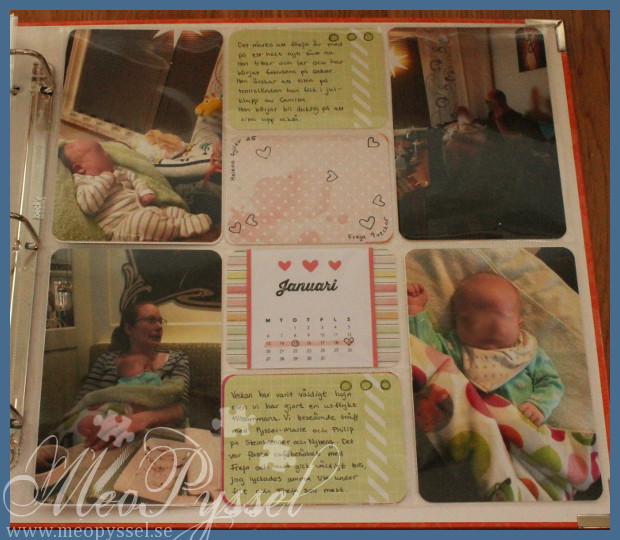
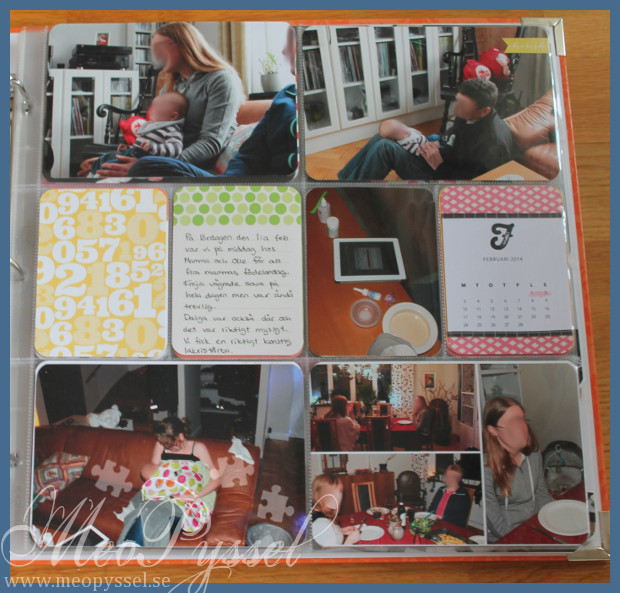
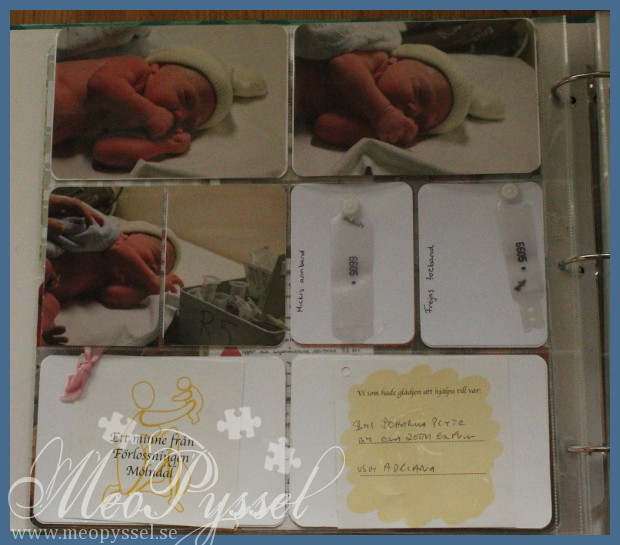
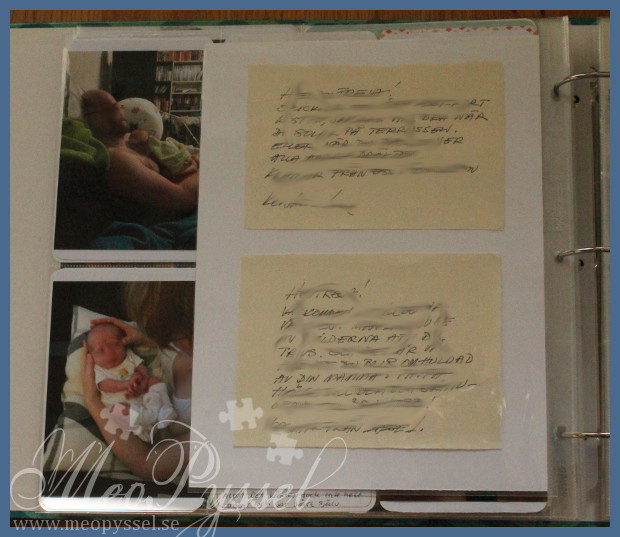
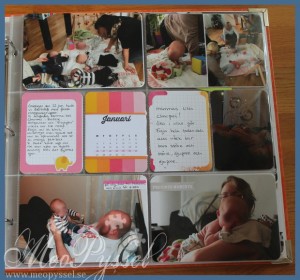
Week 3: This month-card did i show in a post a long time ago, when i actually made it. You can find it here. I love that soft colors of Neapolitan but rarely have photos I think are suitable for it but this week I had a lot pf photos with Freja’s blanket so I could finally use some of them:).  The decorations on this week is my own doodles- but I did decorate, that two weeks in a row maybe I’m getting the hang of that.


IMG_8440 IMG_8441
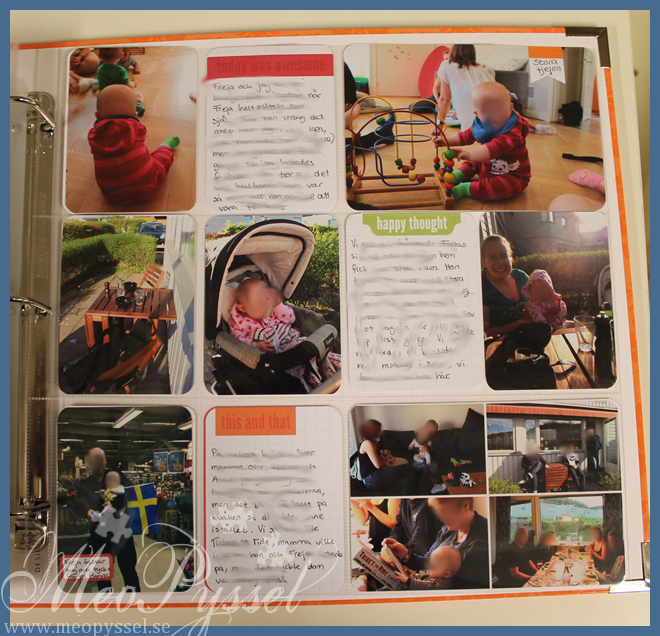
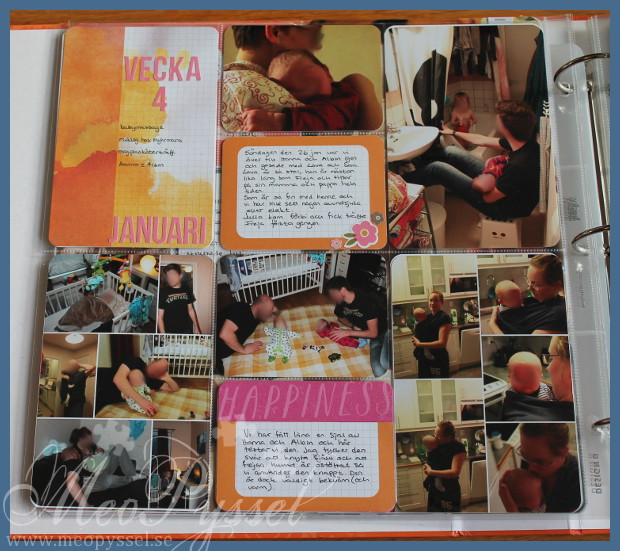
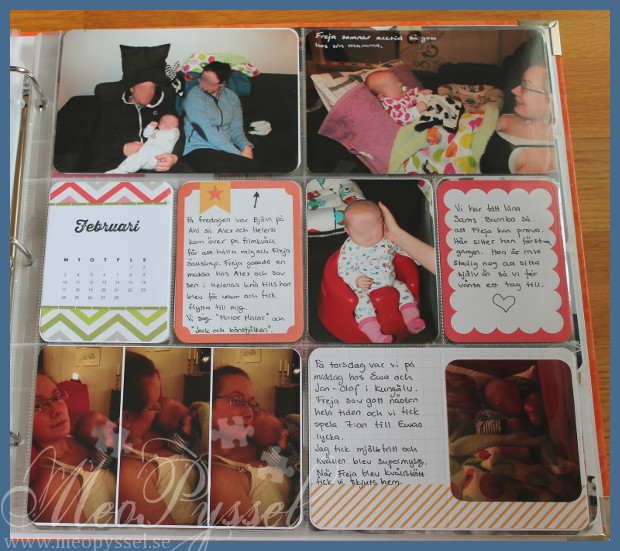
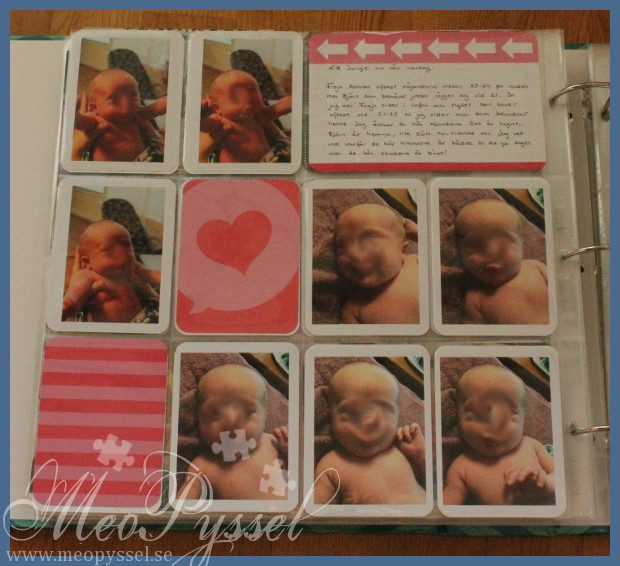
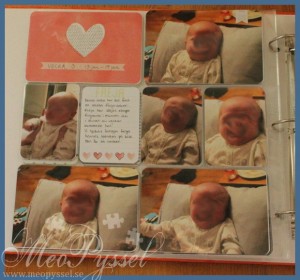
Week 4: This week I used some of the cards I got from my Studio monthly-subscription. I have had a hard time using my subscriptions because I’m really bad at matching cards by myself (thank god for core-kits) but I made a try and it turned out really good if I may say so. The decorations are from Simple Stories Baby girl stickers and as an afterthought I really do hate the flower on the right side but I have to move on and not obsess.


IMG_8442 IMG_8443
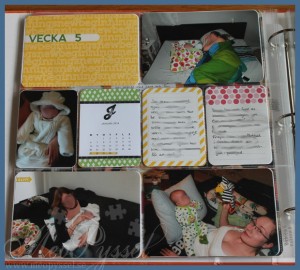
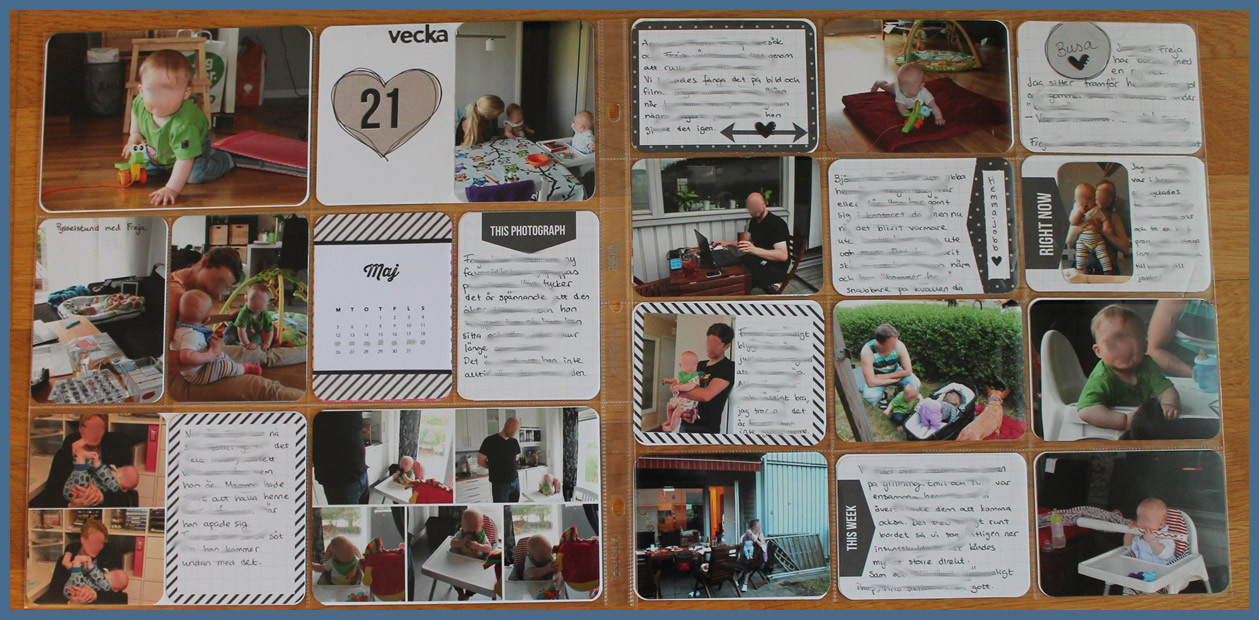
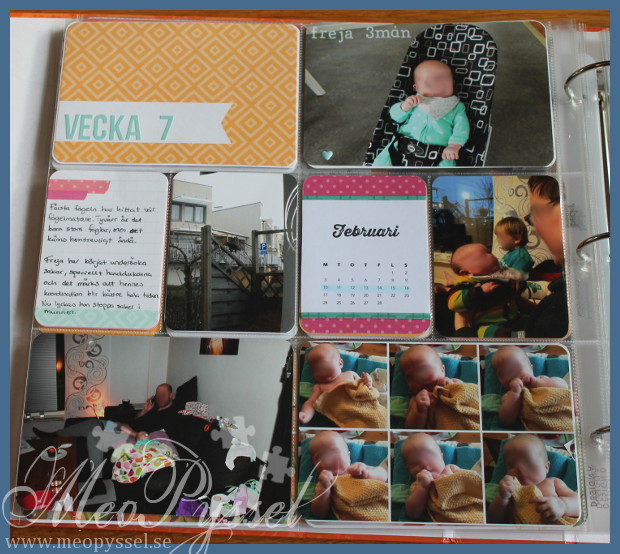
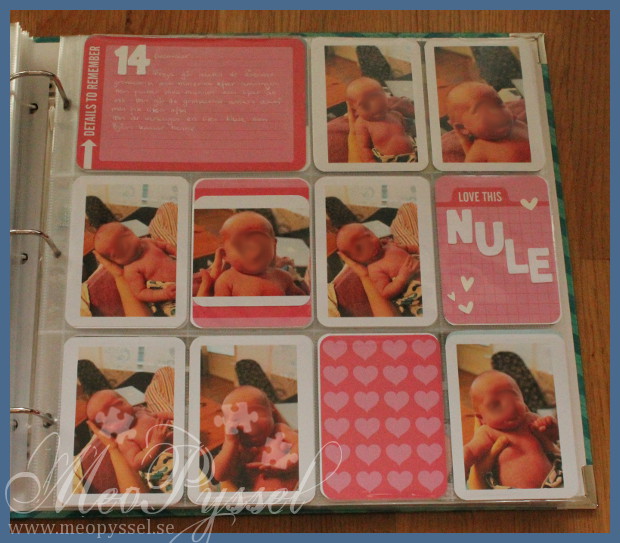
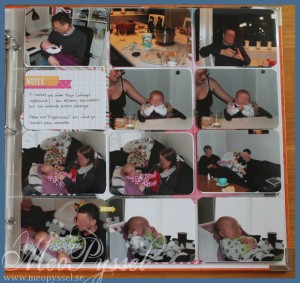
Week 5: This week I used the baby for her mini kit from Becky Higgins and the few decorations i used are yet again from SS baby girl stickers. The letters on my titelcard is from Jillibean Soup and I just love the font and all their colors so I just bought all the ones I could find on Cili in papers.  This week I tried to get less people photos and more everyday life-photos which means i get one like that:) But it’s progress…

IMG_8444IMG_8445
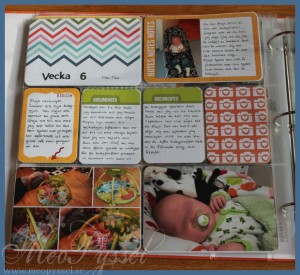
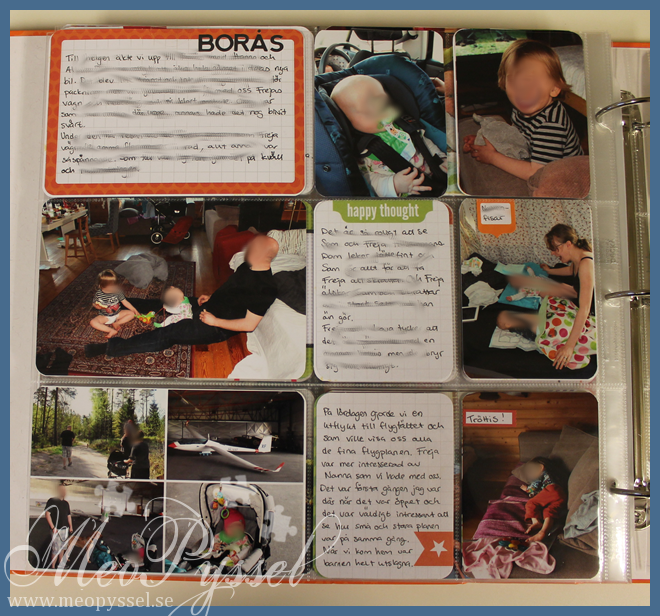
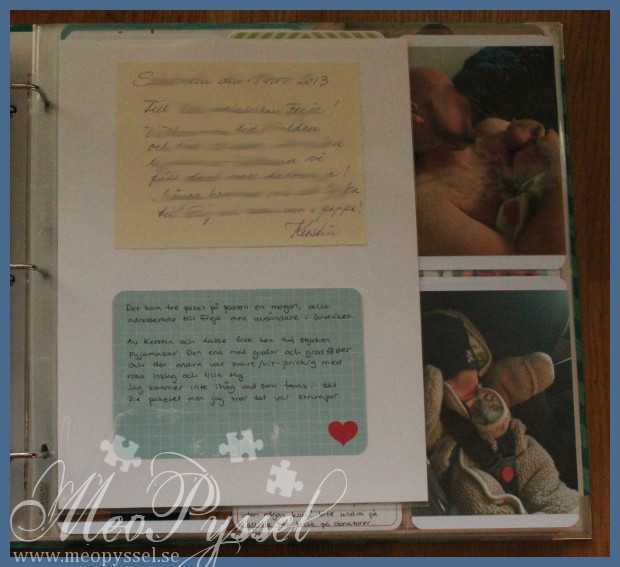
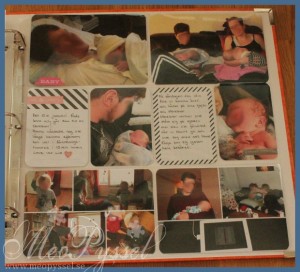
Week 6: One again I used the Jillibean letters combined with the Honey core kit. I made this spread on one of our monthly PL-meetings here in Gothenburg. Due to all the good influence, especially from Anna, so I dared try something new: I cut my photos a bit. So i trimmed down two photos and matted them on a 4×6 and could then get some journaling done. I loved how the one on the left page turned out and really did like the one on the right, but you win some and lose some. I think I’ll try this more often:)


IMG_8446 IMG_8447

IMG_8454 IMG_8455
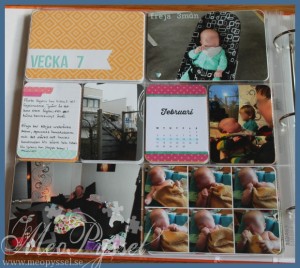
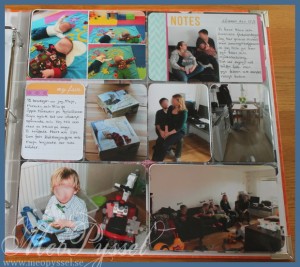
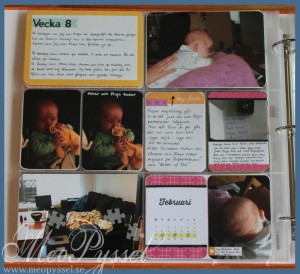
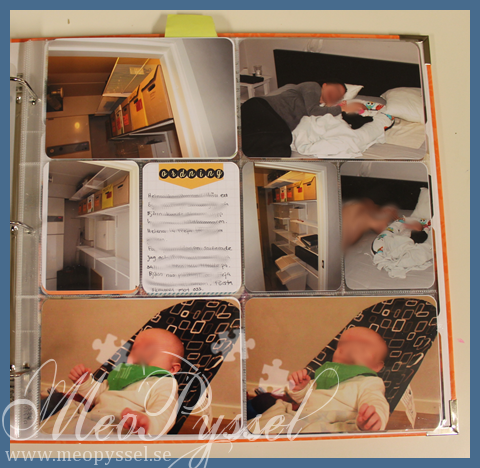
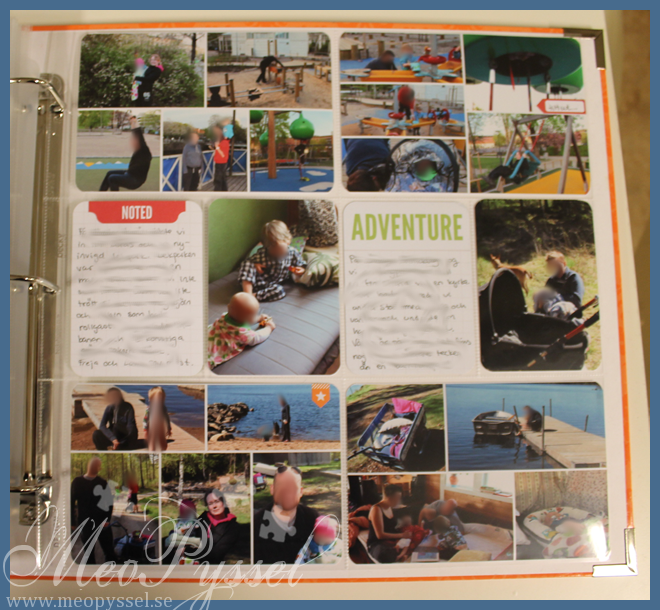
Week 7-8: I used the Journal themed cards from Becky Higgins and I just love the bright colors. There are not many cards in this pack but I have used almost everyone which is a bit unusual for me, I’m more of a hoarder then user:)


material

Core kits: Becky Higgins: Midnight, Neapolitan, Baby for her mini kit, Honey, Journal Themed. Studio Callico: monthly kit.

Decorations: Simple Stories: Baby Girl Stickers. Jillibean Soup stickers.

Some spreads from 2013

Here comes some of  my spreads from 2013, i did these spreads by events and not weeks.


IMG_8402 This is the premiere of our barbecue, I used the slate core kit and some Lawn Fawn dies for my titelcard.


IMG_8403 IMG_8407This is from our 3D-ultrasonic of our babygirl. On the first Ultrasonic I used the red cards from Becky Higgins Honey so I did the same here so it would be cohesive. The images was printed at the clinic so I did use the originals (I do of course have a digital copy as well). The prints were were thin and flimsy so i adhered them to some black cardstock and then cut them with my Becky Higgins die.


IMG_8408This spread if from a weekend-trip to Germany, the spread is very simple but I really like the map (from google I think) that shows the hotel’s location.


IMG_8410This one is from my daughters birth and I have included all the thing we got at the hospital. I have to admitt that I was a bit tiered when doing these weeks so there isn’t any decorations at all, and I’m not that decorate much to begin with. But I have plans to get back and ad some colors and maybe some decorations later on, especially to the bracelet-pockets which looks a bite bare right now. But it still makes me all warm and fuzzy looking the the bracelets and the little welcome that they left at the breakfast-tray (she is born at 8 in the morning).


IMG_8425 IMG_8423As a first-time mother I have of course taken far to many photos of my trolls funny faces (and sleeping-habits) but sometimes they just end up as a really fun sequence and then I wanna get all photos in the spread.


IMG_8420 IMG_8421When Freja was born she got three big packages in the mail with clothing and letters from my grandparents. The letter were so sweet and just like my grandparents in all ways to I saved them and just put them in some bigger pages. There were three letters so I did put in one 4×6 card were I wrote were and when the pages came and whar was happening in our life at that time.


So this was the last ones from 2013, hope you enjoyed it a bit.


material

Kits:Becky Higgings: Slate, Becky Higgings: Honey

Dies: Lawn Fawn: Coles ABC’s, Quinns 123’s. Becky Higgins’ – Die set Project Life.